Showing posts with label Frantic Stamper. Show all posts

Sunday, March 1, 2015

Sparkle and Shine Challenge


Hello!
I am super excited to share a card that will be featured on the new challenge blog dedicated to SEQUINS!!!  As part of the Pretty Pink Posh DT, I was asked to guest for the first challenge of Sparkle and Shine!  (side note: Pretty Pink Posh is a sponsor :) )

My card uses lots of 6mm Shamrock sequins from Pretty Pink Posh.  I started with diecutting this large Four Leaf Clover from Frantic Stamper into a white trimmed panel.  My idea was to try out adhering all the sequins "behind" the clover cut out.  This took some patience but I love how it turned out!
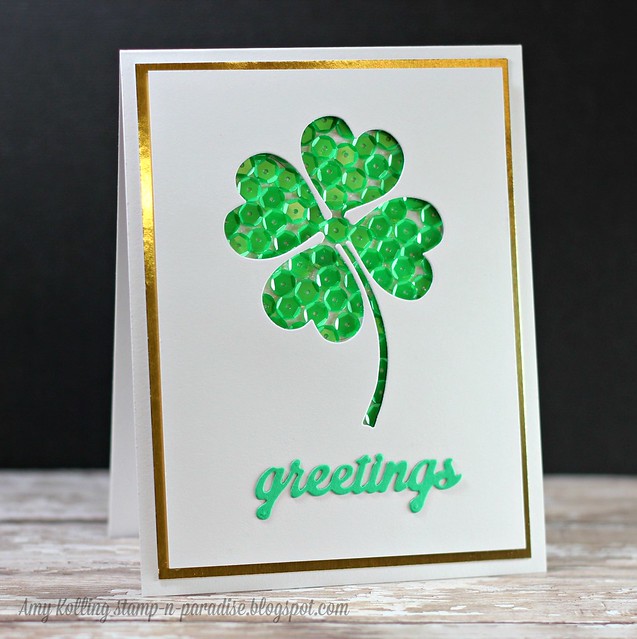
Greetings

My clover panel was layered with foam adhesive onto a gold cardstock mat.  A simple "greetings" sentiment was diecut and added in a green cardstock (here it looks like it doesn't match....ughh).  The sentiment is from a fantastic die called Diagonal Card Sketcher Die from Frantic Stamper.
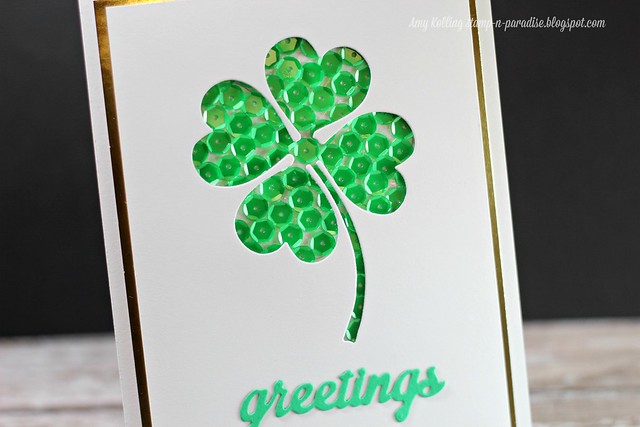
Greetings2

The challenge graphic is obviously green, clovers, or shamrocks.  Have fun with your sequins and play along!


Thanks for sharing a part of your day with me!

Wednesday, February 4, 2015

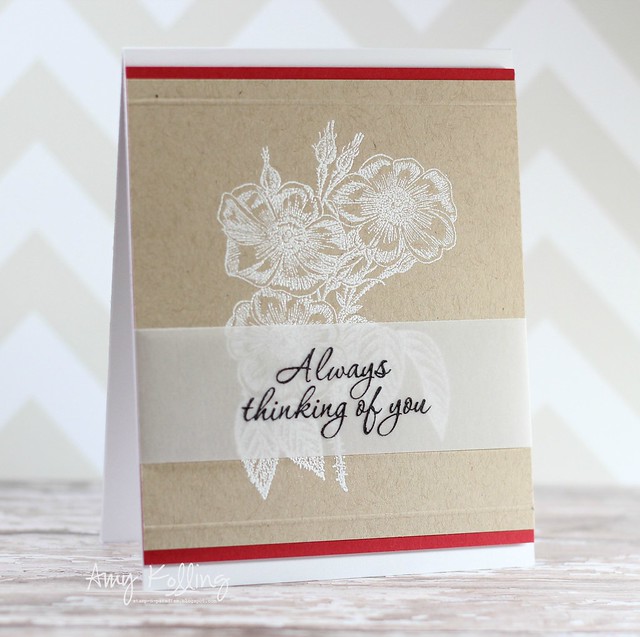
Always thinking of you......


Hello friends!  
Do you ever need a thinking of you card?  I know I need more in my stash for sure.  This one is super easy and quick!  

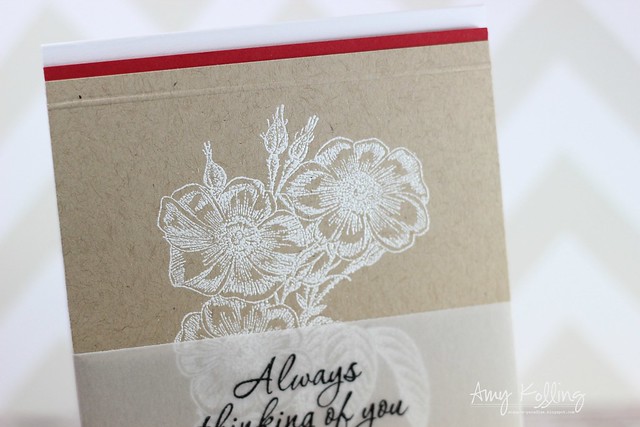
I started by white heat embossing the Redoute Rose #3 from Frantic Stamper on kraft cardstock.  I just love how it becomes the focal point just like that!  To this panel, I've scored a line above and below the embossed flower.  

Thinking of You

Adding a sentiment onto vellum is always a fabulous choice for layering over a large focal point.  This sentiment is from Good Friends by Hero Arts.

Thinking of You2


Thanks so much for sharing a part of your day with me!

Saturday, January 31, 2015

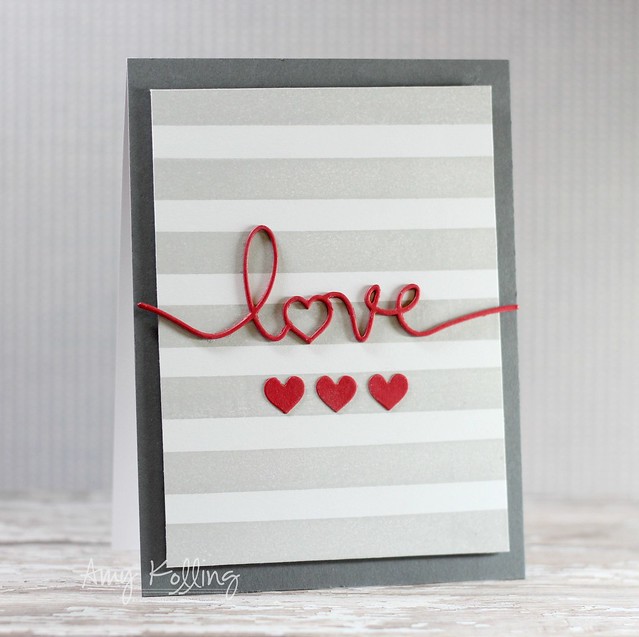
love.....


Hello!  I have a quick card to share today using ONE die.......a word die.  I love word dies.........the scripty font of this "love" die is just so beautiful!

This die is from Frantic Stamper is one of my favorites.  I started my card by stamping gray stripes from Set of 3 Lines cling stamps onto a trimmed piece of cardstock.  The sentiment was diecut multiple times and glued all together for dimension!  When diecutting, always remember to keep even the tiniest things to be used later.  On my card, I've used the 3 hearts that were dicut from the center of the Handwritten Love die to add some interest below my sentiment!


Scripty Love


Thanks for sharing a part of your day with me!

Thursday, January 29, 2015

My sweet


The sentiment.  I'm probably the only one who would put this on a card.  I say it.....to my kids.  They love me......or tolerate me (LOL)!  

I have a fun watercolor background using some Distress Inks and Frantic Stamper exclusive dies!  I love how soft the colors came out and how they "run" down the card.  

My Sweet1

I've actually used THREE dies for this card:  Sweet word die, Accessory Words die, and Diagonal Card Sketcher die.  The stamped hearts are actually the tiny heart dies that come with the Diagonal Card Sketcher die!  I diecut them with fun foam and simply used them to stamp with!  I stamped the hearts in the same colors of Distress Inks as the watercolored background except they were stamped directly....no watering down.

I wanted to "ground" my word "sweet" so I applied a band of gold glitter tape to the bottom of my card.  Love the effect!

My Sweet2


Thanks for sharing a part of your day with me!
Tuesday, January 20, 2015

Love!


Hi everyone!  We've been enjoying some wonderful January weather the past few days here in Kansas.  It's been fun hearing my kids playing basketball outside and drawing with sidewalk chalk.  Just enjoying the sunshine and fresh air!!!

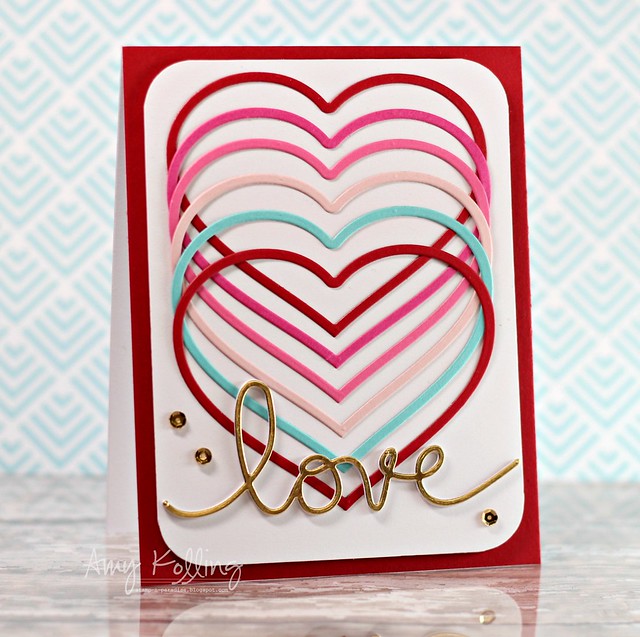
I have a fun valentine to share today (it was also featured over on the Frantic Stamper blog last week) using a new die from Frantic Stamper called Rose Heart.  But sneaky me, I didn't use this die in the traditional way!  I love to get extra miles from my dies and this die is one of those!  

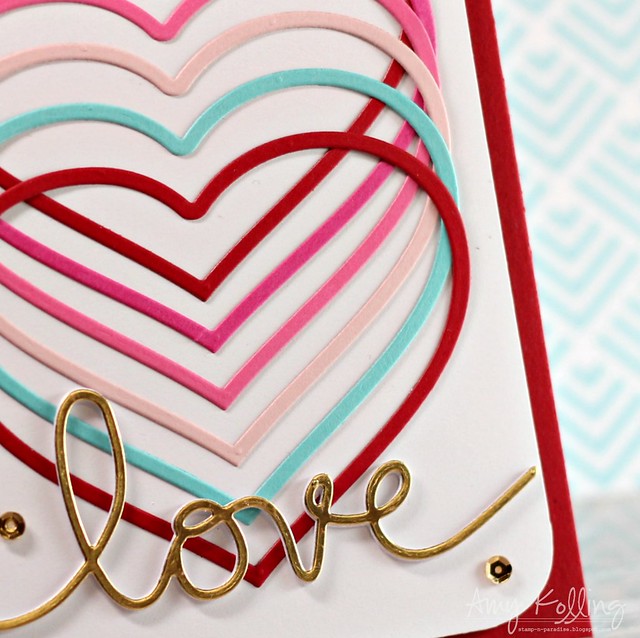
This die actually cuts 2 parts......this skinny heart outline and an inner heart with a rose cutout (see image below).  After making this card, I have plenty hearts to make some elegant valentines later!  I just love the effect of all the hearts lined up!  Very easy to do!

Love

All the cardstocks used are from PTI and the word "love" is a die from Frantic Stamper called Handwritten "love you".  I knew I wanted to add some shine to this so using gold for the sentiment and a few mini sequins (Pretty Pink Posh) was just what I had envisioned.

Love2


Thanks for sharing a part of your day with me!

Wednesday, December 10, 2014

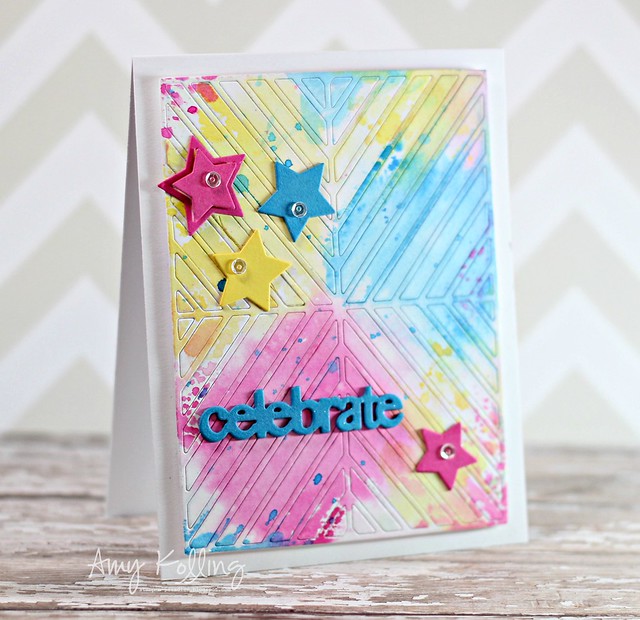
Watercolor Celebrate!


I can't get enough of this die!  It's the Alternating Diagonals Card Panel from Frantic Stamper.  I know I used it last week but I have so many ideas for this die that I wanted to share another!

I started by diecutting the panel and leaving all the pieces in and then adhering the whole panel to a thin piece of cardstock that was trimmed down slightly smaller than the panel.  With this panel, I did a Distress Ink watercolor wash.  Using some of the star dies from Stars and Stripes Photo Card Die, I added a few stars and the sentiment from this die set as well.  

Celebrate2


I'm going to link this up over at my friend Virginia's blog for the current Virginia's View Challenge which is "all things distressed"!!


Thanks for sharing a part of your day with me!
Monday, December 1, 2014

GOLD Congrats!


Hope you all had a wonderful Thanksgiving holiday!  I had 4 days off over the holiday and that's like unheard of as a nurse where I work so I fully enjoyed my days!

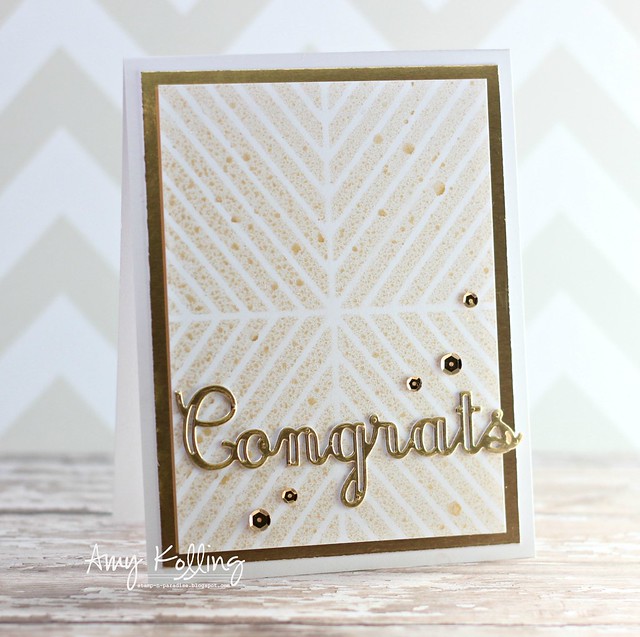
I truly am loving the gold and silver trend.  So today, I have a GOLD card to share that I just LOVE how it turned out!

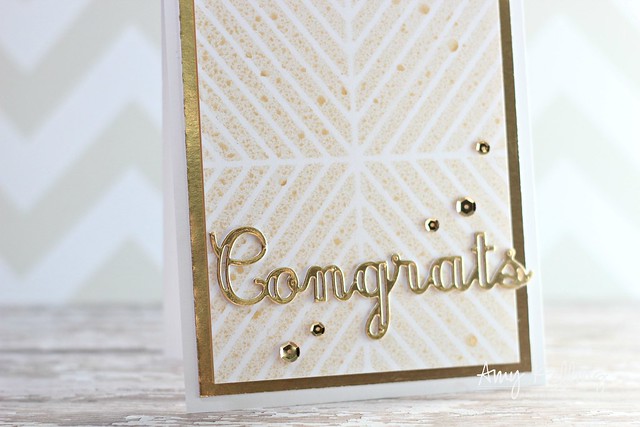
I started out by diecutting Alternating Diagonals Card Panel from Frantic Stamper.  I LOVE LOVE LOVE this die!  So many options for design in this die!  I used the negative as a stencil to mist some Gold Color Shine by Heidi Swapp.  I trimmed this panel down and adhered it to a gold cardstock panel with foam adhesive.

Congrats

What about that sentiment?  The cutout details are just amazing.  I used the Accolades Die set from Frantic Stamper and cut one from white cardstock and one from gold cardstock.  These are adhered together for just a bit of dimension.  A sprinkling of Pretty Pink Posh Gold sequins finishes this off!


Congrats2

Thanks so much for sharing a part of your day with me!

Monday, November 24, 2014

Peace on Earth


Happy Monday everyone!  (or Tuesday for me since we are closed at work on Thursday so that patients and families can spend the holiday together)  I am blessed to have a 4 day weekend over Thanksgiving this year......does not happen very often when you are a nurse!

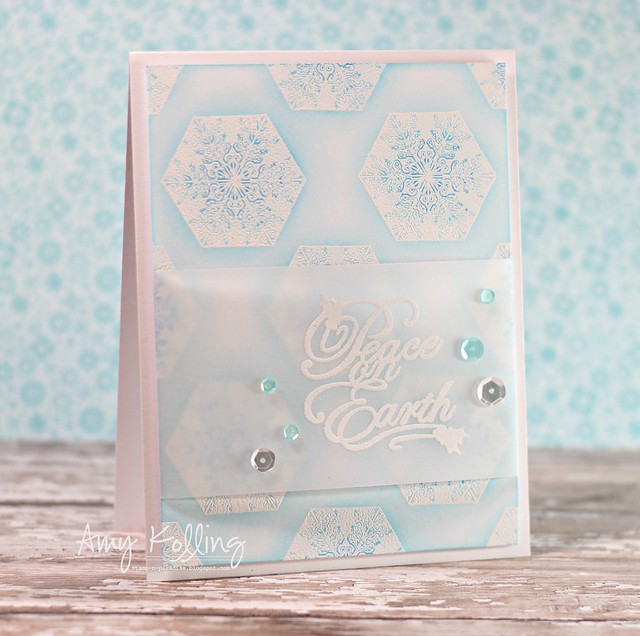
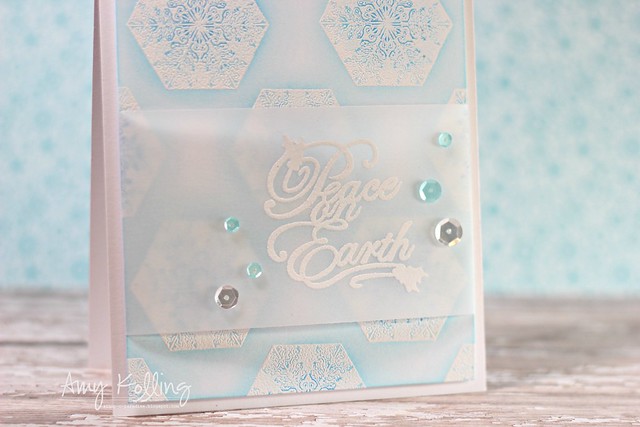
I have a card to share today using Frantic Stamper exclusive cling mounted rubber stamps.  I've used the Snowflakes stamps and white heat embossed them onto a white cardstock panel.  Using Distress Inks in Salty Ocean and Tumbled Glass, I blended the inks over the embossed snowflakes in a circular motion to "highlight" them.  

Peace on Earth

My sentiment (from Peace on Earth stamp set) was white heat embossed as well onto a wide strip of vellum.  This vellum panel was folded over the embossed snowflake panel and adhered to the back.  I like how the panel kind of "floats" above the snowflakes.  The last detail was adding in some Aquamarine and Sparkling Clear sequins from Pretty Pink Posh.

Peace on Earth2

Thanks so much for sharing a part of your day with me!

{Peace on Earth}
Stamps:  Snowflakes, Peace on Earth (Frantic Stamper)
Paper:  White (PTI), Vellum 
Ink:  Salty Ocean, Tumbled Glass Distress Inks, Versamark
Sequins:  Aquamarine, Sparkling Clear (Pretty Pink Posh)
Misc:  Foam Adhesive, White embossing powder


Sunday, November 16, 2014

Thanks ombre and chevron style!


Getting away from a holiday card for today's post.......don't worry, they will be back!
Ombre.......Chevron.  These are 2 things that are VERY popular in the papercrafting world right now. Just take a look at the Pinterest boards......HERE.  Combining these two for a die?  Yes....Please!

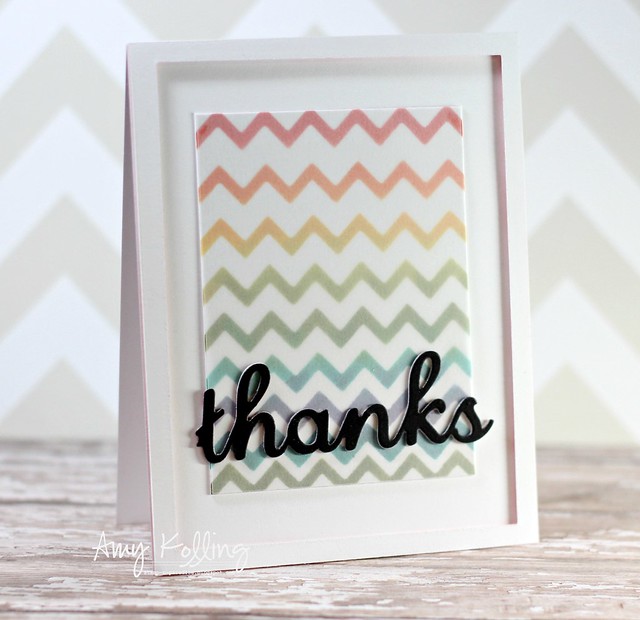
There is a fabulous die from Frantic Stamper called Ombre Chevron Card Panel.  This is one die that you will be seeing me use a lot in the coming months.  

I started by diecutting an Ombre Chevron Card Panel and using it as a stencil to sponge on various colors of Distress Inks onto a card panel.  A trimmed piece of vellum was adhered over the sponged panel to "soften" the chevrons and also made my diecut Large Thanks word die really stand out.  The last detail was adding in a diecut rectangle frame to sort of make this look like a shadow box type of card.  

Thanks

Here are the 2 dies I've used to make my card:


Thanks for sharing a part of your day with me!

Sunday, November 9, 2014

Celebrate with Frantic Stamper dies!!!


Hi everyone!  
I'm here with my first guest post for Frantic Stamper!  I'm so excited to be sharing my card today as I'm joining the DT for 3 months!  I love dies.....it's no secret.  I am fairly new to Frantic Stamper and have fallen in love with their exclusive dies.  You need to check them out HERE!

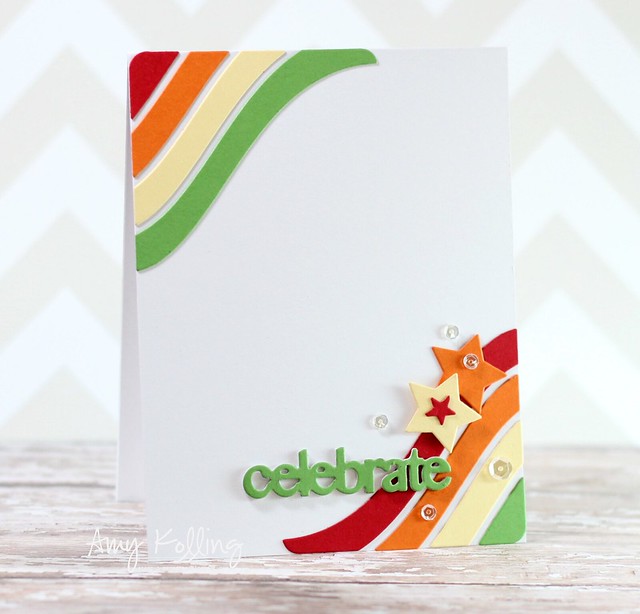
The Stars & Stripes Photo Card die by Frantic Stamper is fantastic by itself but I wanted to use those fun wavy lines by themselves for a clean and simple card.


Celebrate


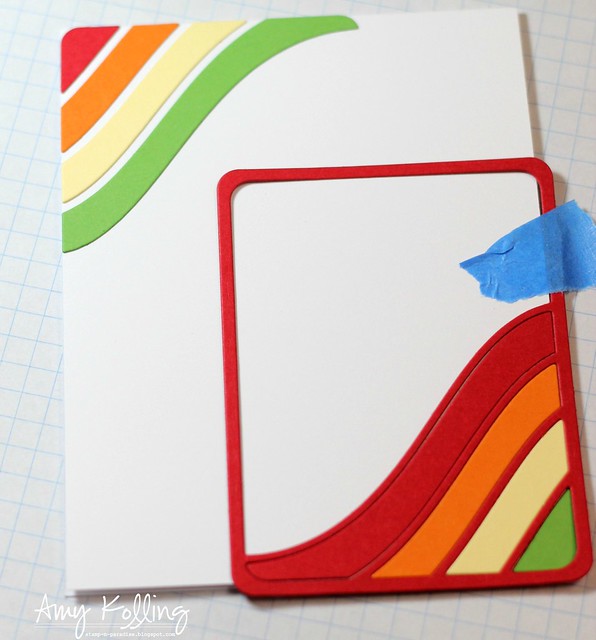
I started by diecutting 4 Photo Card dies from red, orange, yellow, and green and saved all those inside pieces.  I took one of the Photo Card diecuts and applied it to my card front with painter's tape.  This allowed me to reinsert the wavy lines back into the diecut in the color pattern I wanted.  Once done, I simply removed the diecut and added my embellishments of star diecuts (from this same die) and my favorite Sparkling Clear sequins from Pretty Pink Posh!

Celebratehowto
Here's the die I used for my project:


Thanks for sharing a part of your day with me!

{Celebrate}
Paper:  Papertrey ink
Dies:  Stars & Stripes  Photo Card Die (Frantic Stamper)
Sequins:  Sparkling Clear (Pretty Pink Posh)
Misc:  Foam Adhesive
Related Posts with Thumbnails