Hello and Welcome!
It's Day 2 of the countdown to the Technique Tuesday July release!
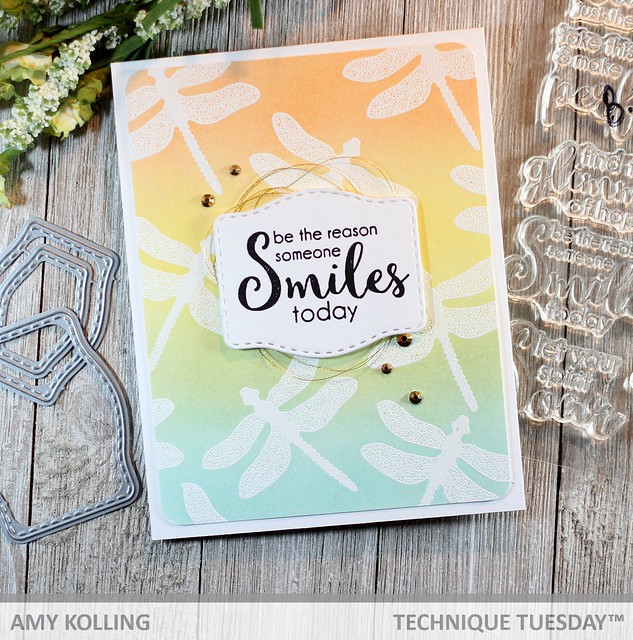
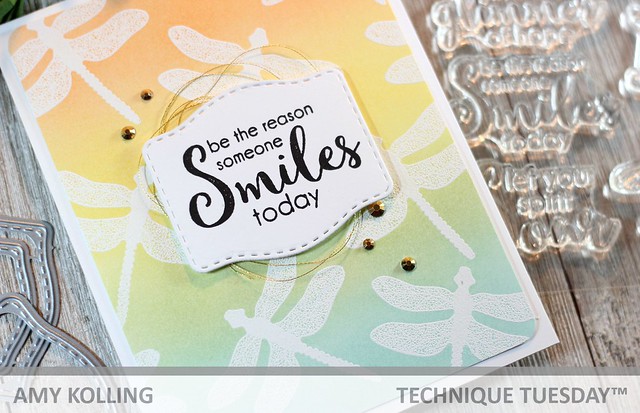
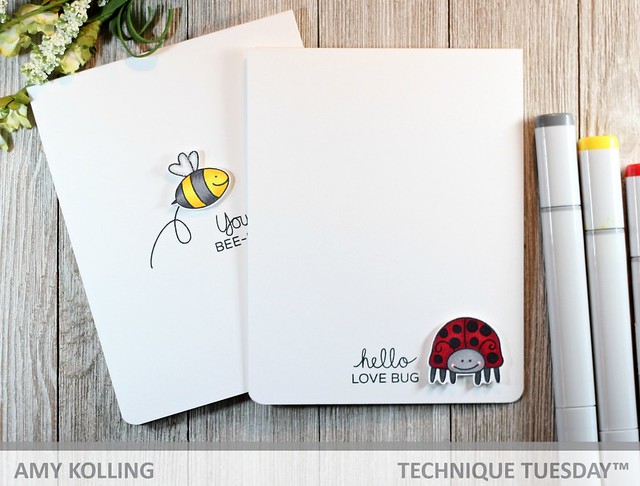
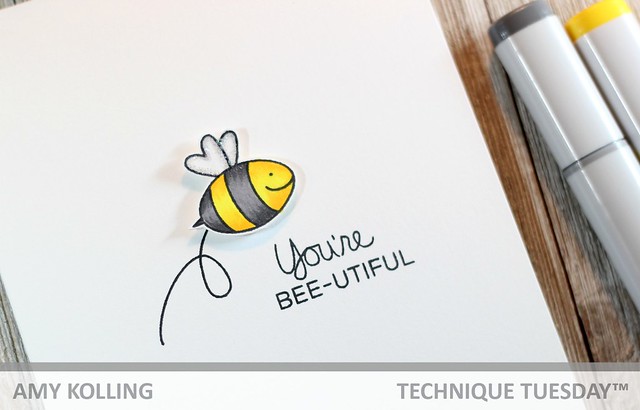
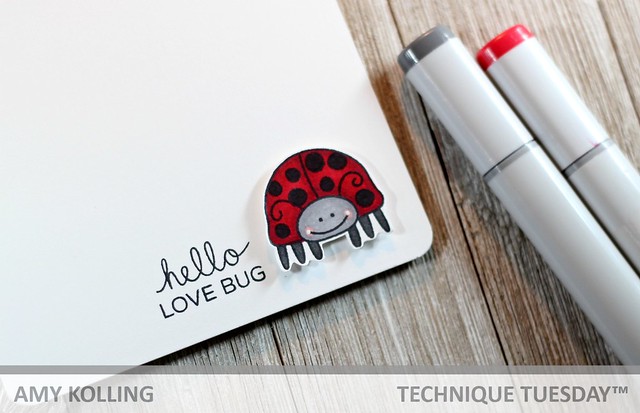
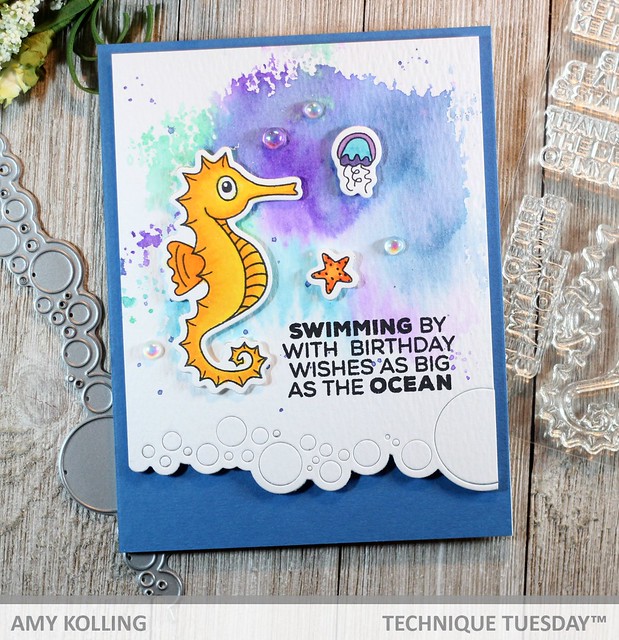
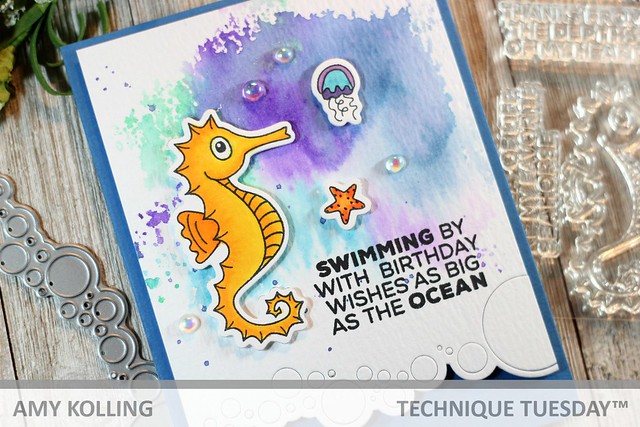
There are fun stamps and dies that include bugs, seahorses, butterflies, and more!
Make sure to check out the Technique Tuesday blog for all the products featured today and full list of inspiration from the rest of the Design Team! All products will be available for purchase starting on July 1.

I started my card by doing some Distress Ink "smooshing" to a piece of Tim Holtz watercolor paper using Broken China, Faded Jeans, Cracked Pistachio, and Wilted Violet. To the bottom of this panel, I used the new Bubbles on the Border die and left the pieces intact. My cute images, from Simon and Sandy Seahorse, were Copic colored and die cut using the coordinating dies.


Thanks so much for sharing a part of your day with me!