Wednesday, October 30, 2019

Catherine Pooler Designs / Retro Winter Release


A warm welcome to the Retro Winter release from Catherine Pooler Designs!  There are so many new products and the new COLORS of ink!


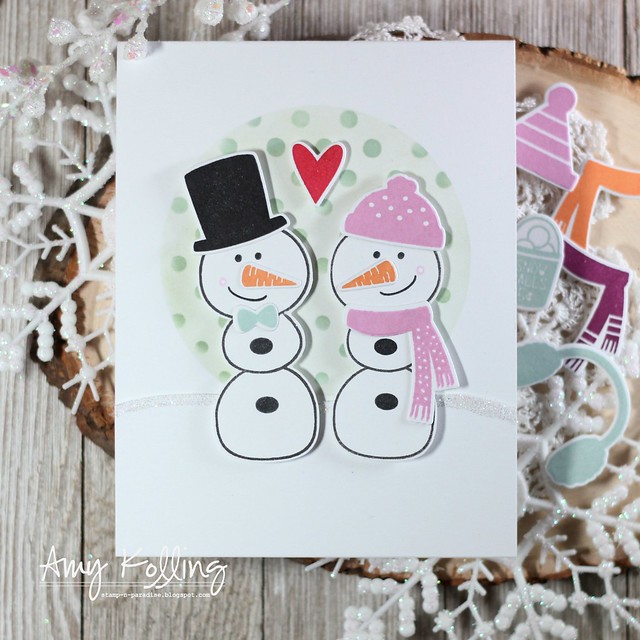
I had so much fun with the new colors and totally went wild with stamping and die cutting all the pieces to dress up my snowmen using the new inks......Orange Peel, Pink Champagne, Hot Tub, and Sangria!  

Today's card is CAS and perfect for a winter anniversary or wedding!  

Love 

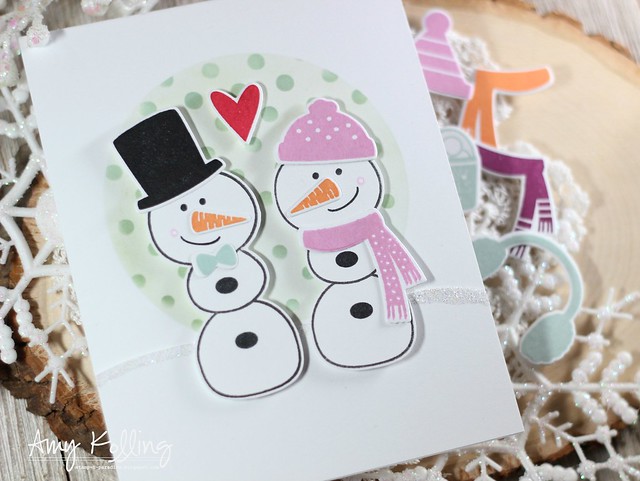
My background was created by masking off a circle panel and ink blending the new Hot Tub ink.  Once done, the GeoTrio Stencil was used to make the "snow" in the background using the same Hot Tub ink!  I pieced together my snowman and snowwoman with the accessories.  I added them with foam adhesive along with a heart stamped with Rockin' Red ink.

Love 2

Remember!  
SugarPea Designs / Mix It Up Challenge #60


Pie

Hello!

  Fall is in full swing (and a bit of winter here in Kansas as we've had SNOW!) here so this month's SugarPea Designs Mix It Up Challenge is perfect!  The smell of warm pumpkin pie.....yum!


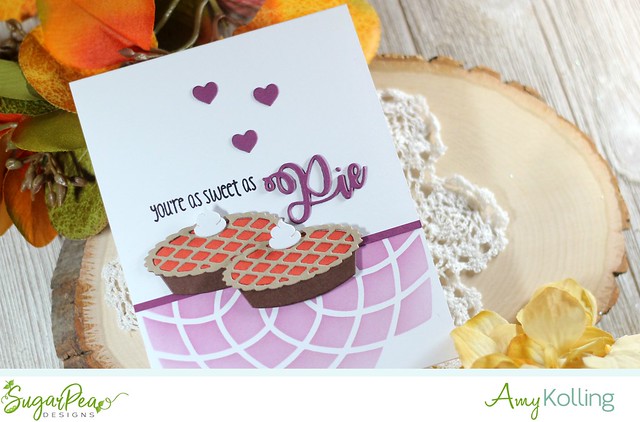
My take on this month's challenge uses the colors, inspiration photo, and a bit of the sketch!  
I started by ink blending Seedless Preserves Distress Ink over the Spirograph Mandal Stencil but masking off the top portion.  The look I was going for was of a tablecloth hanging over the edge of the table with the warm pies!  I pieced together the Cutie Pie SugarCut twice and added some whipped topping!  I stamped my sentiment from Sweet As Pie and added a few coordinating heart die cuts.  

pie2 


Tuesday, October 29, 2019

Avery Elle / Snow Fun


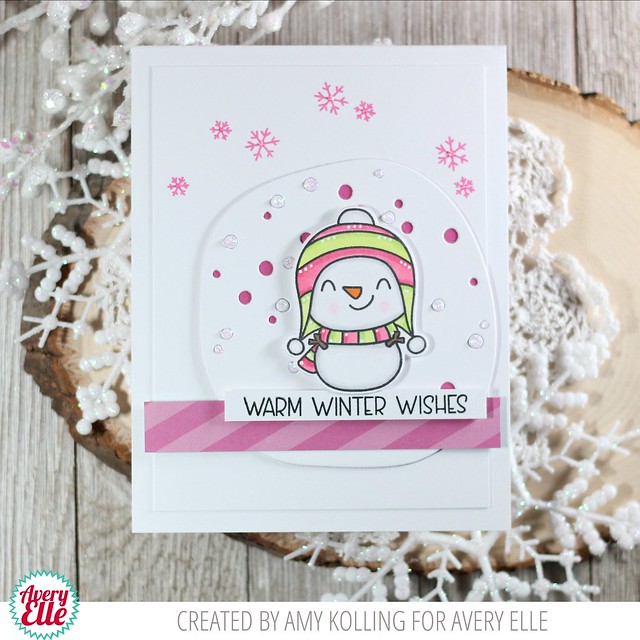
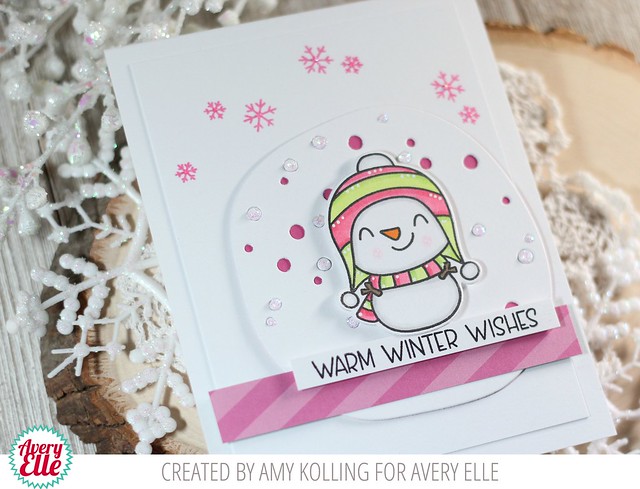
Hello!  I'm here with an adorable snowman from the Snow Fun stamp set from Avery Elle.  Snowmen are one of my weaknesses.  This set FIVE snowmen and a few birds.  This set can be used for so many occasions throughout the holidays!

Snow Fun

I went retro with my snowman color.....pink and green!  I started with the Snow Scene Elle-ments die cut with white cardstock and then a layer of pink cardstock behind.  Doesn't everyone want to see pink snowflakes?  

To add a bit more color, I adhered a strip of striped paper from The Happy Collection Paper Pad.  I adhered my colored and die cut snowman with foam adhesive over a adhesive backed sentiment strip.  As a finishing touch, I added Crystal Stickles to all the snowflakes!

Snow Fun2 

Supplies:
The Happy Collection Paper Pad


Thanks for sharing a part of your day!  

Amy


Monday, October 28, 2019

Hello Bluebird / Holiday Release Day 4


The Hello Bluebird Holiday release will be available today at 7pm MST!!  Don't miss it!  

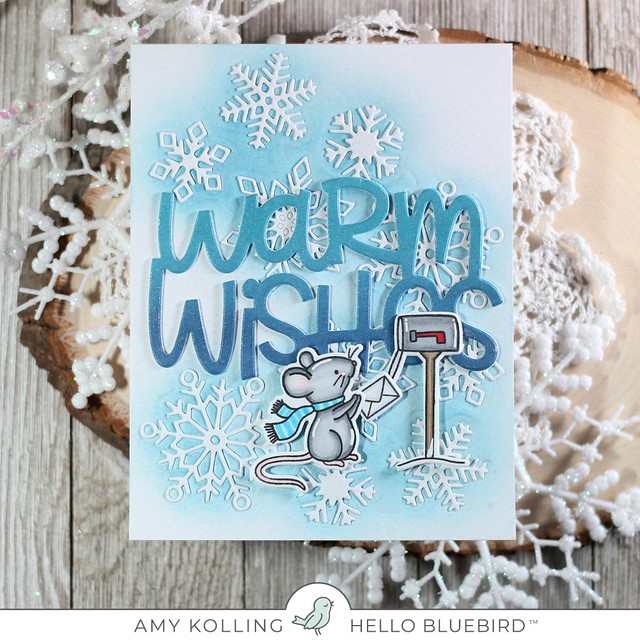
Today's sneak includes Merry Mice and the Warm Wishes Die.

Merry Mice 

I started this card with impressing the Frosty Flakes Die twice into a panel of white cardstock.  Using Tumbled Glass Distress Ink and a blending brush, the color was blended over the impressed images.  Once done, snowflakes were die cut and adhered over the top leaving the blue shading.

After ink blending Broken China and Faded Jeans onto a panel of cardstock, this panel was die cut with the Warm Wishes Die.  Love the ombre look!  After adhering the Warm Wishes sentiment (that was double layered), the whole panel was spritzed with Shimmer Spritz.  It looks fabulous in real life!  Then these adorable images from Merry Mice were added with foam adhesive.

Merry Mice2


Thanks for sharing a part of your Monday here with me!

Sunday, October 27, 2019

Hello Bluebird / Holiday Release Day 3


The Hello Bluebird Holiday release is almost here with only one more day!!  

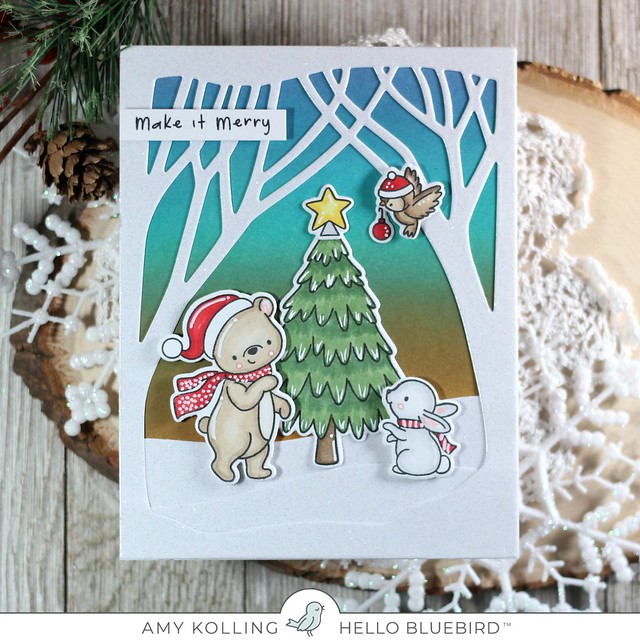
Today we are sharing projects with O Christmas Tree.

O Christmas Tree


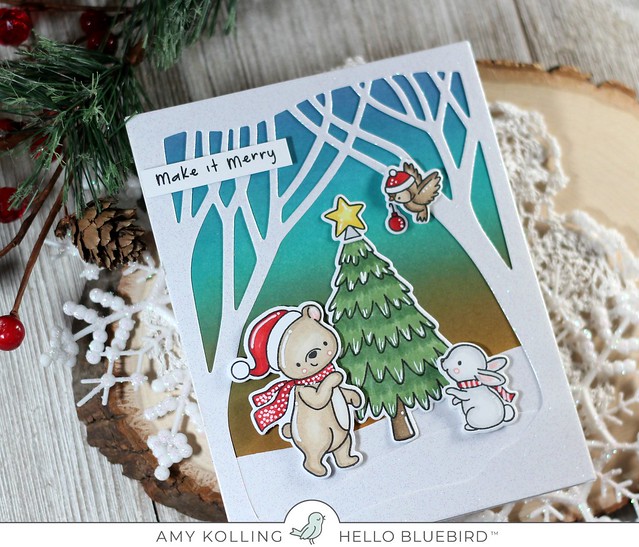
The Winter Woods Overlay is perfect for snowy scenes with a Christmas tree!  I die cut the overlay out of white glitter cardstock.  This was layered over a panel of blended Distress Inks:  Faded Jeans, Peacock Feathers, Frayed Burlap, and Spiced Marmalade.  I added the Copic colored critters from O Christmas Tree with foam adhesive.  To finish, I added white detail with a white pigment marker.

O Christmas Tree2


Remember to join me for one last day tomorrow!

Saturday, October 26, 2019

Hello Bluebird / Holiday Release Day 2

The Hello Bluebird Holiday release is in full swing with another day of adorable sneak peeks!  

Today I am featuring Family Photo along with Bold Holidays.

Family Photo

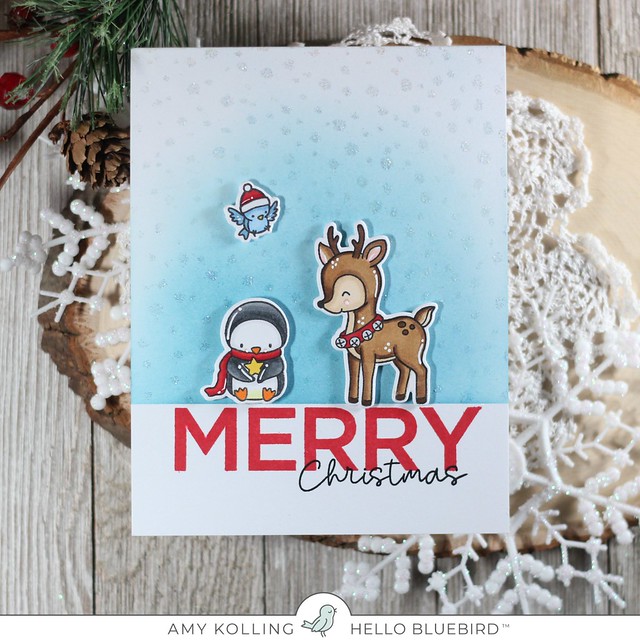
I started by creating my background and masking off the bottom third so that Broken China Distress Ink could be blended in as the snowy sky.  Using the Falling Snow Background stamp, it was inked up in Versamark and heat embossed with Holographic embossing powder.  It's so glittery!

I wanted the sentiment to be bold so I went with stamping 'MERRY' in red ink and overstamping 'Christmas' in bold black ink just a bit.  The images were Copic colored and added with foam adhesive.  Done!

Family Photo2

Remember to join me again tomorrow for Day 3 of the Hello Bluebird Holiday Release!

Friday, October 25, 2019

Hello Bluebird / Holiday Release Day 1


Hello!  If you are a Hello Bluebird fan, today's post will get you in the holiday spirit!  The Holiday Hello Bluebird release is right around the corner and it's adorable.  

Cocoa Party

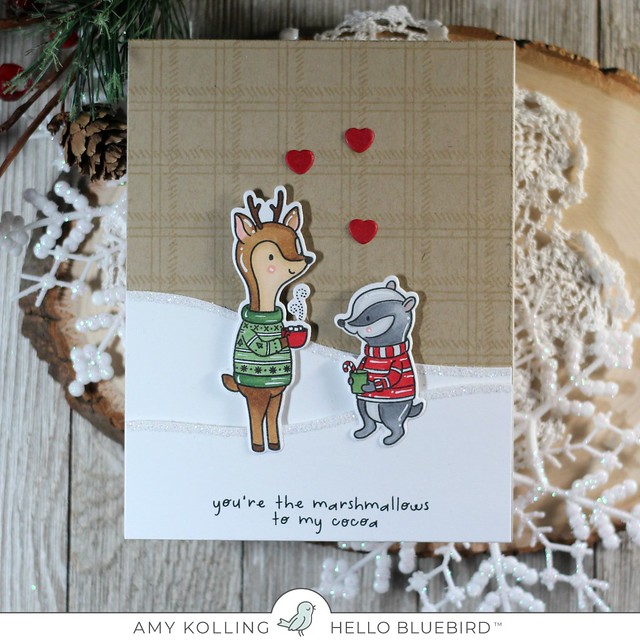
While I love to color, I also love simple, cute scene cards.  Cocoa Party has lots of critters to create a cocoa party and sentiments to send holiday greetings.  For my card, I started out with stamping the Handmade Plaid background with a brown ink onto kraft cardstock.  I appreciate the soft, brown background for my critters.

I added my Copic colored critters with foam adhesive to the background and a few die cut hills of snow using the new Snow Sky Scene background die.  A few die cut hearts finish off the sentiment perfectly.

Cocoa Party2 


Remember to join me again tomorrow for Day 2 of the Hello Bluebird Holiday Release!

Avery Elle / Alpine Christmas


Alpine Christmas

Hello!  I am sharing a classic holiday card to celebrate Christmas using Alpine Christmas from Avery Elle.

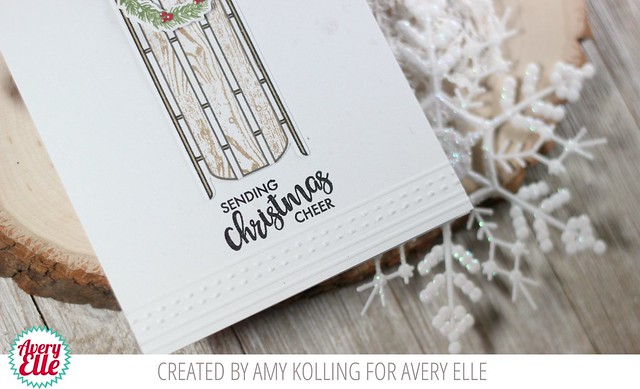
I am a big fan of sleds for decor at the holidays.  I love old rusty and vintage sleds.  I started with stamping the sled outline with black ink and then using the woodgrain stamps, stamping the woodgrain with Kraft Pigment Ink.  To round out my sled, I added a few Copic touches.   

Alpine Christmas2
To embellish the sled is the perfect little bow and wreath.  The wreath was stamped with Jungle Pigment Ink.  I added in red berries and a foam adhered bow.

To keep this very classy, I added some simple scoring details with a stylus and a paper piercer.  The sky's the limit when it comes to details like these!  

Alpine Christmas3


Supplies:
Alpine Christmas
Alpine Christmas Elle-ments
Jungle Pigment Ink
Kraft Pigment Ink

Thursday, October 24, 2019

SugarPea Designs / Grateful


Hello!  I am here today with a fall inspired card since the season of Fall has arrived here in Kansas.  I must admit, fall is not my favorite but the trees and leaves are amazing!  I couldn't let this time pass without capturing the colors!


A background of Peacock Feathers, Spiced Marmalade, and Fossilized Amber Distress Inks were blended onto a white panel.  This does not need to be pretty or well blended!  The Leaf Cover Panel, done here in kraft cardstock, was added over the top and makes those colors really stand out.

A simple die cut layered sentiment 'Grateful' was added in the same Peacock Feathers Distress Ink and layered over a white banner and a supporting sentiment from the Grateful stamp set.  As a finishing touch, a few sparkling clear confetti were added.


Sunday, October 20, 2019

Crafty Friends Blog Hop featuring Ellen Hutson

Ellen Hutson2 

Welcome!  
It's time for the Crafty Friends Blog Hop!  We’re a group of amazing stampers that share similar paths…and we want to share our crafty projects with you!    We’ll be hopping each month featuring a specific company or brand…and this month’s favorite is Ellen Hutson!  


The Essentials Line by Ellen Hutson has a wide range of stamps and dies.  I have to admit that I have had this set since it released and just now inked it up.  So glad that I did!  It's so adorable!   Check below for a code to use on the Essentials Line by Ellen Hutson for TWO days only--October 21 and October 22.

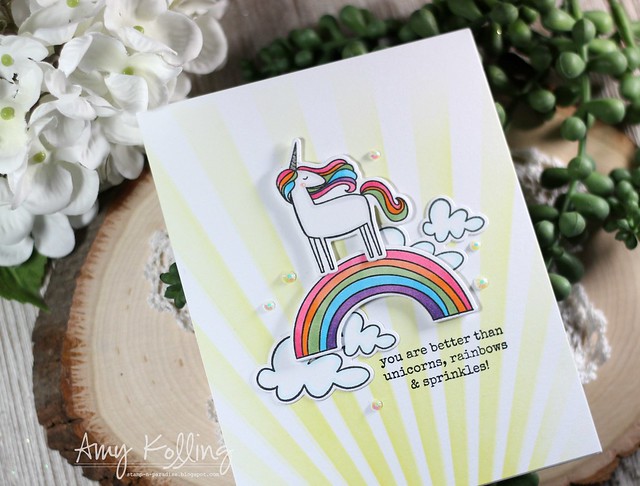
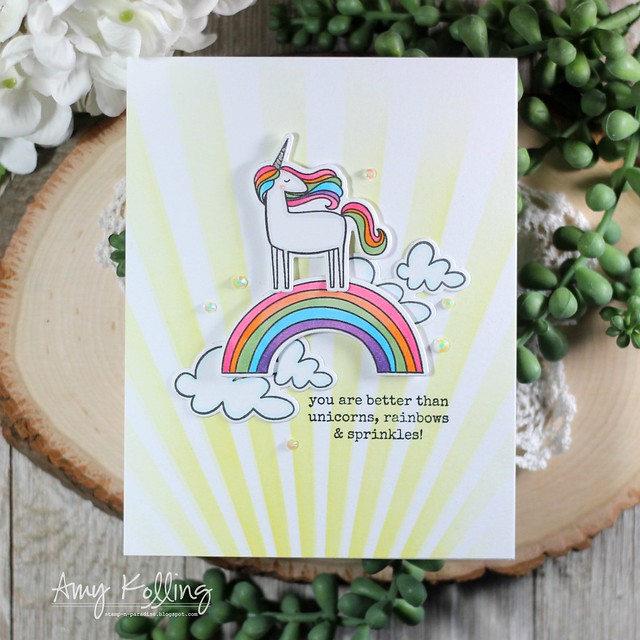
Using a few images from Unicorns 'N Rainbows by Julie Ebersole, I created this cute little scene.  Add in a stenciled background to ground the images and you are done!

Ellen Hutson 

Supplies:


Check out this list of fabulous designers in this hop!


Monday, October 14, 2019

Reverse Confetti / Baby Congratulations

Hello Reverse Confetti Fans!  Amy Kolling here today with a non-holiday project. 


 Cards for special events like a new baby are not something I keep on hand and often are made quick when I need one.  I thought I would go through my stamps and make one!  


I started with the background.  I ink blended a panel of white cardstock with Broken China Distress Ink and die cut using the Bubbles Confetti Cuts.  Now while I liked this on just a white notecard, I thought it needed "something".  In comes the amazing stitched cover panel, Diagonal Stitches, for that extra texture the background was needing!


I added some Copic colored images from All About Ewe with foam adhesive to the bottom of the panel.  A few extras like the clouds and a fun glittery sun were added from Rainy Day Fun.  For the sentiment, a simple strip saying "Congratulations" from Word Up, was added with foam adhesive.  


Related Posts with Thumbnails