Wednesday, November 25, 2020

SugarPea Designs / Mix It Up Challenge #73

Cocoa and Friends


There is still time for the Mix It Up Challenge over at SugarPea Designs.  
Here's the inspiration photo and sketch.  


I used a bit of both for my card that uses one of my favorite sets.....Mugs & Kisses.  

Cocoa and Friends2


In shades of brown, I used the Card Builder wavy die for my bottom "waves".    The wave gave a perfect place to stamp my sentiment.......one perk to clear stamps!

And seriously, how cute are these images?  

Cocoa and Friends3


Mugs & Kisses
Mugs & Kisses SugarCut
Card Builder Die
Falling Snow Stencil


Monday, November 23, 2020

Reverse Confetti / JOY

Wanted to spread a bit of JOY around for the upcoming holidays!
One of my favorite sets is the Background Builder.  I have paired it with the Wreath of Joy Confetti Cuts for a graphic look.


The solid circle from Background Builder was stamped repeatedly and overlapping each other over a trimmed white panel using Piggy Bank, Magenta, Iced Aqua, and Lagoon Reverse Confetti Inks.  This panel was added to a white notecard that was scored at 1/8" around the perimeter.


Using the Wreath of Joy Confetti Cuts, the leaves were die cut from Piggy Bank cardstock as well as the letters 'J' and 'Y'.  All the die cut elements were adhered with liquid glue.  For dimension, I layered three JOY Confetti Cuts together.  To finish, mini clear gems were added to the center of the wreath and then the whole card was spritzed with Clear Shimmer Spray for a snowy look.


Saturday, November 21, 2020

Reverse Confetti / Thankful for you Sale starts today!!


Reverse Confetti starts their annual Thankful for You Sale today!
25% off your entire order!!  These savings are automatically applied to orders placed from November 21-29.  I would love for you to use my affiliate link below to do some shopping!


I have a **NEW** project here to share with you but also some of my recent favorites (listed below)!

Thank You

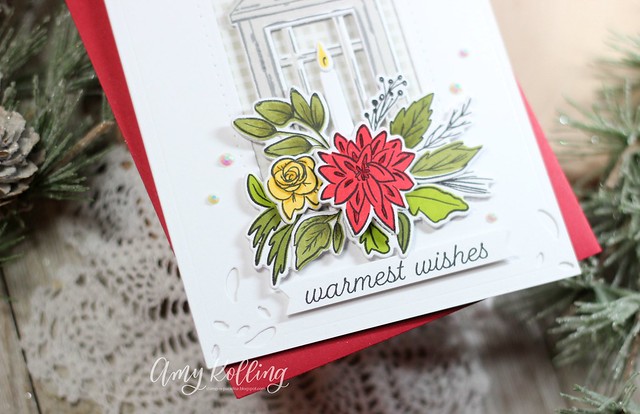
It's no secret I prefer spring/summer vibes.  So I channeled this for a thank you card.
I used Sketched Florals and paired it with the sentiment from Thank You.  I love how both these sets look 'sketchy'.  I used fun Reverse Confetti Ink colors in Piggy Bank, Buttercup, Lime Green, Baby Blue, Magenta, and Grape Soda.  For some dimension, the sentiment strip was adhered with foam adhesive to leave space to tuck the florals in behind.  The focal panel was adhered to a 1/4" scored notecard around the perimeter.

Thank You2

*************************************************

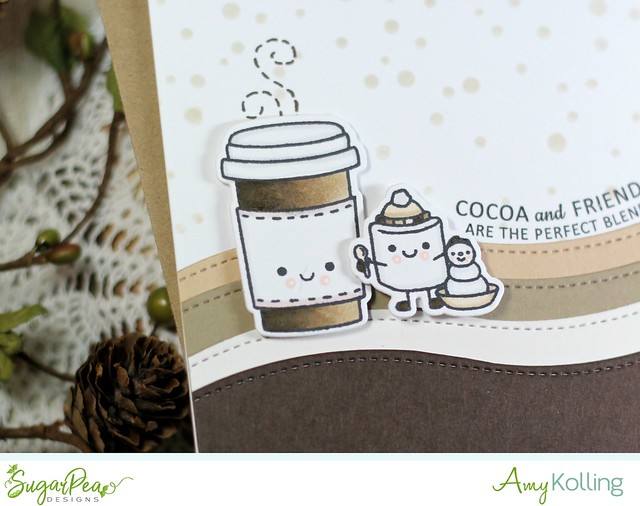
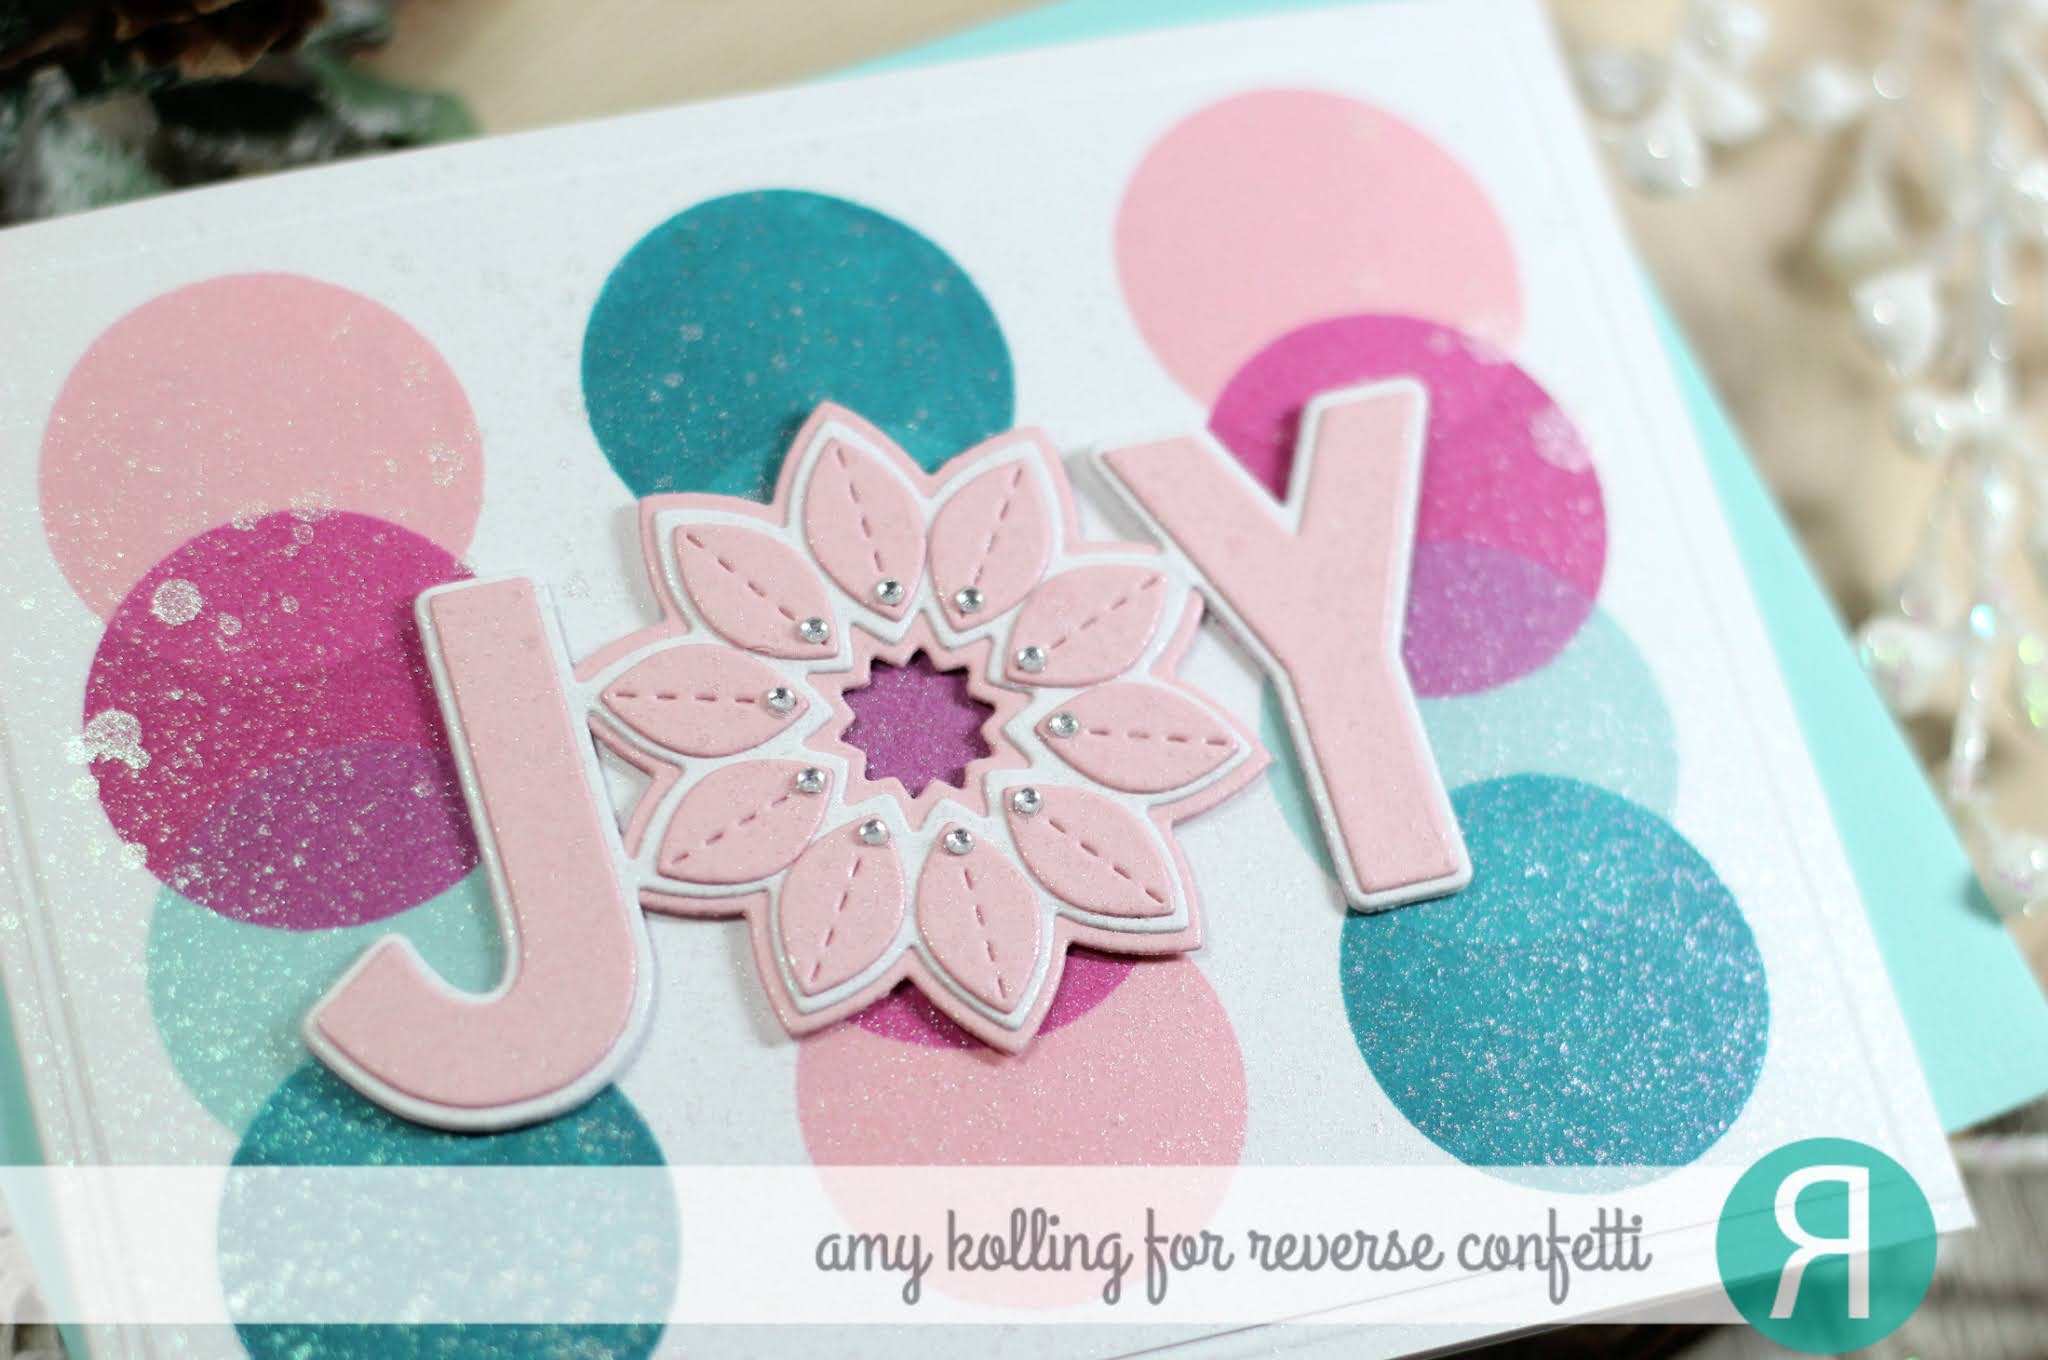
A few of my recent favorite cards--

Card #1  (blog post HERE)
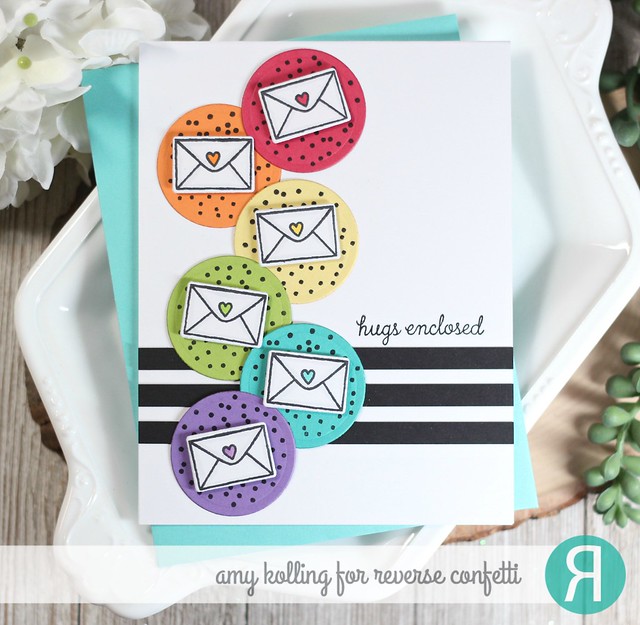
This card is one that is definitely relevant here in 2020.  We all needs HUGS!   So send some written hugs with a card like this one!  This one virtually requires no coloring and very quick stamping.  You can even make this simpler by pulling out a circle punch for those circles!  Come on, I know you all have a circle punch from way back, right?

Hugs enclosed


Supplies:
Snail Mail
Snail Mail Confetti Cuts
Background Builder
Reverse Confetti Cardstock

*************************************************

Card #2 (blog post HERE)
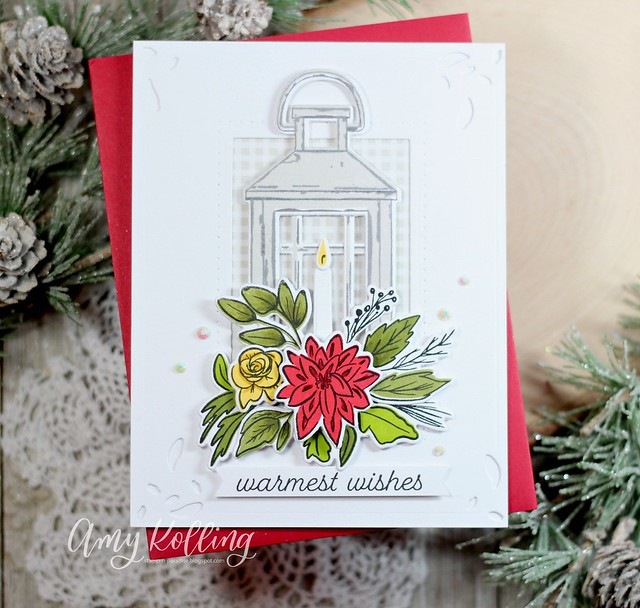
I don't know one single person that wouldn't want to receive a 'hello' card in the mail!  I know they truly brighten my day when I find one in my mail!  This card uses one of my favorite techniques......using the back of the stamp to stamp the solid image like I've done here.  Again, so simple and you can choose any color scheme you want!  Just another way to say.....Hi. Hey. Hello.  


Fabulous Friend


Don't forget to click on my link HERE or above to shop for any Reverse Confetti goodies during this sale!  (affiliate link is used)


Saturday, November 14, 2020

Ink to Paper / November Release Countdown Day 4

Abundant Blooms

Welcome to Day 4 of this month's Ink to Paper release.
  Today we have a fabulous trendy set called Vintage Lantern.  I am all about vintage in my decor so I love this gorgeous set!

You can find all of today's new product information on the the Ink To Paper Blog and just remember the New Release will be available on the 15th at 10:00 PM EST. 


Seriously, this release was made just for me!  Florals, vintage, and patina......perfect.  Old pitchers with florals just gives me all the warm fuzzies.  This set is Abundant Blooms.  I love the detail stamp for the pitcher making it appear vintage!

Abundant Blooms2

Friday, November 13, 2020

Ink to Paper / November Release Countdown Day 3

Vintage Lantern

Welcome to Day 3 of this month's Ink to Paper release.
  Today we have a fabulous trendy set called Vintage Lantern.  I am all about vintage in my decor so I love this gorgeous set!

You can find all of today's new product information on the the Ink To Paper Blog and just remember the New Release will be available on the 15th at 10:00 PM EST. 


The background was made using the Border Bling: Believe Dies done in white cutting out the center with a rectangel die and layering some pattern paper behind the opening.  
I layered my stamped lantern onto the cut out area with foam adhesive,  I love the dimension the lantern has!  

Vintage Lantern3

This bouquet of florals could literally be stamped in any color but I went for more of a fall/holiday palette.  
The bouquet was added with foam adhesive and some white gems for some shine.

Vintage Lantern2

Thursday, November 12, 2020

Ink to Paper / November Release Countdown Day 2


Hello!  
I am so excited to be back with this month's Ink to Paper release.
  You will not be disappointed in this month's release!  Make sure to join me all month long!

You can find all of today's new product information on the the Ink To Paper Blog and just remember the New Release will be available on the 15th at 10:00 PM EST. 

Brighter Days

Brighter Days is a must have set for sending out a quick and simple card to cheer someone up.  I've paired the floral from this set wtih the new beautiful Ornate Cover Plate.  I did a white on white background to really make my floral stand out.  After stamping, I added Copic details to the leaves and flowers.  To finish, I added the sentiment panel and my floral with foam adhesive.  

Brighter Days2


Tuesday, November 10, 2020

MFT & Friends November Release

Pandas at Play

I'm joining the fun with the MFT November release and the rest of the Design Team!  


I could not resist the adorable Pandas at Play.  You can create endless scenes with these cute bears.

I created a cool winter sky by ink blending Dusty Concord Distress Ink over the Mini Cloud Edges Stencil.  I used dimension on the upper and lower panels to create depth for my clouds and background.  Images were Copic colored and die cut using the coordinating dies.  

Pandas at Play2


Make sure to check out the MFT Blog for details on the release!


Reverse Confetti / 25 Days of Christmas Tags with Tracey McNeely


Hello!  
I am here to help celebrate the 25 Days of Christmas Tags with Tracey McNeely.  
This is the 10th annual Christmas Tags event!  Make sure to visit Tracey's blog for details but today is sponsored by Reverse Confetti!


I've pulled out my favorite holiday set Holiday Bough.  This set lends itself to gorgeous blooms along with the large swag.  To create each of my tags, I've used the Circle Rays Duo Confetti Cuts along with the ornament hanger die from Ornament Star Confetti Cuts.  Before diecutting the ornament, Broken China Distress Ink was blended over a piece of white note card.  Once done, the hangers were die cut from Rose Cardstock and added with liquid glue.  


The large and small images from Holiday Bough were Copic colored, die cut, and added with foam adhesive to my ornaments.  Sentiment strips cut at an angle with sentiments from Joyful Holiday Wishes.  Some white gems and red baker's twine finish these traditional tags.


Sunday, November 8, 2020

Spellbinders / Season's Greetings

Seasons Greetings

Spellbinders recently released an add-on die set during the October Club release.  
This die was highly requested to be re-released as a die set from their 2018 November Card Kit.


Season's Greetings, Deer from Spellbinders is a fun set that you can totally customize how you want to embellish your deer!

I went with some light pink and olive greens for this card to change up the holiday colors.  I love making a card using only die cuts.  All the pieces were die cut and assembled to how I wanted them adding in a bit of bling to the centers of the flowers with some Stickles.  The center panel was matted with a shiny gold cardstock to finish the card.

Seasons Greetings2


Thanks for sharing a part of your day with me!

Reverse Confetti / November Blog Hop

Home For The Holidays


Welcome to the Reverse Confetti November Blog Hop!

Make sure to check out the Reverse Confetti blog for all the details of this hop and for a full list of inspiration and information.  Let's celebrate this AMAZING release!!!


My background was made using the Stitched Burst Cover Panel and some blended Broken China Distress Ink.  I added some hand trimmed hills lined with snowy fine glitter.  The cute homes, from Home for the Holidays, were Copic colored, die cut, and added with foam adhesive for dimension.  A sentiment, from Joyful Holiday Wishes, was stamped along the bottom.


Home For The Holidays2


***********************************

Make sure to follow along the Blog Hop for even more inspiration using the newest release!


 Reverse Confetti Blog

Amy Kolling

Ali Farmer

Tricia Barber

Lisa Henke

Joan Bardee

Kathy Schweinfurth

Olga Moss

Jeanne Jachna

Deanne Kuntz

Maria Willis

Cheiron Brandon

Amy Tsuruta

Cindy Norberg


Related Posts with Thumbnails