Tuesday, April 9, 2019

Lil' Inker Designs / Sassy Girl


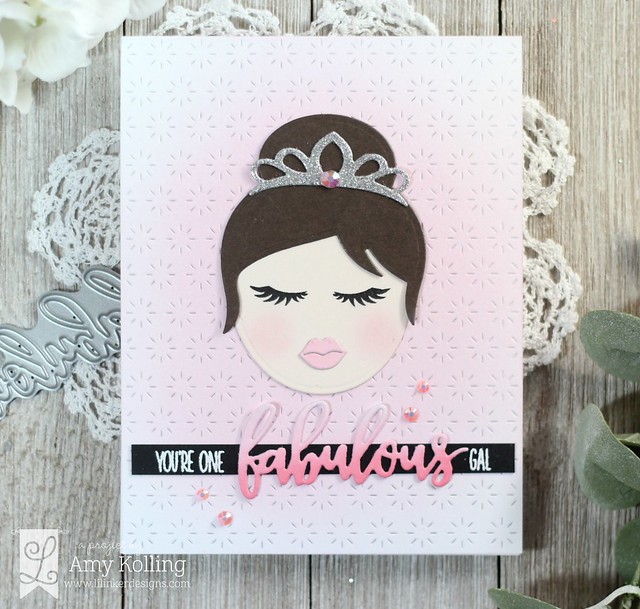
Hello!  Just sharing a card from the last Lil' Inker Designs release.  Sassy Girl stamps and Sassy Girl Dies were so fun to work with!

Sassy Girl

My card started with a Quilted Stitched So Sunny Die where I ink blended Worn Lipstick Distress Ink.  I pieced together my So Sassy Girl Die with brown hair and a glittery silver crown embellished with a gem.  To finish, a white heat embossed sentiment onto a black strip of cardstock along with an ombre ink blended "fabulous" die cut was adhered.

Sassy Girl2

Thank you so much for sharing a part of your day with me!

Monday, April 8, 2019

Reverse Confetti / April Blog Hop

Mugs Up2

Welcome to the Reverse Confetti April Blog Hop!
  Spring has finally arrived here in Kansas and I couldn't be happier!  

Make sure to check out the Reverse Confetti blog for all the details of this hop and for a full list of inspiration and information.


I wanted to use the Stitched Rays Cover Panel with a little ink blending for a sun"burst" effect.  I trimmed a cover panel down in half and using post it notes, every other ray was masked off and blended with Squeezed Lemonade Distress Ink in ombre fashion.  This panel was adhered to the top of a white notecard and 1/4' strip of black cardstock was added directly below.  This fabulous sentiment was stamped right justified in bold black ink.  For my focal point, the mug from Drink More Coffee, was Copic colored, die cut, and adhered with foam adhesive.  

Mugs Up 


Supplies:

****************************************

Make sure to visit more of the design team for inspiration using Reverse Confetti!


****************************************
I am sharing this card for the current CASology challenge for the week:  Burst.


Saturday, April 6, 2019

The Ton / Spring 2019 Release Blog Hop

Yay 

Hello!
I am so excited to help The Ton celebrate its Spring 2019 Release with 7 new designs! There are also additional promotions with free gifts. Head over to The Ton's blog for more details! 

Screen Shot 2019-03-22 at 3.02.21 PM.png

As soon as I saw City Girls Spring Smiles, I loved the rainbow options of this set!  Rainbows are one of my favorite things!  All three of my cards are clean and simple and very easy to reproduce!

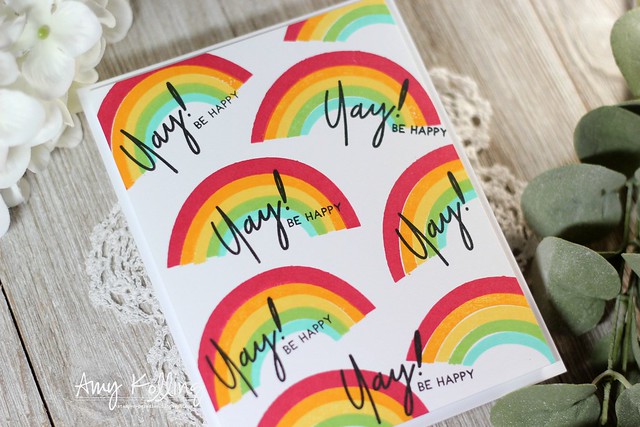
My first card uses the rainbow to stamp out a background of traditional colors with a stamped sentiment from this set along with a masked off portion of another sentiment.  The panel was trimmed down and added to a white notecard with foam adhesive.  This card could be for a birthday, celebration, or just because!

Yay2

***************************************

Hello 

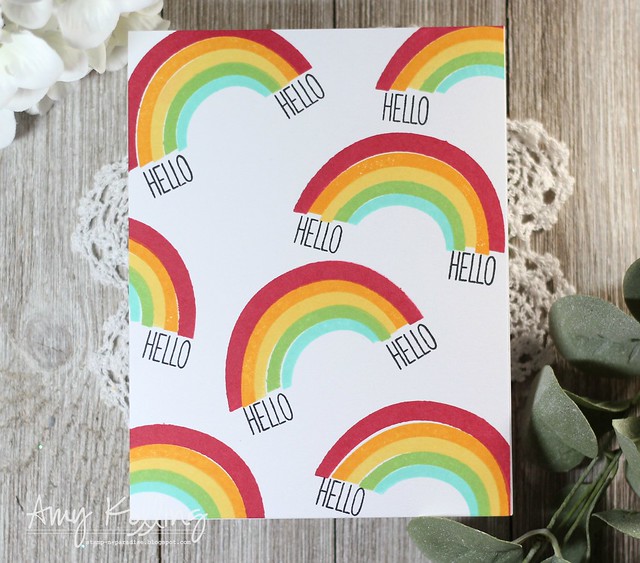
My second card uses the rainbow again in traditional colors but keeping it extremely clean and simple.  At the ends of each "bow", the sentiment 'HELLO', from Wildflower Bouquet Builder, was stamped in black ink.

Hello2

***************************************

My last card simply focuses on a single rainbow with a large 'thanks' sentiment, from Peony Notes Bundle, in bold black ink.

Thanks


***Giveaways***

Three winners will receive a stamp set of choice from the new Spring 2019 release (excluding Fantastic Feathers). To qualify, please leave a comment on each blog or youtube video. Comment period will close on 4/10 at 6pm EST. Winners will be announced on the The Ton's blog after.


Thursday, April 4, 2019

SugarPea Designs / Hello Banners

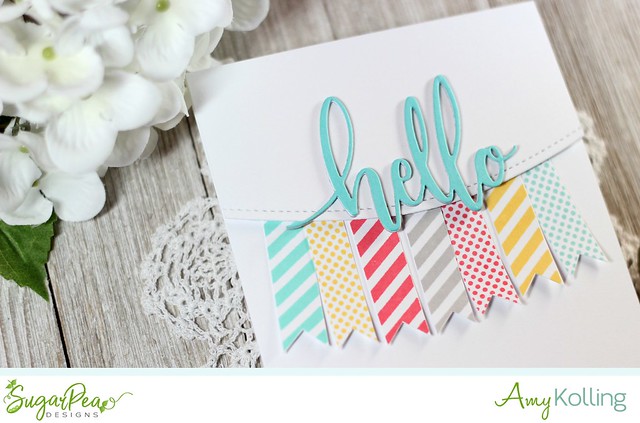
Hello!  I am here today with a simple 'Hello' card using one of the stamp sets from the last SugarPea Designs release.

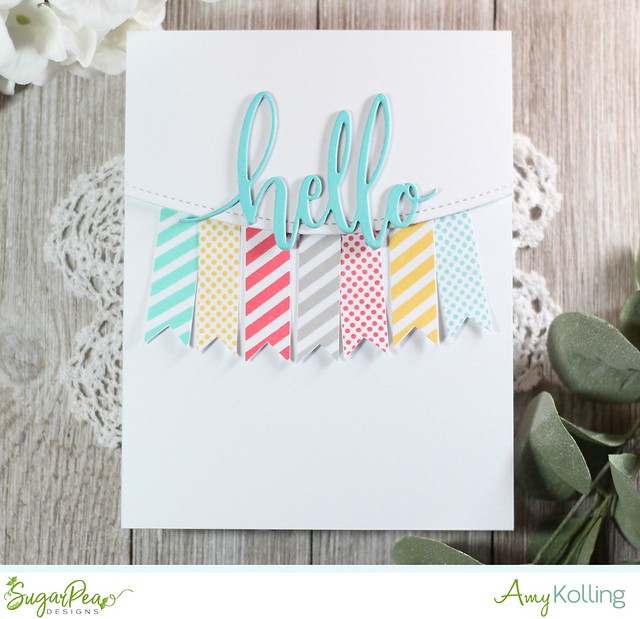
I love tags and banners.  Pair that with strips and polka dots?  Match made!  Keep Forever Tags is a fun mini set that has 4 banners, sentiments, and speech bubble.  I stamped the polka dot and striped banners in some fun colors and hand trimmed them out.  

Hello Tags

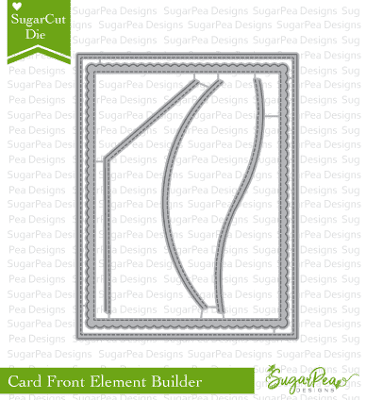
I wanted my sentiment to be front and center.  I die cut 3 'Hello' words out of teal, white, and gray cardstocks and layered them for dimension.  I added my 'Hello' to a panel that was cut with the curved die from Card Front Element Builder SugarCut.  After arranging my banners and adhering, I added my sentiment panel with foam adhesive.

Hello Tags2

Wednesday, April 3, 2019

Avery Elle / Journey


Hello!  I am sharing a fun and unique take on a birthday card!  
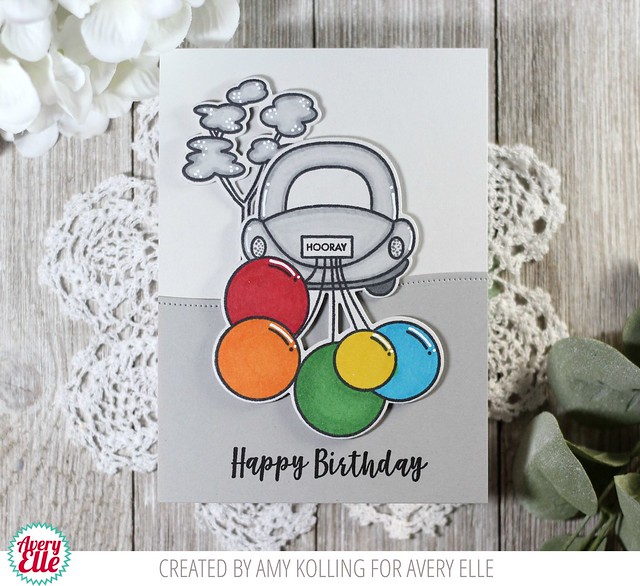
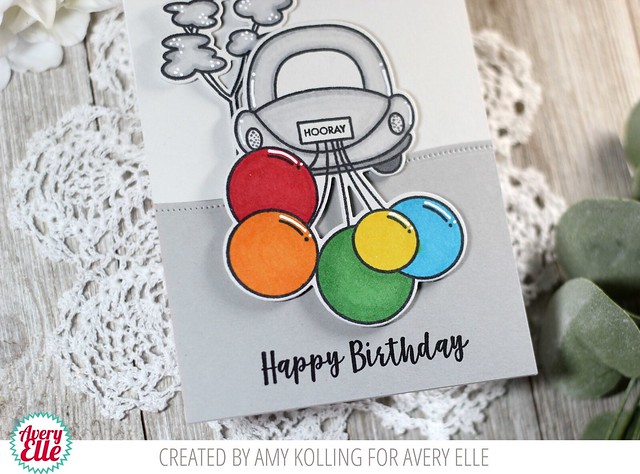
I am all about COLOR on cards but I thought I'd try something a bit different.  I decided on making my card out of all shades of GRAY....everything from the Copic coloring to the background card stock.  

Journey

I started by stamping the tree and car with balloons image from Journey onto light gray card stock and colored in with N0, N1, N2, N3, N4, N5 Copics.  I used shades of gray card stock for the background.  Now to add a pop of color, I colored the balloons in RAINBOW colors with Copics.  

I added the car and tree with foam adhesive to a 4-bar size card for something different too.  Often I get in a rut making the same size cards, that making this size was fun for a change.  After stamping the Happy Birthday sentiment at the bottom, white details were added to all the images with a white pen.

Journey2

TIP:  Don't be afraid to try something new......an all gray card or a new card size! 

Supplies:

Monday, April 1, 2019

Hero Arts / My Monthly Hero April Blog Hop / Giveaway


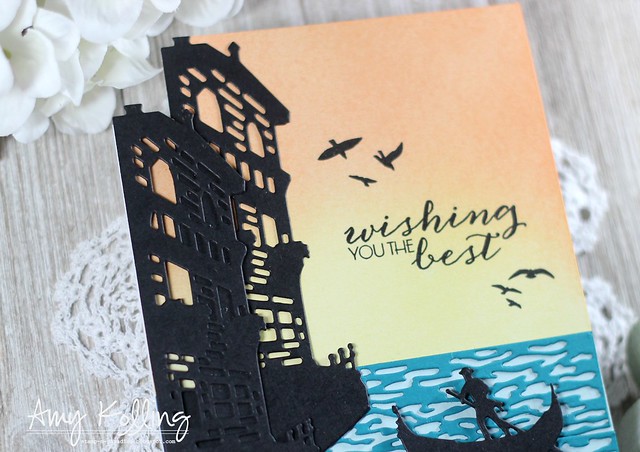
Wishing you the Best

Hello! 
Welcome to the My Monthly Hero Blog Hop!  Hero Arts is one of my favorite companies and their My Monthly Hero Kits are always fun!   This month's kit was amazing to work with and I have a few cards to share......let's get started!

This month takes us to Italy!  This is a die-focused kit and there are so many options for designs from this kit!  The kit is available for a limited time only - once it's gone, it's gone. Kits begin shipping from Hero Arts on Friday, April 5. You can now subscribe to receive the kit monthly and never miss one!  The kit value is over $70......but only costs $34.99.  Once this kit is gone, it's gone!


The Kit Includes:
4x6 clear stamp set
7 scenery Fancy Dies
14 5.5" x 8.5" sheets of Hero Hues Premium Cardstock
2 5.5" x 8.5" sheets of vellum paper
2 rolls of 1/2" foam tape
Tombow Mono Drawing Pen (black)

******************************************************

My first card uses the main kit exclusively.  I began ink blending a panel with some Distress Inks for a sunset sky.  I decided I wanted to only use the building on the left but wanted two.  So I staggered them but by doing this, the buildings at the top obviously didn't match up.  To fix this, I simply trimmed off the extra part of the card so that the top left of the card is more "shaped".  I added in my other die cut elements and stamped the sentiment and birds.

Wishing you the Best2

******************************************************

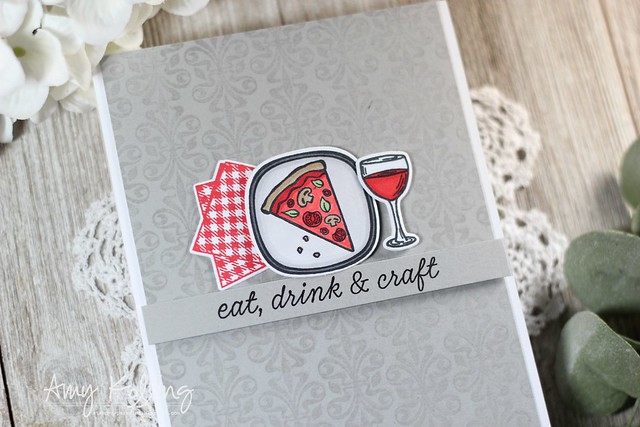
Eat Drink Craft 

My second card uses the add-on stamp set called Italian Table.  I LOVE this set!  I started this card out by stamping a tone on tone pattern using the Venetian Fleur-de-lis Bold Prints.  I stamped the napkin, pizza, and wine glass (and colored with Copics).  These were die cut with the coordinating Italian Table Frame Cuts.  My images were added with foam adhesive above a stamped sentiment strip that was also added with foam adhesive.  

Eat Drink Craft2

******************************************************

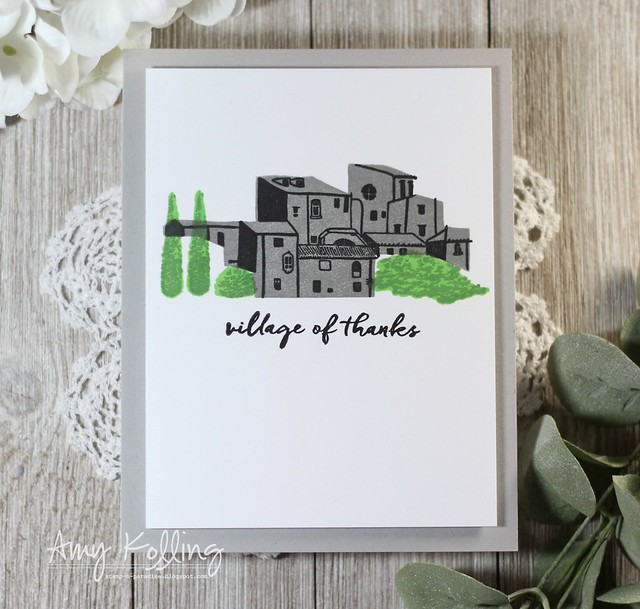
Village of Thanks

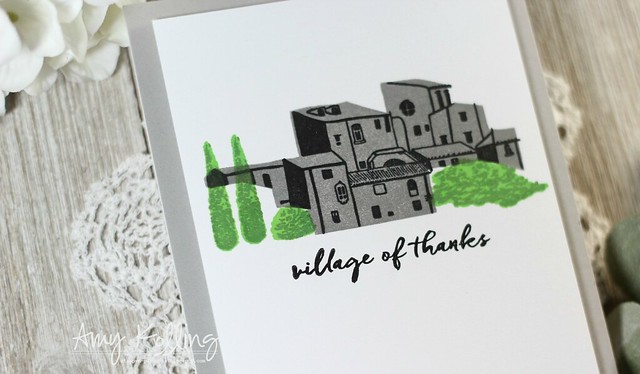
My third card is a CAS card using the layering stamps from Coloring Layering Village.  My village was stamped with various gray and green inks onto a white, trimmed panel.  This panel was adhered to a gray notecard with foam adhesive.  Easy peasy!

Village of Thanks2

******************************************************
*****************************************

**GIVEAWAY**

What's a blog hop without a giveaway?  We are giving away one kit to one blog reader - selected from the comments across all of the blogs in the hop. Giveaway closes Sunday, April 7 at 11:59pm EST, and the winner will be announced the following week on the Hero Arts Blog.  Hero Arts will reimburse if the winner already bought the kit!

**BLOG HOP**


-->

Technique Tuesday / April Release Day Blog Hop

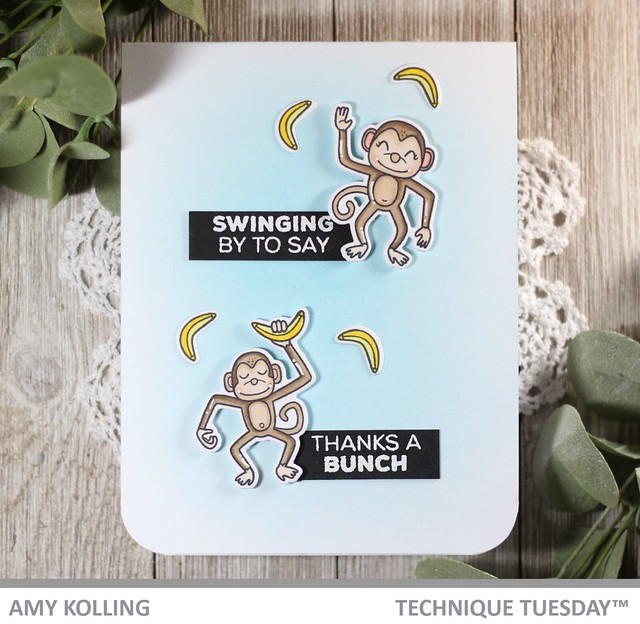
Monkey Business 

It's release day at Technique Tuesday!  
All the fun stamps and dies that have been shared over on the Technique Tuesday blog are available TODAY!  

Make sure to check out the Technique Tuesday blog for all the release details and full list of inspiration from the rest of the Design Team!  


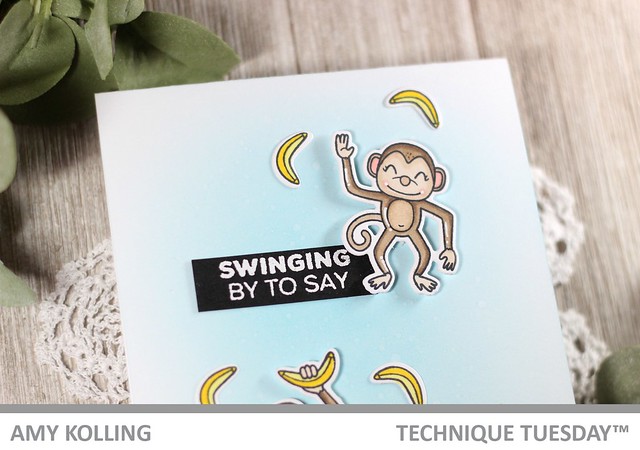
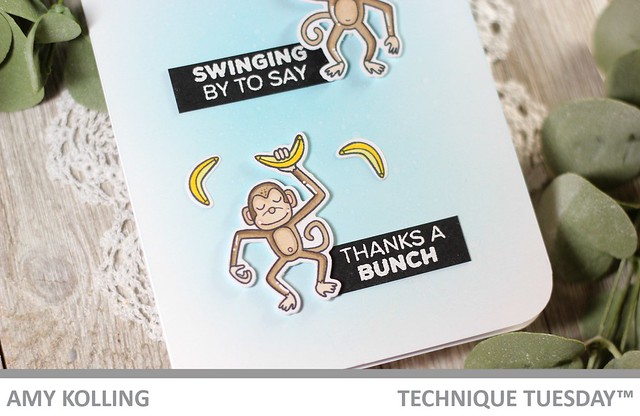
I had so much fun coloring these cute monkeys from Monkey Business.  It's the newest in the Animal House lineup from Technique Tuesday.

I ink blended Broken China Distress Ink over a white notecard with bottom edges rounded.  I added my cut images with two white heat embossed sentiments to help ground my images.  For fun, I added in extra bananas!

Monkey Business3

Monkey Business2


Join the Design Team for a blog hop featuring projects using the new release!

Technique Tuesday (that's us, you're here!)

Related Posts with Thumbnails