Friday, October 10, 2014

Hello and Happy!!


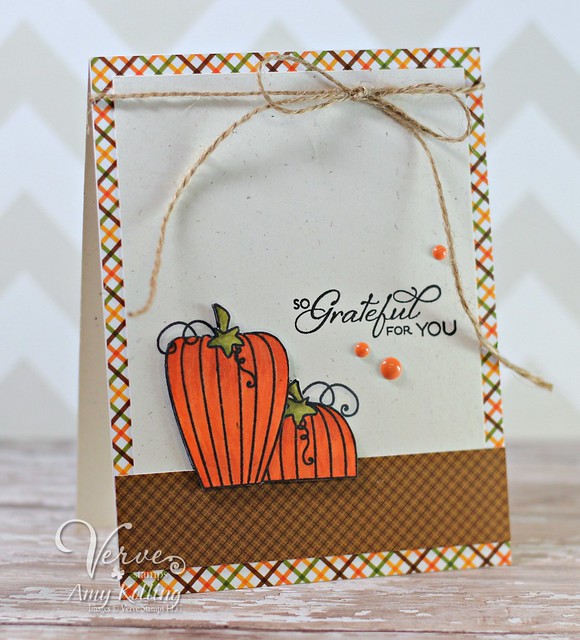
So life does get busy......I'll admit it.  This week I have TWO cards to share using Whimsy Stamps.  Some of you have already seen one of the cards because I posted it over on Instagram last week and have asked, "where is this card?  I want to PIN it!"  Well......today you will get to see that card here!!  

Speaking of Instagram......I don't think I've mentioned it here before but I LOVE Instagram!!  Seriously, some are addicted to Facebook or Twitter as social media.  Mine is Instagram.  I love pictures and seeing what friends and family are up to when they post PICTURES!  I post lots of family time pics and crafty ones too.  If you are over there, find me and send a friend request or click HERE!  

Time for a card (or two)!  

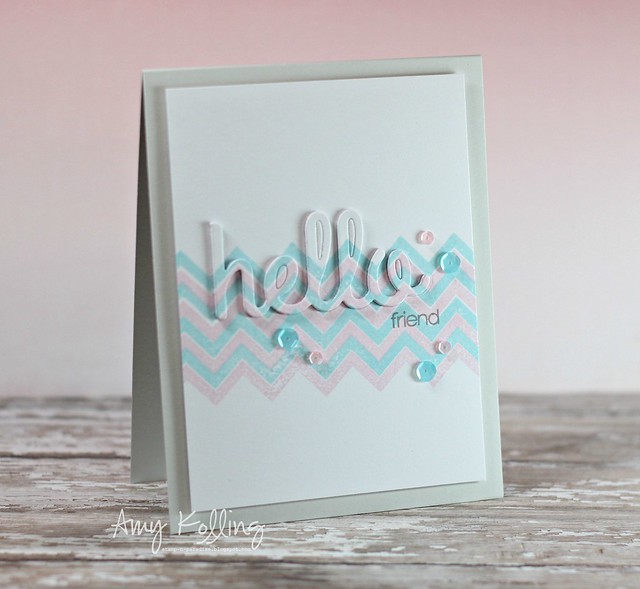
First up.....some chevrons and pastels.  I used the Chevron border stamp to stamp my background.  I then diecut the word "Hello" from that panel.  Once diecut, I was able to layer several diecut "Hello" with the one that has partial stamping.  This technique helps to give dimension to my diecut and is much easier to adhere with glue vs. foam tape!  The last detail is the gorgeous sequins from Pretty Pink Posh.  
9.10.14

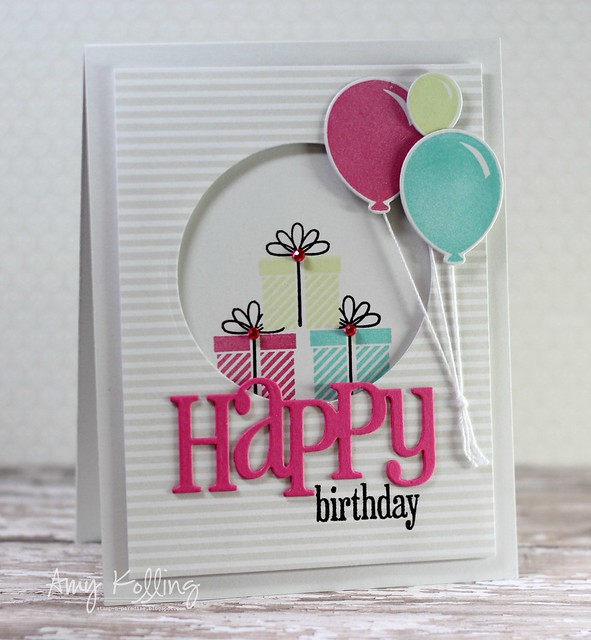
Next up......the Instagram card.  I absolutely LOVE how this turned out.....it seems a little dark but the card base is Soft Stone cardstock. This card uses several different Whimsy Stamps sets and dies.  I made these little 2 step stamping present stamps by masking them off and "stacking" them.  What about that word die......Happy.  (sigh)  Love the size, the font, the staggering of the letters.  

9.4.14 

Thanks so much for sharing a part of your day with me!

{Hello friend}
Stamps:  Sweet Sentiments, Basic Backgrounds and Borders (Whimsy Stamps)
Paper:  White (PTI)
Ink:  Island (Fresh Ink), Slate, Blush (AMuse)
Dies:  Hello word die (Whimsy Stamps)
Sequins:  Spring Mix, Pink Blush 4mm (Pretty Pink Posh)
Misc:  Foam Tape

{Happy birthday}
Stamps:  Happy Everything, Thanks a Million (Whimsy Stamps)
Paper:  Soft Stone, Raspberry Fizz (PTI)
Pattern Paper:  Soft Stone Pattern Paper (PTI)
Ink:  Onyx Black (Versafine), Fresh Inks
Dies:  Happy word die, Balloon dies (Whimsy Stamps)
Misc:  Pink rhinestones, Foam Adhesive, Crochet Thread


Thursday, October 9, 2014

Pretty Pink Posh Blog Hop!


10.9.14#2

Welcome to the Pretty Pink Posh Blog Hop showcasing the newest dies in Paulina's shop!  There's quite a list of great designers helping to show off the new product so let's get started!  You should have arrived from my friend, Leigh Penner's blog.  I have linked the entire blog hop list below if you get lost along the way!


There are 2 new products to share today......Stitched Borders 2 Dies and Stitched Tag Dies.  
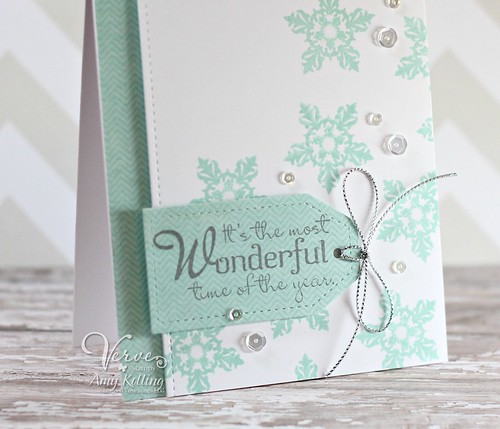
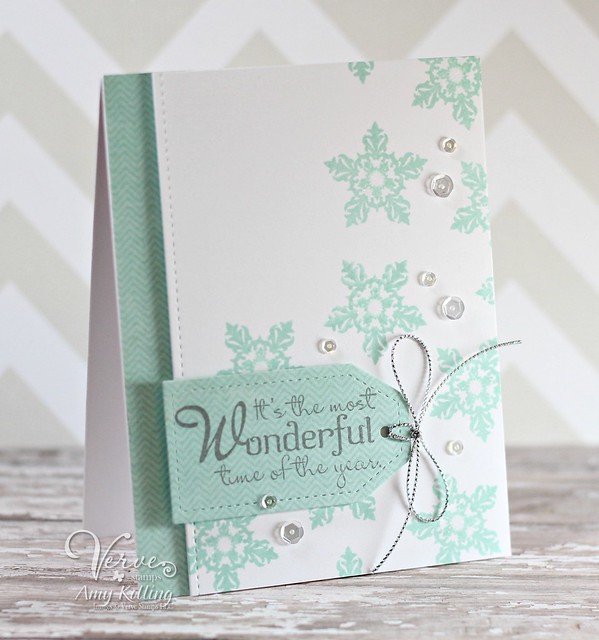
I decided to work with both new products on my first card.  I diecut a Stitched Border down a piece of white cardstock.  I just love the amount of detail this one little thing does for a card.  A wow factor for sure.  The new Stitched Tags are the perfect size for sentiments and in this case, I used it as the focal point.  Of course a PPP blog hop wouldn't be complete without those amazing Sparkling Clear Sequins from Pretty Pink Posh.  Stamp sets used:  Glad Tidings and Christmas in the Air by Verve.


10.9.14

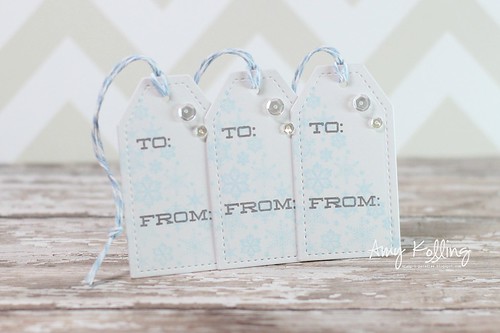
Next up, I created some quick tags using the new Stitched Tag dies and some more of those Pretty Pink Posh sequins!!  I can not wait to use these tags for the holidays!  They are the perfect size!  The stamping was done using Christmas Sparkle from Clearly Besotted stamps.

10.9.14#2


Now, for the good part.....that is if you are still following me here!  There are 2-$25 gift certificates up for grabs during the hop.  Winners will be picked randomly throughout the hop.  Comments must be left by 11:59 PDT on 10/12/14.  Make sure to check the PPP blog for the list of winners!!  Your next stop is the fabulous Jeanne Jachna!

{Wonderful time of the year}
Stamps:  Wonderful time of the year, Glad Tidings (Verve)
Paper;  White (PTI)
Pattern Paper:  MME
Ink:  Aqua Mist (PTI), Slate (AMuse)
Dies:  Stitched Borders 2 Dies, Stitched Tags (Pretty Pink Posh)
Sequins:  Pretty Pink Posh
Misc:  Foam Adhesive, Silver Cording

{To: From: Tags}
Stamps:  Christmas Sparkle (Clearly Besotted)
Paper:  White (PTI)
Ink:  Sky, Slate (AMuse)
Dies:  Stitched Tags (Pretty Pink Posh)
Sequins:  Pretty Pink Posh


Wednesday, October 8, 2014

Reverse Confetti October Blog Hop!


Well hello, REVERSE CONFETTI fans!  Today is the "mini" release day and we are showing it off with our new release blog hop.  With the fall holidays coming, Jen couldn’t wait to release some new products that have uses ALL year round......but especially for the gift giving season!  


The hop started over on the Reverse Confetti blog, and you should have made it here from Jessica Fick’s blog. It would be worth your while to start at the beginning of the hop, so you don’t miss a thing. We have tons of inspiration for you to see using all the new Reverse Confetti stamp sets and dies!

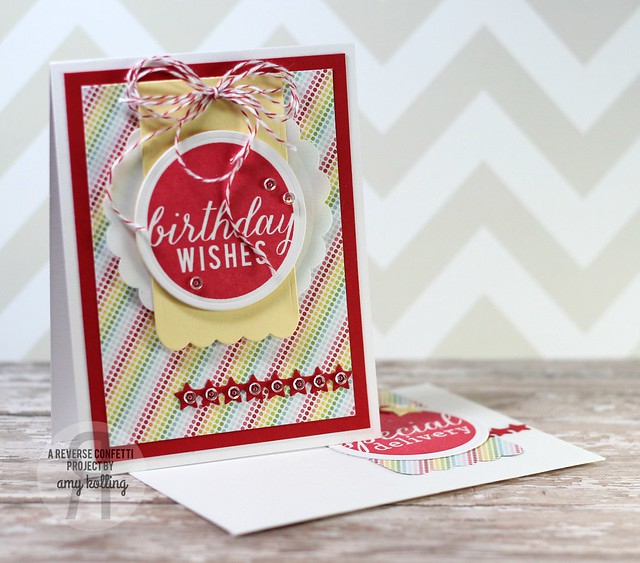
So yesterday I introduced to you the Hanging Out Die..........Today, I am sharing the new Roundabout, Roundabout Additions stamp sets, and Envie Wrap Confetti Cuts.  What's even better than these new sets?  Check out what Jen shared over on the Reverse Confetti Blog:

1. Use the ENVIE WRAP to create unique and interesting envelope, packaging and more!
2. The circle portion of this die is the same size as the large non-scalloped circle in the CIRCLES ‘N SCALLOPS die set. You can stamp the ROUNDABOUT or ROUNDABOUT ADDITIONS directly onto the ENVIE WRAP or stamp them on a circle cut from the CIRCLES ‘N SCALLOPS Confetti Cuts set and pop them up on the ENVIE WRAP.
3. The gray lines on the product graphic indicate debossing lines.  We added these for extra detail and to coordinate, again, with the CIRCLES ‘N SCALLOPS Confetti Cuts die set.
4. The smaller sentiment circles are made to fit on the reverse of the ENVIE WRAP, if you don’t use the return address lines or they also fit in the smaller, non-scalloped circle in the CIRCLES ‘N SCALLOPS Confetti Cuts die set.
Roundabout

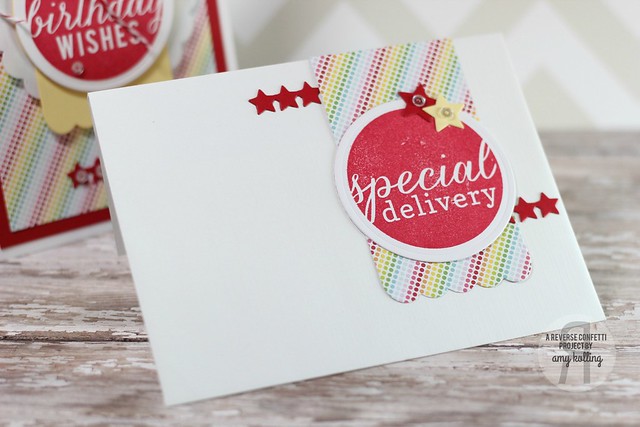
I've stamped my "birthday wishes" onto the circle diecut from Circles 'n Scallops and layered it onto a trimmed down Envie Wrap that was then layered over the larger scallop from Circles 'n Scallops.  I adhered everything to a pattern paper base and added a diecut border of stars from Oh My Stars.  To finish, some favorite clear sequins embellished the card.  Below, is the matching envelope using these same products!

Envie


I hope you’ve enjoyed hopping with us today. Be sure and hop with us on the 8th of EVERY MONTH for more REVERSE CONFETTI inspiration! Now it’s time to hop on over to Kathy Martin’s blog. If you get lost along the way, you can find the hop order and list of all the participating designers over on the Reverse Confetti blog.


Thanks for sharing a part of your day with me!

Tuesday, October 7, 2014

Curtain Call Inspiration Challenge: Smooches Reminder!


Hi everyone!  Stopping by with another card for the Curtain Call Inspiration Challenge using Paper Smooches!  You might need sunglasses to view my card!  :)

Remember:  You have until October 10th at 8:00 AM CDT to be inspired and share your project!
Current challenge details and link-up are here. 


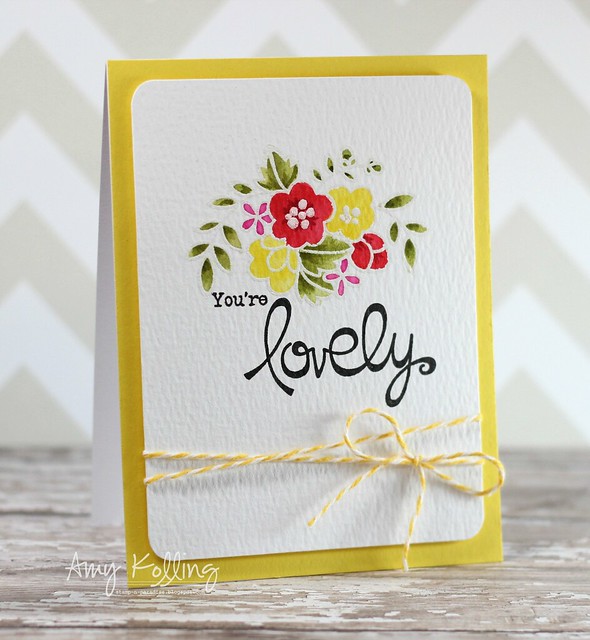
I orginally created this card for the challenge and then did a 180 and went a different direction when I saw the Paper Smooches Sparks challenge last week!  So today's card uses Blossoming Buds from Paper Smooches.  I white heat embossed the image onto Tim Holtz watercolor paper and then watercolored the image with Distress Inks.  Once dry, I added darker details and shading with some coordinating Copics!  I love how it turned out!  

10.7.14 

Guess what?  This week over at the Paper Smooches Sparks Challenge is ANYTHING GOES!!  


Well.......very busy day ahead!  I need to actually get something accomplished today!  LOL  
Have a great day!

{You're lovely}
Stamps:  Blossoming Buds (Paper Smooches)
Paper:  Yellow (misc.), Watercolor paper (Tim Holtz)
Ink:  Versamark, Onyx Black (Versafine), Distress Inks
Misc:  Corner Chomper, Twine (Timeless Twine), Foam Adhesive

Reverse Confetti Mini Release!!! (surprise!!)


Welcome to the mini release from Reverse Confetti!  There are 2 new stamp sets and 2 new Confetti Cuts that you will want to grab for all your gift giving this season!


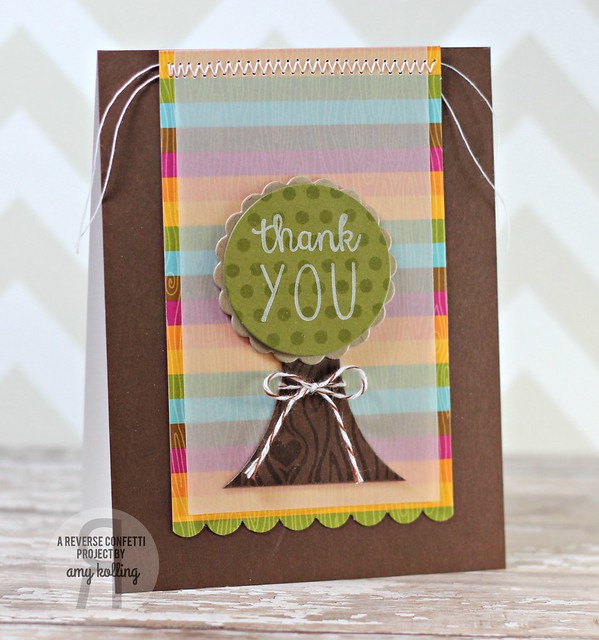
I'm sharing 2 projects using a fabulous new die called Hanging Out.  When I first got this die, I tried to guess what it was.  The only thing that kept coming up in my head was a TREE.  So for my first project.....I made a card using this die as a TREE.  (humor me.....:) )


When this die is cut out, the piece that usually is "trash" was my TREE.  I stamped my "trunk" with the woodgrain stamp from an all time favorite Forever Fall.  Using some of the dies from Circles and Scallops, I embellished my tree by stamping some polkas from Whole Lotta Dots onto a green circle and popped it up off the scallop layer.  All this was layered onto vellum to soften that amazing woodgrain paper in the background.  The sentiment is from All About You.


AmyDoorHanger

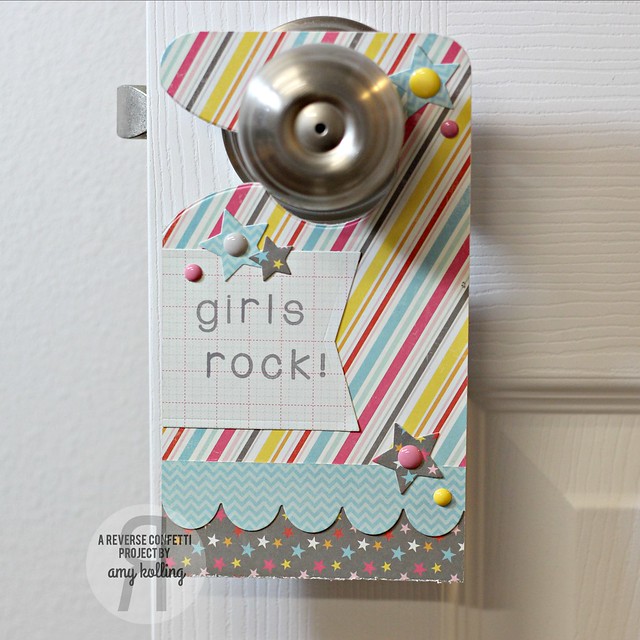
For my second project, I went for the traditional use of the die!  A door hanger!!!  This die is brilliant.....and can be used for far more than just a door hanger!  Make sure to visit the DT blogs for some awesomeness!!

I pulled out the My Girl paper collection from MME......it's been in my stash FOREVER but I think it was made for this project for my daughter.  She is notorious for having signs plastered over her door so I know she'll love this door hanger to add to the menagerie!!!  Lots of Reverse Confetti goodies on this----Tag Me Die, Oh My Stars Die, Double Edge Scallop Border Die, and Lighthearted Letters.


AmyDoorHanger2


Make sure to visit the Reverse Confetti Blog for all the details of the release!!!
Thanks for sharing a part of your day with me!

Sunday, October 5, 2014

October Verve Diva Inspiration Hop!


Welcome to Verve's October Diva Inspirations Hop. It's the 5th of the month and that means it's time for the Divas to serve up some fresh inspiration with their Verve stamps! Leave some comment love along the hop spots for a chance to win a prize, then grab some stamps and play along with our October inspiration challenge for another chance to win!

This month's challenge is entitled Fall Fancy:


The air is crisp and the colors are warm – celebrate fall with a spook-tacular creation or a thoughtful thank you using Fall as your inspiration!

I pulled out an oldie for this one.......Bountiful Harvest from Verve.  I did some paper piecing and Copic coloring.  Love these fallish papers from Doodlebug Design's "Friendly Forest".

10.5.14

Need a little inspiration? Check out the blogs linked below to see what the other Divas did with the challenge! It's sure to be a treat, and speaking of treats, we've got a prize for one lucky commenter along the hop! Check out the Verve Blogtoday for all the prize info and deadlines!

1. Julee7. Sarah
2. Amy8. Sony
3. Anya9. Maureen
4. Betty10. Laurie
5. Karen11. Marisa
6. Sankari12. Jen

Wednesday, October 1, 2014

Curtain Call Inspiration Challenge: Smooches!

10.1.14#2

It's time for a new Curtain Call Inspiration Challenge!


We have a new sponsor, Paper Smooches, for the Curtain Call Inspiration: Smooch!  A randomly selected participant in the Smooch challenge will be awarded a $25 gift certificate to the Paper Smooches store, while the LEAD of the challenge will be invited as a guest designer for a future challenge!


10.1.14

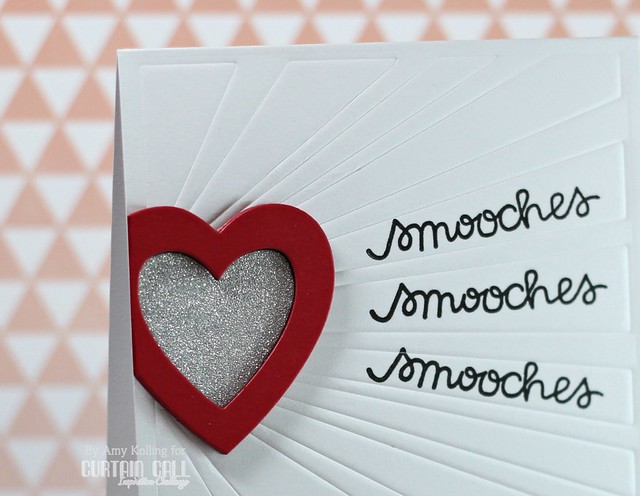
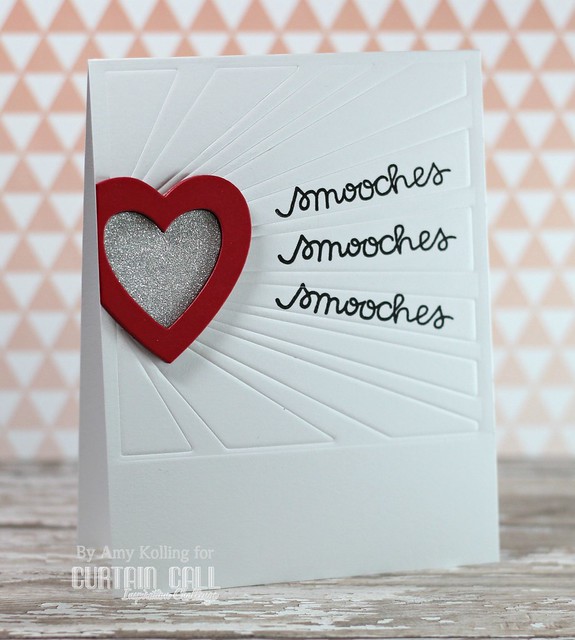
When I saw the Designer Drafts Challenge over at Paper Smooches SPARKS.......I knew I wanted to play along.  I recently was gifted this amazing die from a friend called Power Rays Die that was perfect for this sketch challenge.  Here I used it and impressed it into my cardstock.  I paired that up with the "smooches" sentiment from Chit Chat stamped onto some of the rays!  (Don't look but the heart die is NOT Paper Smooches)


Make sure you visit each of the designers' blogs for more inspiration!

Smooch Designers

{smooches}
Stamps:  Chit Chat (Paper Smooches)
Paper:  White, Pure Poppy (PTI), Glitter Paper (DVWV)
Dies:  Heart (PTI), Power Rays Die (Paper Smooches)
Ink:  Onyx Black (Versafine)
Misc:  Foam Adhesive
Related Posts with Thumbnails