Tuesday, October 8, 2019

Reverse Confetti / October Blog Hop

OctoberBlogHop2

Welcome to the Reverse Confetti October Blog Hop!
  
Make sure to check out the Reverse Confetti blog for all the details of this hop and for a full list of inspiration and information.


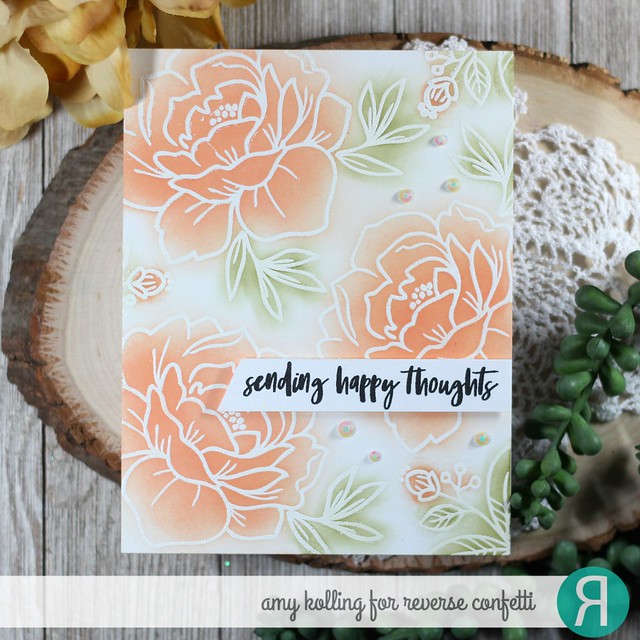
I am a summer girl.  So I had to play some more with the Peony set for this month's blog hop.  

I white heat embossed the images onto a white panel of cardstock.  Using my smaller blending brushes, I ink blended Forest Moss and Dried Marigold Distress Inks over the images making sure to leave some white space.  I added a simply sentiment strip using the Sentimenally Yours stamp set.  A few white gems were added to finish this off!

OctoberBlogHop


****************************************

Make sure to visit more of the design team for inspiration using Reverse Confetti!


Monday, October 7, 2019

Hero Arts / My Monthly Hero October Blog Hop / Giveaway


Hello! 
Welcome to the My Monthly Hero Blog Hop!  Hero Arts My Monthly Hero Kit is full of stamps and dies to create Retro Christmas projects!   I got a start on my holiday cards and have a few to share, each one different but using the same color palette and all CAS.....let's go see them!  

The main kit and add-ons are fabulous!  The kit is available for a limited time only - once it's gone, it's gone. Kits begin shipping from Hero Arts on Monday, October 14th.  You can now subscribe to receive the kit monthly and never miss one!  The kit value is over $70......but only costs $34.99.  Once this kit is gone, it's gone!


This kit includes:
6 x 8 Clear stamp set
19 Coordinating Frame Cuts
2 5.5" x 8.5" Sheets of Chrome Cardstock
6 5.5" x 8.5" Sheets of Neon Cardstock
Clay Snowflake Embellishments
Prisma Glitter 0.5 oz.

*****************************************

My first card uses the "charlie brown Christmas tree" (as I call it) from the main kit.  I colored in the ornaments in the blue, green, and pink colors I've chosen for all of my cards.  I added Prisma Glitter to the ornaments.  The sentiments were stamped in bold black ink and a thin strip of black cardstock was adhered at the bottom to ground the image.

MMH-October2019

*****************************************

My second card goes all RETRO.  Using the Pop Art Fancy Dies, I die cut them from colors of cardstock and adhered them to a background stamped in grey ink using the Mod Pattern Bold Prints stamp.  A simple Merry Christmas die cut sentiment done in black along with one lone black star.

Retro

*****************************************

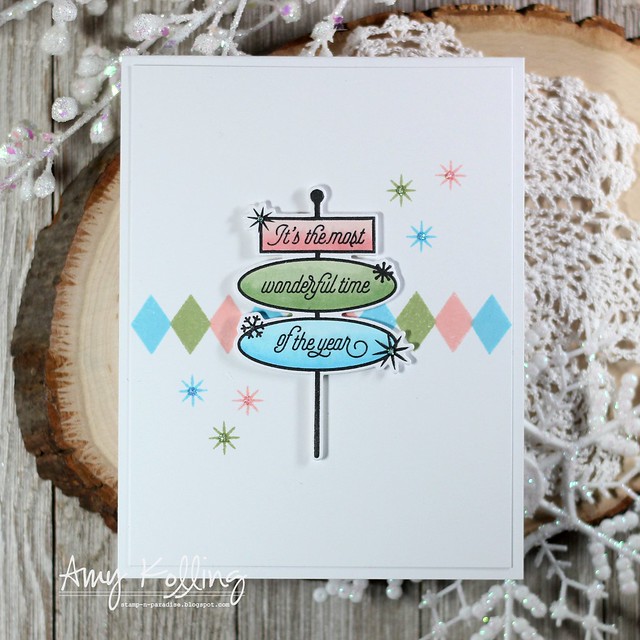
My third card uses the stamp set Retro Christmas Messages.  I stamped the diamond in blue, green, and pink inks across my white panel.  I added in one of the messages with foam adhesive and some stamped stars.  As a finishing touch, stickles glitter was added to the stars.

Wonderful Time

*****************************************

My final card uses the Santa and sleigh from Out of this World Christmas.  I can see this set used for SO many occasions and not just for the holidays.  I started by ink blending Broken China Distress Ink into the center of a white panel.  I added the world and santa with foam adhesive along with the sentiment strip.

Around the world
*****************************************
**GIVEAWAY**

What's a blog hop without a giveaway?  Hero Arts is giving away a $50 gift card to one blog reader - selected from the comments across all of the blogs in the hop. Giveaway closes Sunday, October 13th at 11:59pm Pacific, and the winner will be announced the following week on the Hero Arts Blog.  


**BLOG HOP**

Wednesday, October 2, 2019

Avery Elle / Falling For You

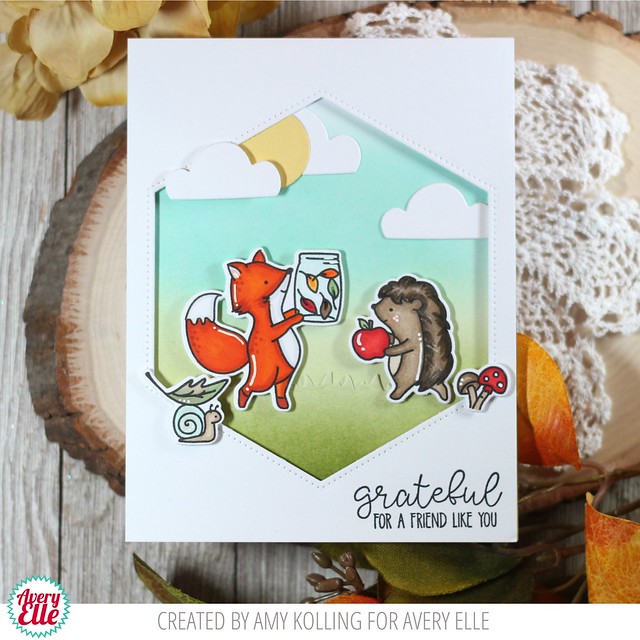
Hello!  I am sharing a card for a special friend using Falling For You.  

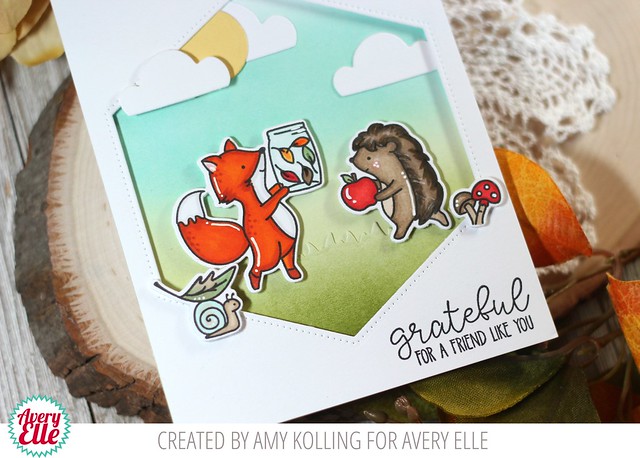
To create my scene, I first die cut a hexagon from a panel of cardstock using the Pierced Hexagon Elle-ments.  Using the opening as a guide, Peacock Feathers and Peeled Paint Distress Ink were blended onto a white notecard.  Once the ink blending was done, the hexagon frame was added with foam adhesive.

Falling For You

My critters were Copic colored with white pigment pen accents.  They were added with varying heights of foam adhesive.  Cloud die cuts were done using the Grand Photo Elle-ments.  To finish, the sentiment was stamped in the lower right corner.

Falling For You2

Supplies:

Monday, September 30, 2019

Pinkfresh Studio / Holiday Stamp & Die Release Blog Hop

Skiing By 

Hello and Welcome to the Pinkfresh Studio Holiday Stamp & Die Release!  I am excited to share a few projects with you using the new release.


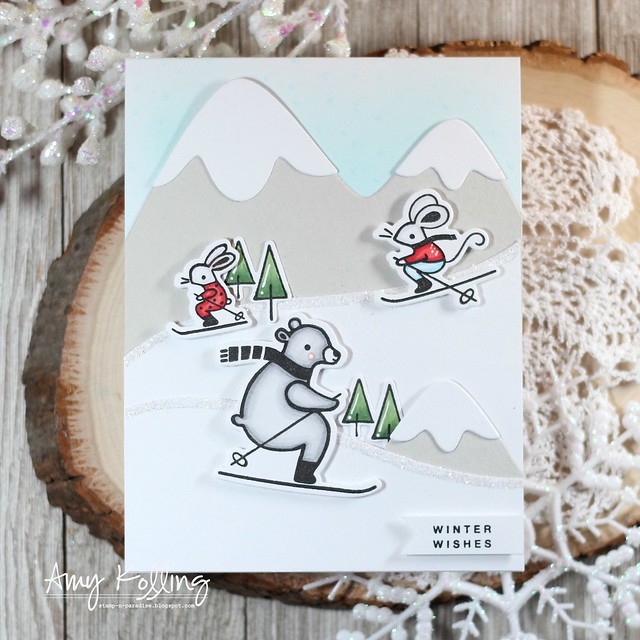
My first card uses Skiing By.......OMG......this set is so adorable!  

I created hills and mountains with the coordinating dies.  Look at those skiers!!!  Each one required very little coloring.  Each one cut out with coordinating dies.  I added glitter to the snow banks and added my images with foam adhesive.  

Skiing By2

***********************************

Cozy Christmas

My second card uses a really cool stamp called Cozy Christmas Wishes Stamp.

You can do so many things with this one but I decided to go RETRO.  Using 1/2 inch strips of red, pink, green, turquoise, and blue cardstock, I added them to a notecard with adhesive.  To make sure I stamped my image crisp, I used a Misti and embossing buddy tool.  I did stamp the image twice with Versamark to get a good impression.  After adding white embossing powder and embossing, my card was finished!

Cozy Christmas2

BLOG HOP!

Click the Inlinkz below to get started on the hop.  
You are invited to the Inlinkz link party!
Click here to enter

GIVEAWAYS!

Pinkfresh Studio will be giving away the full release on the Pinkfresh blog, and on the Pinkfresh Studio IG feed.
Also, you can win a $25 gift card on my blog post. As per usual with blog hops - the winners will be picked from the comments on October 7 and posted on the Pinkfresh Studio Giveaway Page. You must check that page & claim your prize within 2 weeks.

SHOPPING PROMO!

Pinkfresh Studio is starting a new free US shipping promo - for all orders $100+, you will receive free shipping within the United States without a code. The shipping will be discounted automatically, you just have to select the correct shipping method upon checkout.


Saturday, September 28, 2019

STAMPtember with Avery Elle

Merry Wreath2

It's time for the reveal of the STAMPtember set from Avery Elle!

Merry Wreath is the next collaboration set for STAMPtember!

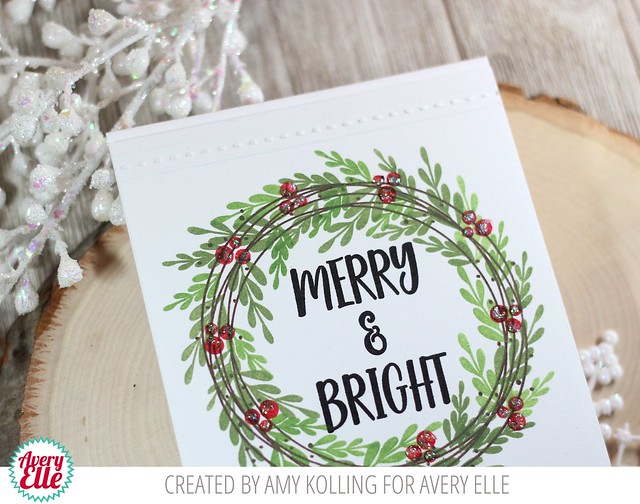
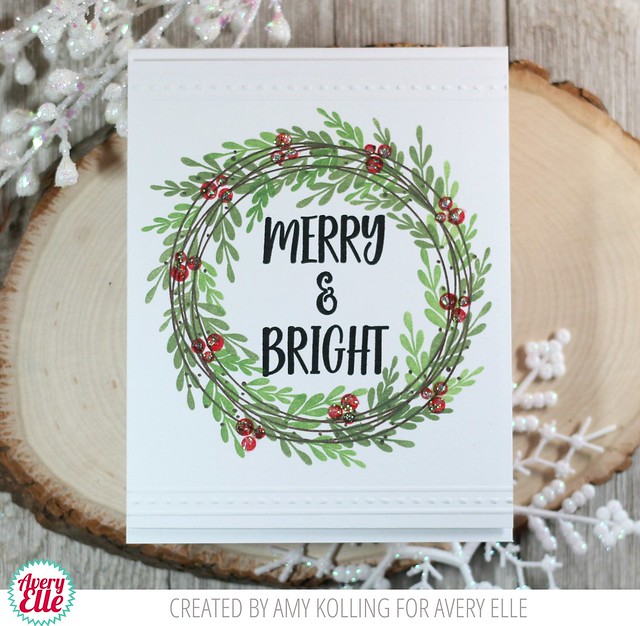
My wreath was stamped in various pigment inks from Avery Elle:  Cherry, Celery, Jungle, and Truffle.  Once my wreath was all stamped, I trimmed the panel on the top and bottom which left room for some added score details and perforations!  After stamping the sentiment in bold black ink, Crystal Stickles were added to all the berries.

Merry Wreath1


Make sure to grab your set from Simon Says Stamp before they are gone!

Friday, September 27, 2019

Wednesday, September 25, 2019

Lil' Inker Designs / September Release Day 2 / Giveaway

Amy_Spooky2 

Welcome to Day 2 of the Lil' Inker Designs September Release!  
This release has some new spooky dies for Halloween......are you ready?  The new release is now available and can be found HERE!!!


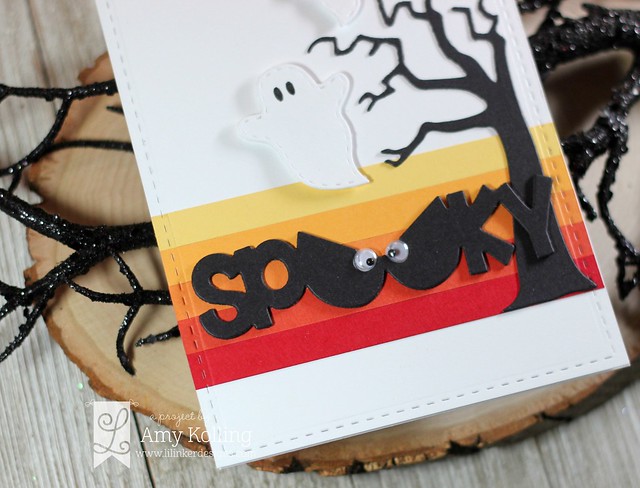
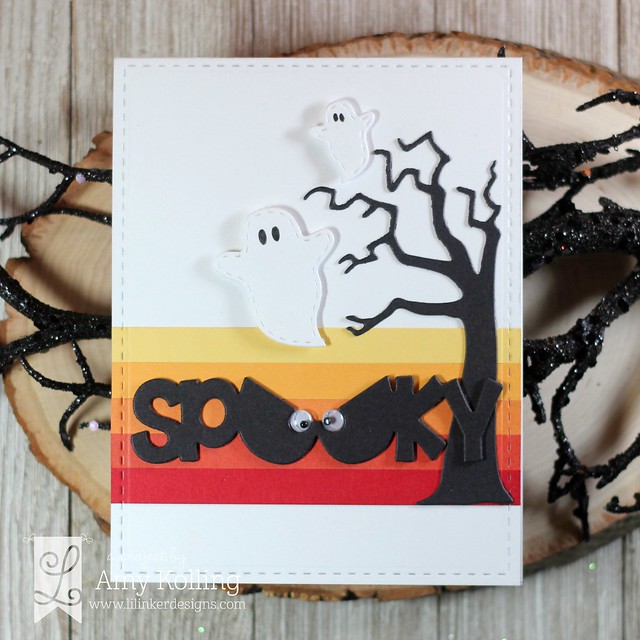
I had fun creating this card using new and old!  I used the new Spooky Word Die Large and die cut 3 times out of black cardstock which were then layered together for some faux chipboard.  I added 2 googly eyes to the word.....these fit perfectly!  My Spooky word was layered over strips of colored cardstock in the colors of candy corn.  I added a Spooky Tree Die along with some Stitched Ghosts that had eyes hand drawn onto them.

Amy_Spooky


Lil' Inker Designs Store-----go SHOP!

*****************************************

There is a treat for you as well!  For every order placed today and tomorrow, Here For the Boos will be added absolutely FREE!  No code or minimum order needed!  Make sure to check out the Lil' Inker Designs blog for all the details on this promotion and GIVEAWAY!

Image 1

Related Posts with Thumbnails