Thursday, September 20, 2018

Lil' Inker Designs / September Release Day 3 / Giveaway

Amy_MonsterInk 

Hello!  
Welcome to Day 3 of the Lil' Inker Designs September release!  This release is FULL of amazing dies and stamps for fall and Halloween......are you ready?  Guess what??  The whole new release is now available and can be found HERE!!!


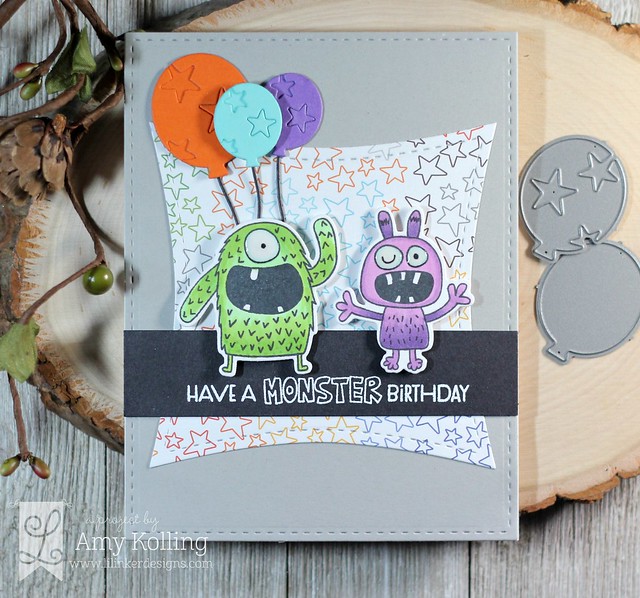
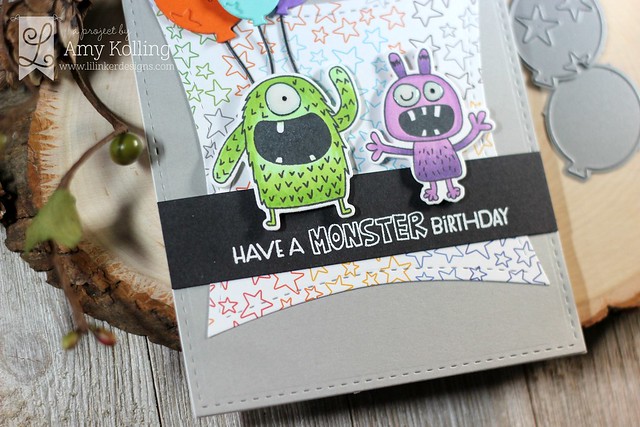
While the release is mainly fall/Halloween focused, I used the Monsters Ink stamps for a birthday card but using fallish colors.  

I added 2 Copic colored and die cut monsters to a patterned Wonky Squares Die that was layered with a black white heat embossed sentiment.  A few layered Balloon Dies to coordinate with the pattern paper were added to the scene.  Perfect card for those hard to make masculine cards!
Amy_MonsterInk2

Supplies:


***************************


Now for the fun part!  There is a giveaway for one lucky commenter......so make sure to check out the Lil' Inker Designs Blog for details!


Wednesday, September 19, 2018

Lil' Inker Designs / September Release Day 2 / Giveaway

Amy_BooBalloons 

Hello!  
Welcome to Day 2 of the Lil' Inker Designs September Release!  This release is FULL of amazing dies and stamps for fall and Halloween......are you ready?  Guess what??  The whole new release is now available and can be found HERE!!!


Today is all about Halloween!!  I would say Halloween is at the top of my favorite list of holidays.  There is something about the costumes, candy, decor, haunted houses, etc, etc. 

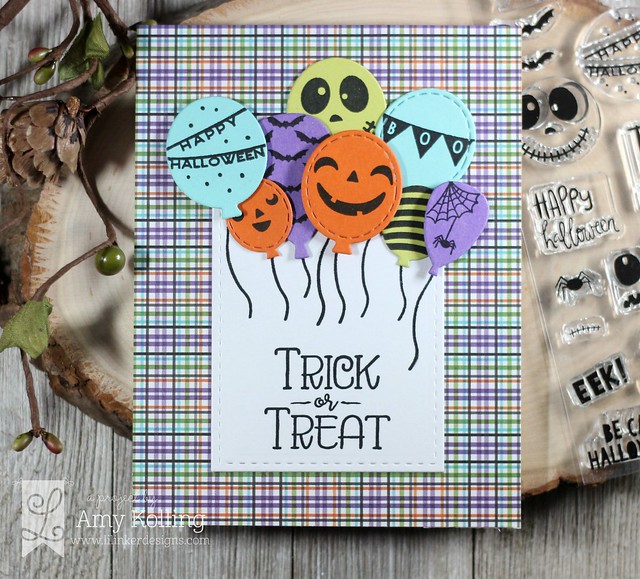
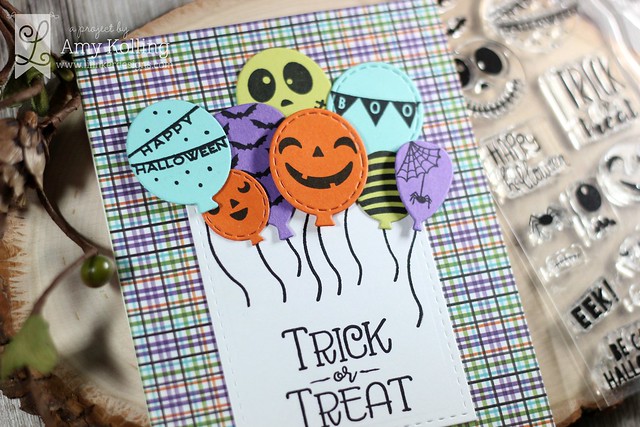
Using the previously released Balloon Dies, balloons were die cut and stamped with the Boo Balloons stamps.  They were arranged onto a Dual Stitched Rectangle in varying heights atop stamped balloon strings!  Trick or Treat, from FaBOOlous, was stamped at the bottom with black ink.

Amy_BooBalloons2

Supplies:
Boo Balloons
Balloon Dies
Dual Stitched Rectangles
FaBOOlous

 **************************

Amy_Harvest Moon_Spooky Trees

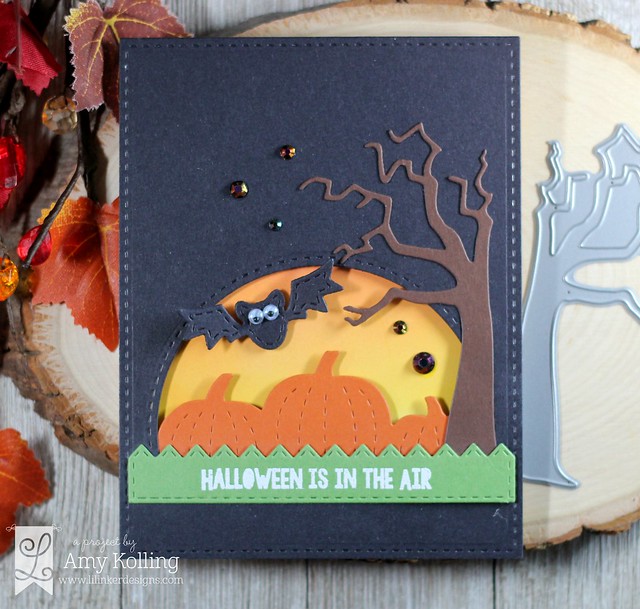
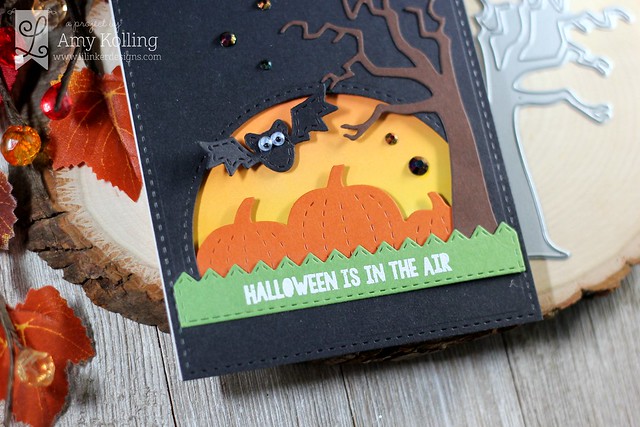
My second card uses LOTS of new dies!  The card scene was pieced together using Spooky Trees Dies, Harvest Moon Die Set, Stitched Mini Chevron Border Die, Stitched Bat Dies, Dual Stitched Rectangles, and Stitched Mats: Circles.  This was so fun to put together!  My background was ink blended with Distress Inks.  A white heat embossed sentiment from Boo Balloons and some gems finish off the card.

Amy_Harvest Moon_Spooky Trees2

Supplies:


******************************


Now for the fun part!  There is a giveaway for one lucky commenter......so make sure to check out the Lil' Inker Designs Blog for details!


Avery Elle / Peaceful Pines


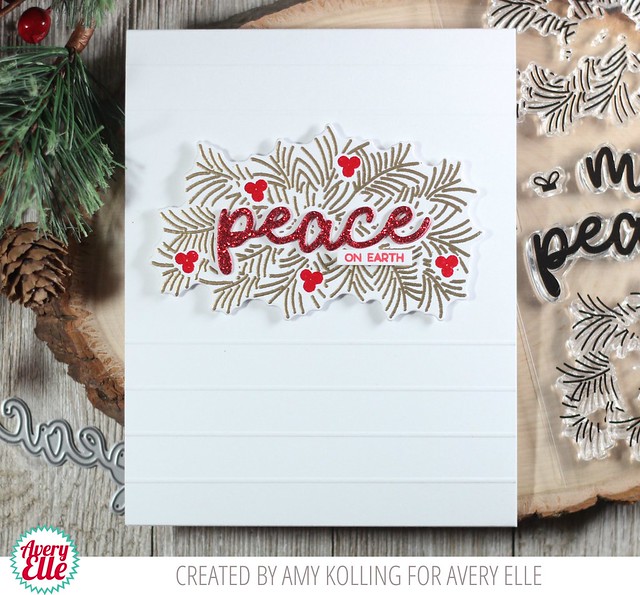
Hello!  I'm here with a very clean and simple card using some heat embossing with Peaceful Pines from Avery Elle.

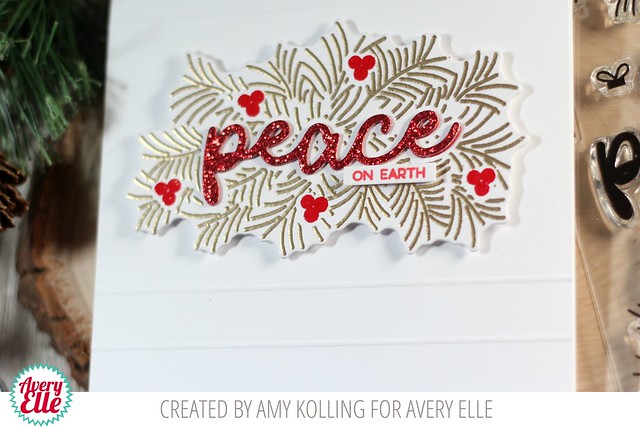
Clean and simple does not have to mean plain.  I've used the main pine image and heat embossed it with Rich Gold Embossing Powder and the berries in a red embossing powder.  This ramps things up with lots of shine!  

Peaceful Pines

This set can be used either with the dies or without. The main image was die cut along with the word Peace, from Peaceful Pines Elle-ments, out of thick red glitter cardstock and adhered it in the space on the stamped image. A supporting sentiment from Sending Peace was stamped on a tiny strip and adhered with foam adhesive.  To make this other wise simple card, I scored 1/2" up from the bottom and down from the top, leaving a space to adhere my focal image with foam adhesive.  It adds so much texture!

Peaceful Pines2

Supplies:


Tuesday, September 18, 2018

Lil' Inker Designs / September Release Day 1 / Giveaway

Amy_Fall Foliage 

Hello!  
Welcome to Day 1 of the Lil' Inker Designs September Release!  This release is FULL of amazing dies and stamps for fall and Halloween......are you ready?  Guess what??  The whole new release is now available and can be found HERE!!!


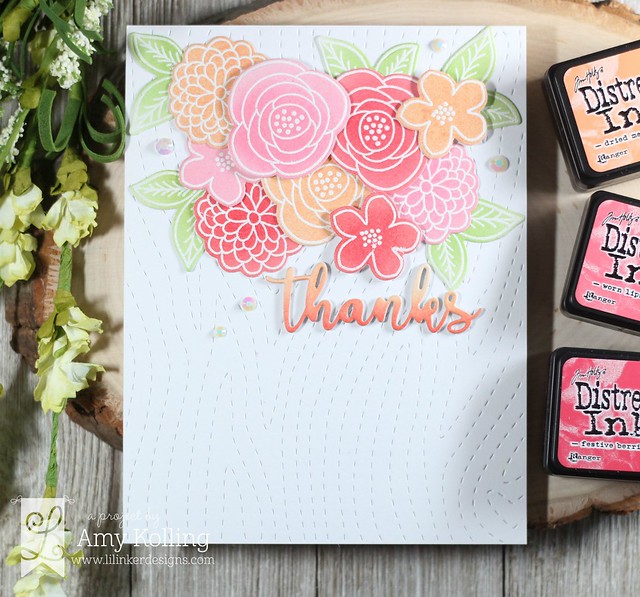
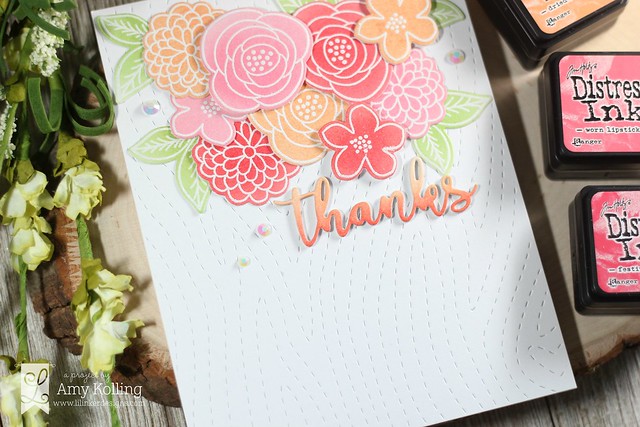
Fall Foliage will be a fast favorite!  This set is filled with gorgeous blooms, leaves, and buds.  After white heat embossing all the images onto Bristol Smooth cardstock, I ink blended Dried Marigold, Worn Lipstick, Festive Berries, and Mowed Lawn Distress Inks over the top.  After arranging them over a white panel cut with the Stitched Woodgrain Cover Up Die, I picked them up with Press 'n Seal to be able to add some dimension to parts of my arrangement.  A simple 'thanks' die cut word, from Bouquet of Roses Die, was inked up in the same Distress Inks and added to my card.  As finishing touches, I added some white gems from Pretty Pink Posh.

Amy_Fall Foliage2

Supplies:


 **************************


Now for the fun part!  There is a giveaway for one lucky commenter......so make sure to check out the Lil' Inker Designs Blog for details!


My card uses the colors from the newest Color Throwdown Challenge!


SugarPea Designs / Celebrate

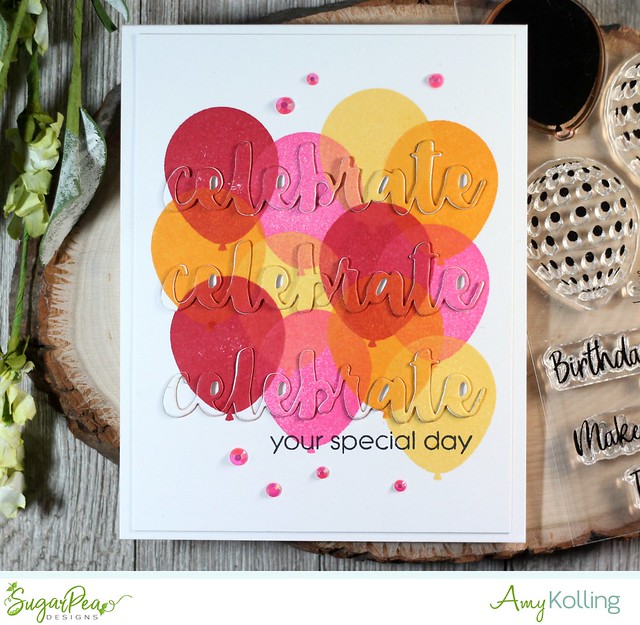
Hello!  I'm here with a birthday card using the new Birthday Balloons set from the last SugarPea Designs release.  You can't ever have too many birthday cards ready to go!

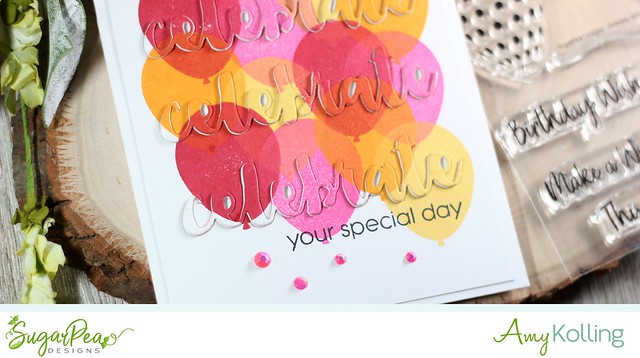
I stamped a panel of cardstock with the solid balloon image in a cluster using red, pink, yellow, and orange inks.  I love how the colors look overlapped!  To this panel, I used the Celebrate SugarCut and die cut it 3 times.  Yes, right over the stamped panel!  I die cut several more 'celebrate' in white cardstock and layered all three for dimension.  

Celebrate

As you would a puzzle, I simply pieced the words back into the stamped panel.  Add a few coordinating gems, stamped sentiment, and done!

Celebrate2


Supplies:


Monday, September 17, 2018

Queen & Co. / Holiday Wishes Kit

Hello!  Christmas will be right around the corner and I've got some easy shaker cards to share using the Queen & Co. Holiday Wishes Kit.

My first card is traditional with light bulb type ornaments using some of the red and green papers from Merry & Bright 6x6 paper pad.  I filled them with the candy cane and snowman face toppings included in the kit.  

Christmas Greetings

My ornaments were mounted onto a polka dot embossed white panel and embellished with glitter tops along with silver embroidery floss.  A simple sentiment fishtail banner was added.

Christmas Greetings2 

Supplies:

********************************************

My second card uses non-traditional colors along with lots of silver embellishments.  I added silver paper to the bottom of a notecard and added the pink snowflake paper from Merry & Bright 6x6 paper pad that was die cut with a decorative edge.

Peace Love Joy

My ornament shaker is all done in silver glitter paper and some gorgeous metallic round toppings.  I added a sentiment banner cut at an angle with foam adhesive.  To finish, a few Clear Goosebumps were added.

Peace Love Joy2 

Supplies:

Thursday, September 13, 2018

Technique Tuesday / Christmas Blog Hop

Christmas Birds 

Hi everyone!  
Technique Tuesday just released some brand new Christmas products and we're celebrating with a mini Christmas Blog Hop!  We will be releasing more Christmans products in October and November as well!  Stay tuned!


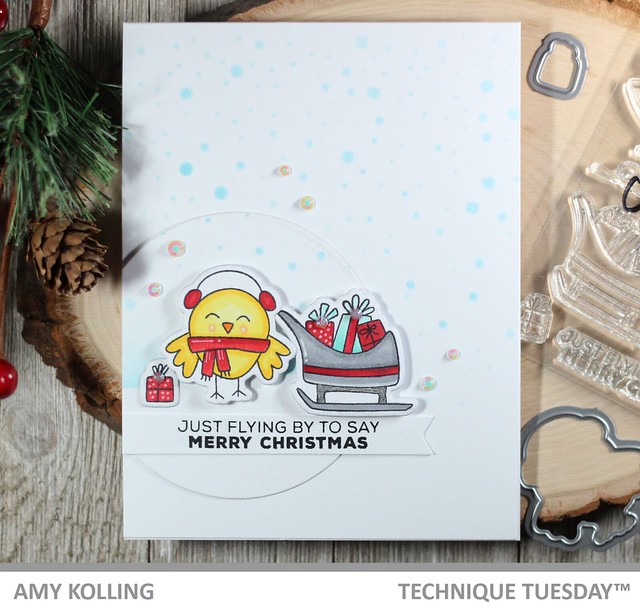
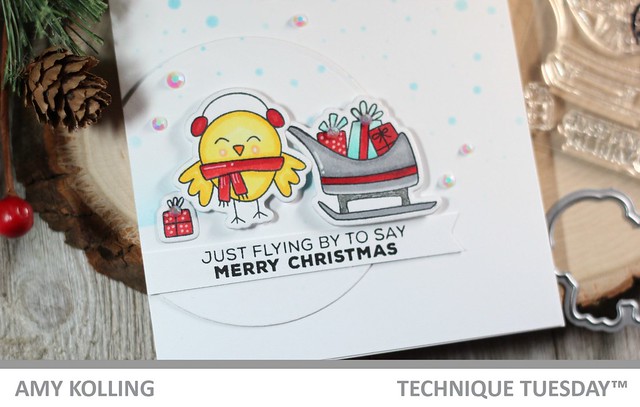
I had some fun coloring these adorable images from Christmas Birds.  I started with sponging Broken China Distress Ink over a snowfall stencil and a die cut circle.  I colored and die cut the images embellishing them with a white pigment pen.  I added the images to my scene with foam adhesive as well as a sentiment banner.  A few white gems were added as "snow".

Christmas Birds2

Blog Hop and Giveaway!
 Technique Tuesday will be giving away a gift certificate to someone who comments during the mini hop on one of the stops. Comments will be taken until September 20th. The winner will be announced on the Technique Tuesday blog on September 22nd.

Heather <---next font="" stop="">


Related Posts with Thumbnails