Showing posts with label Lawn Fawn. Show all posts

Thursday, April 28, 2016

Not your usual Throwback Thursday.....


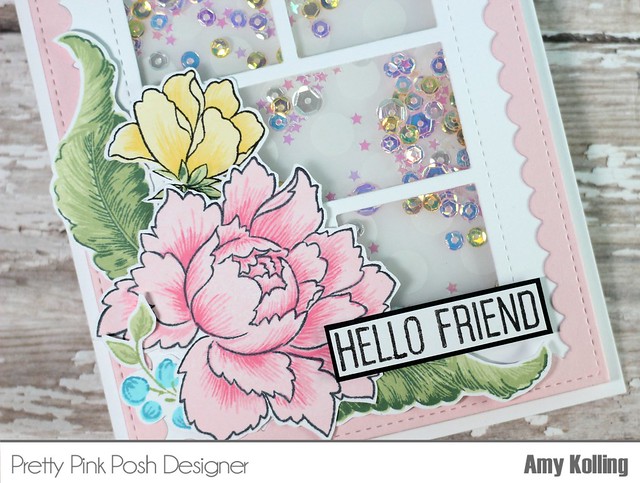
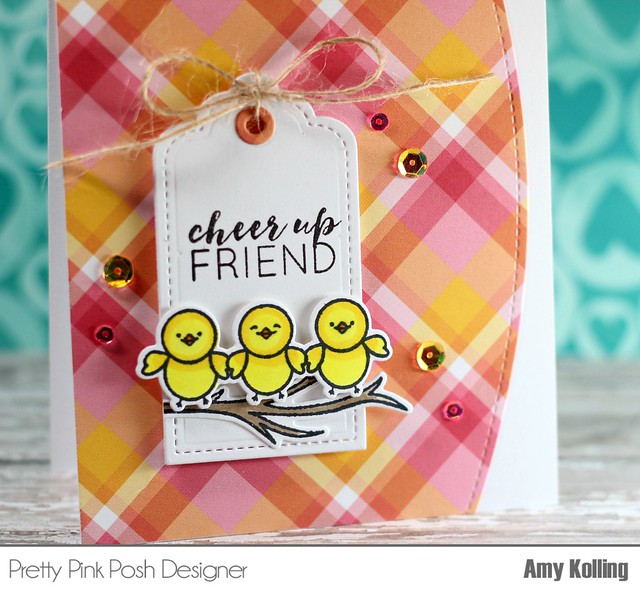
Hello everyone!  I would usually have a Throwback Thursday post featuring some previously released Pretty Pink Posh products. However, THIS time I am featuring some of the NEW RELEASE that will be available in the PPP shop on May 1st!

I would love for you to check out my full post over on the Pretty Pink Posh blog for all the details but here are some peeks at my cards!

Storybook4$5


Stitched Tag2 

Thanks for sharing a part of your day with me!

Thursday, May 14, 2015

Pretty Pink Posh Product Release Hop!


Purrfect2 

Welcome to the Pretty Pink Posh New Product Release Hop!
I am so honored to work with these products.......Paulina has done it again!  No doubt you've seen some inspiration out there with the new product since its debut last week but the DT is now here for a fabulous Blog Hop showcasing all the new goodies!

New release includes:  2 new die sets, 5 colors of iridescent sequins, and a new embellishment kit!!  


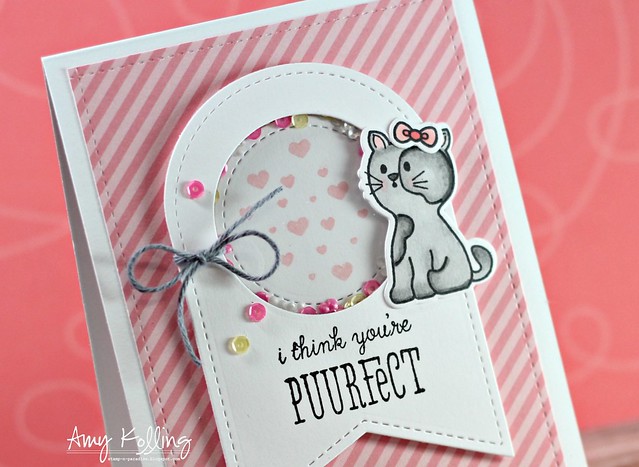
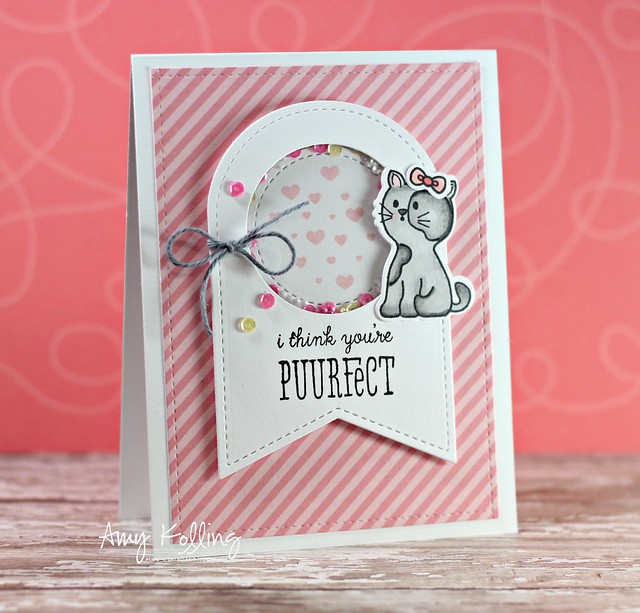
I have 2 cards to share today using the new dies and some of the new sequins.  First up is this awesome new die called Stitched Banner Duo 2.  It comes attached but I left it intact because it makes the perfect die for making shaker cards!  I used the stitched circle and inset it inside the shaker.  For some added stitching detail, I used the long stitched border from Stitched Borders 2 and made my own stitched frame.  I embellished my shaker with the CUTEST kitty from Smart Kitty.  

Purrfect


************************************************

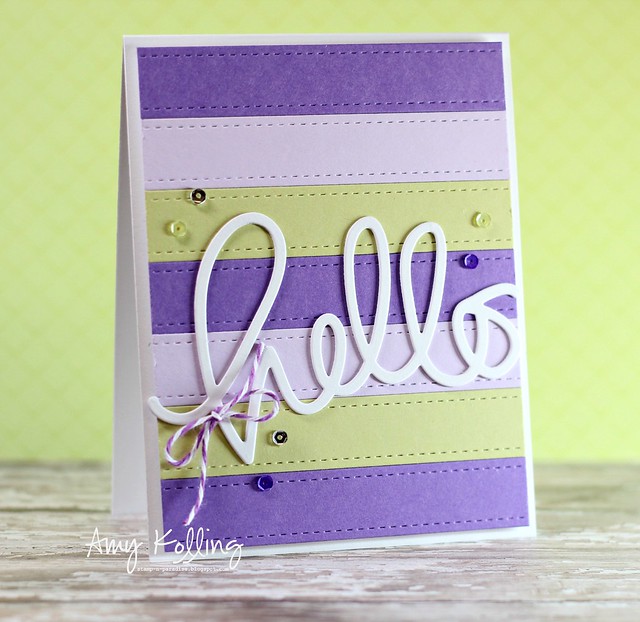
For my next card, I used the stitched straight panel from Stitched Borders 3 and did some colored stripes that pefectly match the gorgeous colors in the new Embellishment Kit!!

Hello

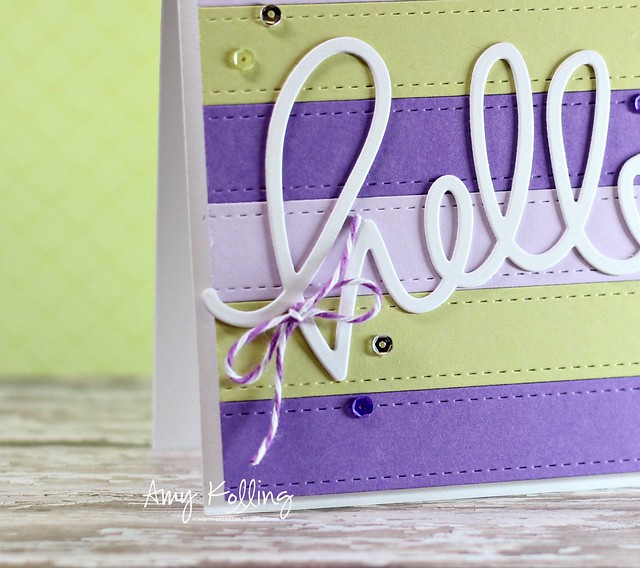
I wanted to really show off the stitching detail in this border!!!  I added in a large Hello Die from SSS and embellished with some twine from the Embellishment Kit.  A few mini sequins from Enchanted Garden were scattered around the "Hello".

Hello2

***Ok.....now to the details of the PRIZES!!!  There are 2 $25 gift certificates up for grabs and winners will be randomly picked from along the blog hop.  Comments must be left by 11:59 PDT on 5/18/2015.  Winners will be announced on the PPP blog.

Laura Sterckx

Thanks for sharing a part of your day with me!


Monday, May 26, 2014

Gallery Idol 2014--Round 2


Hi everyone!  I am so excited to share my exciting news........... 
I made the Top 20 in Paper Crafts Gallery Idol 2014 card contest!
I'm so excited for this journey again!  You need to check out all of the talent in this years group!  Amazing!
You can see the Paper Crafts post HERE!  You can vote using the link on my side bar!!!


This contest works just like American Idol and we rely on votes to make it to the next round.  Today starts Round 2.  The theme for Round 2 is all about DIECUTS.  
You can check out all the details on the Contest page HERE.

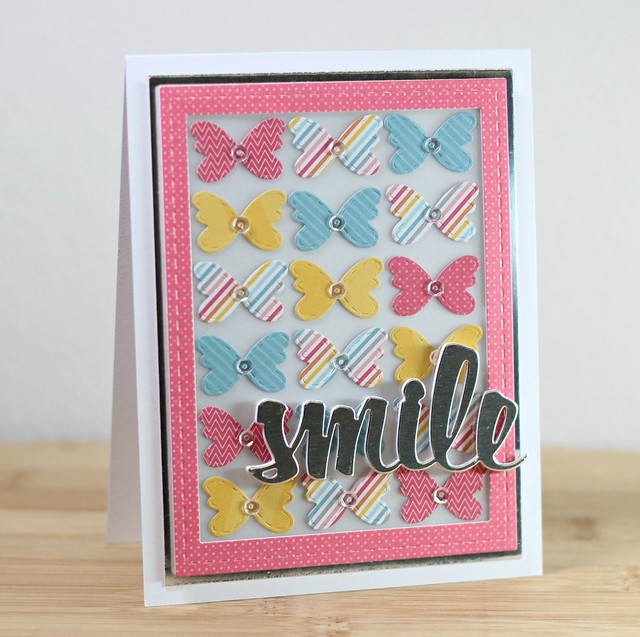
I've used "diecuts" for the focal point, as a frame, and for the sentiment.  This card has LOTS of dimension that was hard to capture with these photos.  

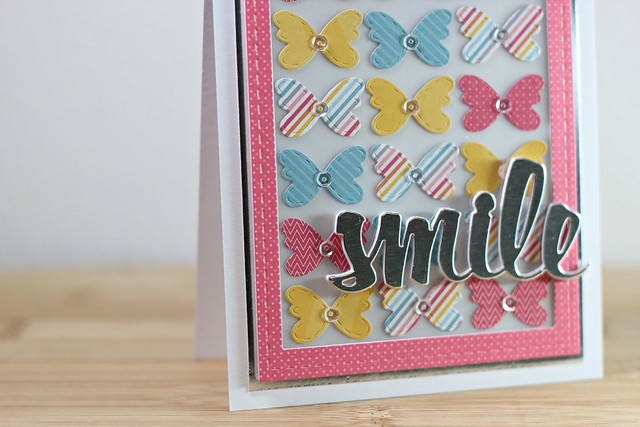
I diecut two Stitched Mats: Rectangles:  one in vellum and one in clear cardstock.   After diecutting all my Stitched Butterflies in various patterns from my FAVORITE 6x6 paper pad this spring, I arranged and adhered them to the vellum.  Adhering some Sparkling Clear sequins to the centers of the butterflies, I let the glue dry on that panel.   With this same stitched rectangle and one size smaller, I diecut a "frame" and backed it with that clear cardstock rectangle panel.  Once the glue was dry, I layered my "frame" over the top of the vellum butterfly panel.  This whole panel was then added with foam adhesive over a silver foil mat.  I was going for a shadowbox idea by using the clear cardstock.

AmyBlog#3

For even more dimension, my sentiment was diecut 5 times with white cardstock and once with silver foil.  After glueing all the diecuts together, the silver foiled sentiment was adhered slightly to the right on my frame.

AmyBlog


And there's my version of using DIECUTS!  I hope I've shared enough to sway your vote! 
You can vote......HERE.

Thanks so much for all the FB posts, texts, and emails about my news!  They all meant so much to me! 

{Smile}
Cardstock:  White, Clear, Vellum (PTI), Silver Foil (DCWV)
Pattern Paper:  Hello Sunshine (Lawn Fawn)
Dies:  Stitched Butterflies, Stitched Mats: Rectangles, Smile (Lil' Inker Designs)
Sequins:  4mm Sparkling Clear (Pretty Pink Posh)
Misc:  Foam Adhesive

Friday, March 28, 2014

Top Dog Dies--Baby and a Giveaway!


 Hi everyone!!  I'm so excited to share that I'm a guest for Top Dog Dies!  Guess what?  There is a giveaway too.......$50 of exclusive Top Dog Dies!!!  Read more about that at the end of my post.


Top Dog Dies is a new online store that offers their own brand of wafer-thin and steel-rule dies, along with dies from brands you already know and trust, including My Favorite Things, Lawn Fawn, Taylored Expressions. Savvy Stamps and Cheery Lynn Designs. Top Dog Dies is also the leading U.S. retailer for Tattered Lace, a new line of intricate dies designed by British designer Stephanie Weightman.

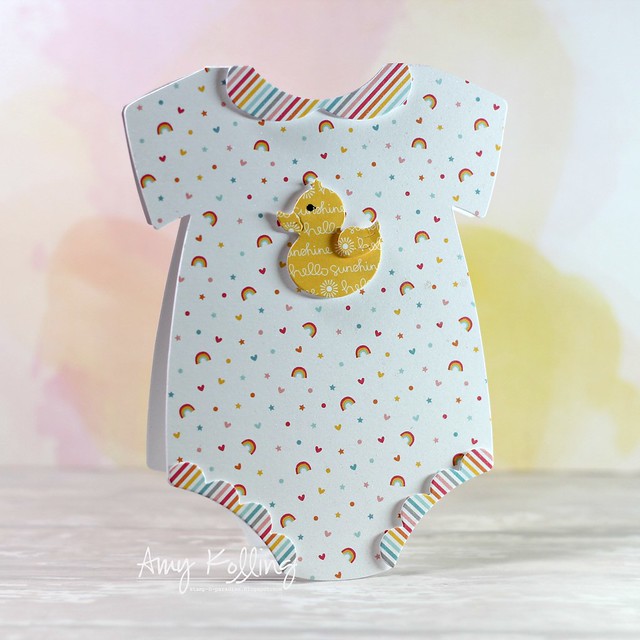
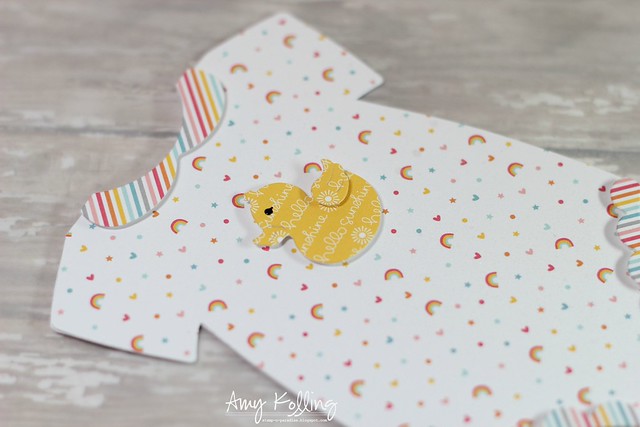
I'm sharing a fabulous steel-rule die called Onesie Card.  I'm a fan of shaped cards......kind of changes up the standard size card.  However, this Onesie Card IS an A2 size so it fits perfectly in an A2 envelope.

Onsie1

I started by cutting an entire white card using the whole die.  Then using only half of the die, I die cut another onesie using pattern paper and adhered to the folded card.  This gives it just a bit more stability.
Tip:  To make this stand up (because it has a rounded bottom), simple trim the back bottom panel at a straight line leaving the front panel still rounded.

Onsie5

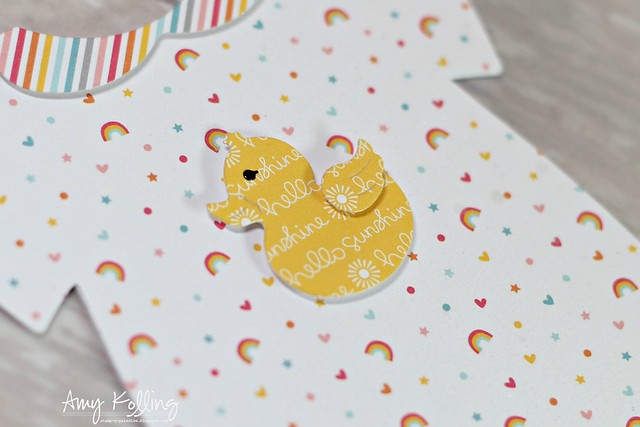
There is a Onesie Card Finishers Die set that can be used with this and it includes the most adorable finishing touches you can add to make this Onesie Card come alive.  You can see some little details I've embellished my card with using the dies in this set.  Just look at all the detail in this cute duck......and it even has a die for its wing!

Onsie4


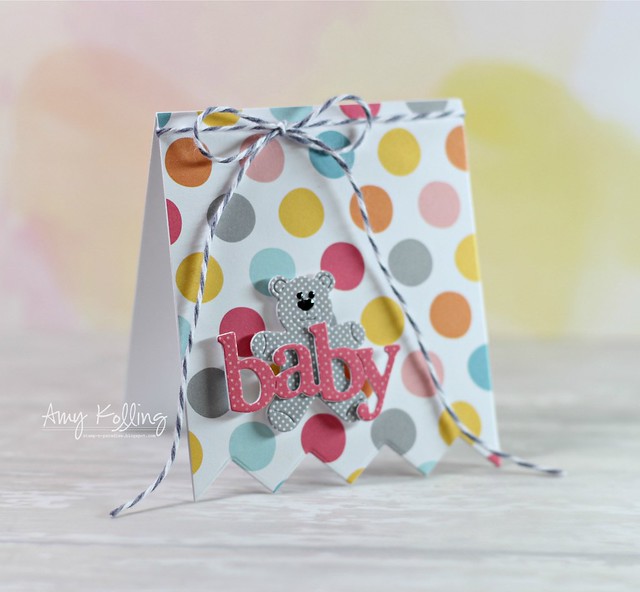
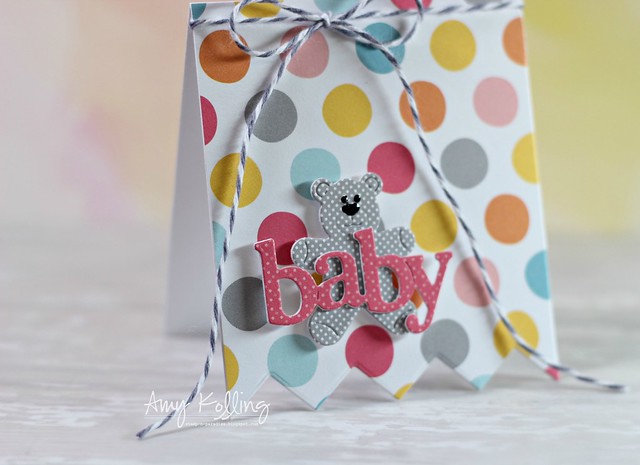
Next, I wanted to show you that you can use the Onesie Card Finishers Die set without using the Onesie Card Die.  I created a small card........3 x 3 1/2 that can be used to attach to a gift bag or as a stand alone card.  I've used the MFT Chevron Border dies to trim the bottom front edge of my card.

BabyBear1 

Using more of the Onesie Finisher Dies, I die cut several of the word 'baby' and of the teddy bear.  Gluing them together gave them dimension without having to adhere tiny pieces of foam adhesive.  I've added some black Enamel Accents for the eyes and nose.

BabyBear2

Here are the Onesie Finisher Dies........look at all the details you can add with these dies!!!


Now for the giveaway part!  There is a guest designer giveaway for the whole month of March.  The winner will receive $50 worth of exclusive dies from Top Dog Dies (their choice!!)

Visit the giveaway page HERE and enter to win!!!  Deadline to enter is March 31st at midnight CST.

Thanks so much Meagan and to the Top Dog Dies team for having me today!  

{Hello Sunshine} and {Baby}
Cardstock:  White (PTI)
Paper:  Hello Sunshine (Lawn Fawn)
Dies:  Onesie Card Die, Onesie Card Finishers Die Set (Top Dog Dies), Chevron Border Dies (MFT)
Misc:  Foam Adhesive, Black Enamel Accents, Twine (Timeless Twine)

Monday, March 24, 2014

Lil' Inker Designs March Release: Day 2

Welcome back to the Lil' Inker Designs March release!!!  Did you enjoy the blog hop yesterday?  So many projects to look at!!  You should have arrived from the talented Alyssa's blog.......but if not, you can start back at the beginning at the Lil' Inker Designs blog.


Today I'm sharing a card using some LONG AWAITED alphabet dies called Mixed and Stitched Alphabet.  I can not tell you how excited I am about these!  Another new die this month is a set of Stitched Butterflies.  These butterflies have the SIGNATURE dual stitching from Lil' Inker Designs!!

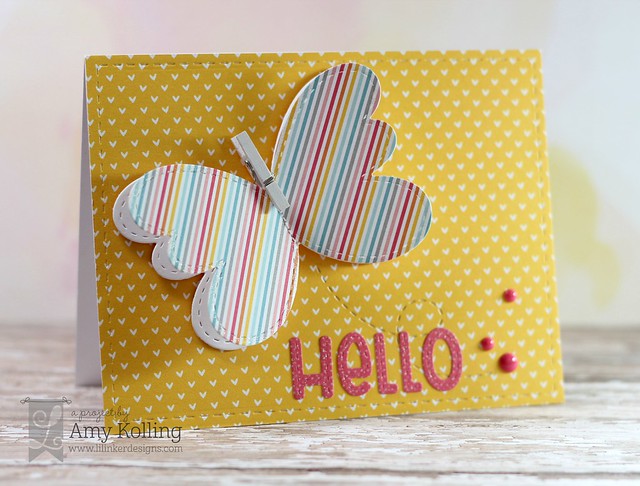
This card is a little out of the norm for me.......NO STAMPING!!!!  :)  I started my card with a piece of pattern paper that was die cut with the Stitched Mats: Rectangles to add some detail to the edge of my card.  After diecutting 2 butterflies (1 white and 1 pattern), I stitched them together with my sewing machine and added a small white clothespin.  Once I decided where I would place my butterfly embellishment, I used the "swirl" die (from the Stitched Butterflies) to show movement of my butterfly on my main panel.  Love this little detail die!


AmyButterflies

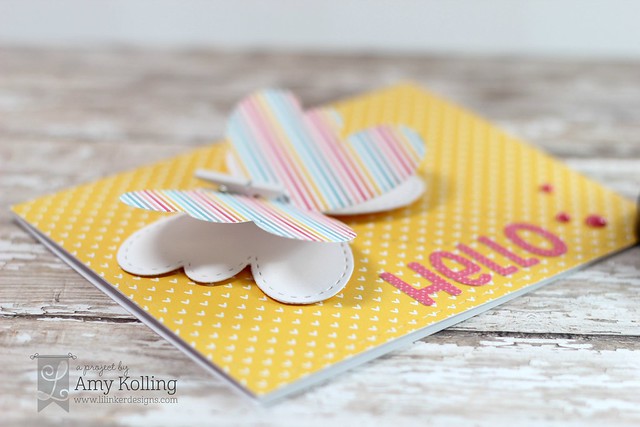
Here's a closeup of my butterfly embellishment........It was adhered with foam adhesive on either side of the center stitching.  This allows dimension and to allow room for the clothespin "antanae".
AmyButterflies2 

Now, let's talk about this sentiment.........take a look at the whole alphabet below.  Laura has included some letters in both upper and lower!  I love this because it offers so much versatility when using it and it's so trendy!  For the sentiment on my card, I combined upper and lower alphas for fun!


Don't forget to leave your comments on every blog along the way for your chance at THREE $15 gift certificates!!!  If you can't wait......all the products are available NOW!!!!  Shop HERE.  Your next stop is new DT member........Erin Schreiner!

Thanks for sharing a part of your day with me!  See ya back here tomorrow!!

{Hello}
Paper:  White (PTI)
Pattern Paper:  Hello Sunshine, Let's Polka (Lawn Fawn)
Dies:  Stitched Butterflies, Mixed and Stitched Alphabet (Lil' Inker Designs)
Misc:  Foam Adhesive, Clothespin (Michael's), Enamel Dots (MME)

Thursday, November 21, 2013

CAS-ual Fridays Challenge: Create with 8

 
Here it is CAS-ual Fridays Challenge time again......this week its all about the number 8!!
 
Thankful and Hanukkah both have 8 letters, and Hanukkah has 8 nights too.
Since both holidays start during this challenge, we'll honor 8.
Use 8 letters or 8 sequins or 8 colors, etc 8 of anything on your CAS project.


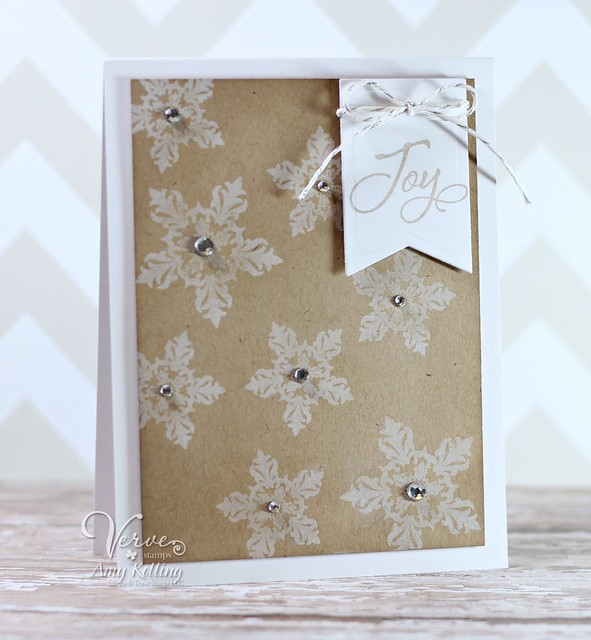
I decided to go with a winter theme and use 8 snowflakes and 8 gems!  Using some great Verve goodies......this was super quick!

I stamped some snowflakes from Glad Tidings with white Wplus9 white ink onto Kraft cardstock.  I always think this looks so classy!  I've die cut a banner from Banner Bundle Die Set (also from Verve) and stamped my sentiment.  A bit of Silver Sparkle Hemp Cord from Lawn Fawn was tied in a simple bow to adorn the top.
 
11.21.13
 
This week's sponsor is the FABULOUS Simon Says Stamp.........check the CAS-ual Fridays blog for prize details!
 
 
Thanks for sharing a part of your day with me!
 
{Joy}
Stamps:  Glad Tidings (Verve)
Paper:  White, Kraft (PTI)
Ink:  Fresh Ink, White (Wplus9)
Dies:  Banner Bundle Die Set (A cut above Dies by Verve)
Misc:  Foam Adhesive, Silver Sparkle Hemp Cord (Lawn Fawn), Gems

Wednesday, October 2, 2013

Count the ways.....

 
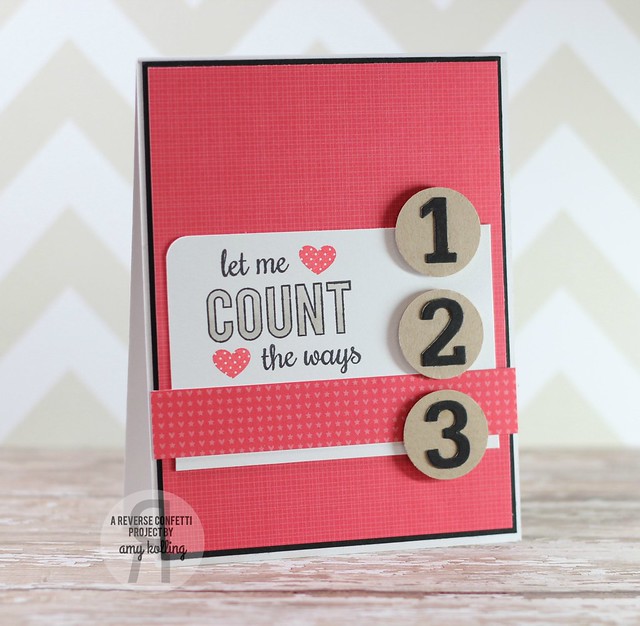
Just a quick post today to share a card I made with the current SFYTT over at Reverse Confetti!  Click HERE for all the details and to link up your card!
 
I've used elements from Count Your Rainbows and the tiny polka heart from Arrows 'n Elements for this sweet card that yes, you could give to a guy.......
That amazing paper is from the newest paper pack called Peace, Joy, Love by Lawn Fawn.
 
 
10.2.13  


Here is the the October SKETCH FOR YOU TO TRY.
 
 
Don't forget to link up your cards for the 'Fetti Finds post too!  You can find it and all the details
 
{count the ways}
Stamps:  Count your Rainbows, Arrows 'n Elements (Reverse Confetti)
Paper:  White, True Black (PTI)
Pattern Paper:  Peace, Joy, Love (Lawn Fawn)
Ink:  Tuxedo Black (Memento), Strawberry (Fresh Ink)
Dies:  Numbers (PTI)
Misc:  Corner Chomper, Circle Punch, Foam Adhesive, Copics

Related Posts with Thumbnails