Wednesday, January 14, 2015

Heart to Heart by Reverse Confetti


***If you are here for my Lil' Inker Designs Release post, please scroll down or click HERE!***

***********************************

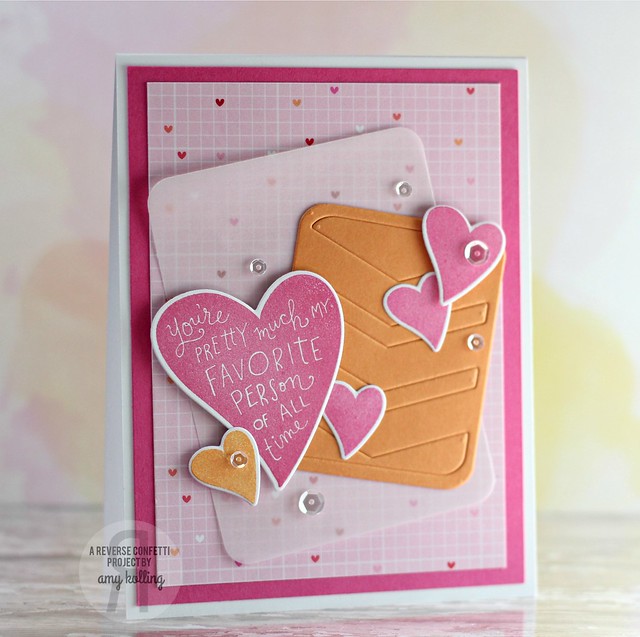
I have another card to share using the Heart to Heart stamp set that was released last week from Reverse Confetti.  The font and the shape of the hearts makes for such a unique look that I love!!  I stamped and diecut the hearts with the coordinating Confetti Cuts dies and had to embellish with my favorite Sparkling Clear Sequins from Pretty Pink Posh.

Heart to Heart1 

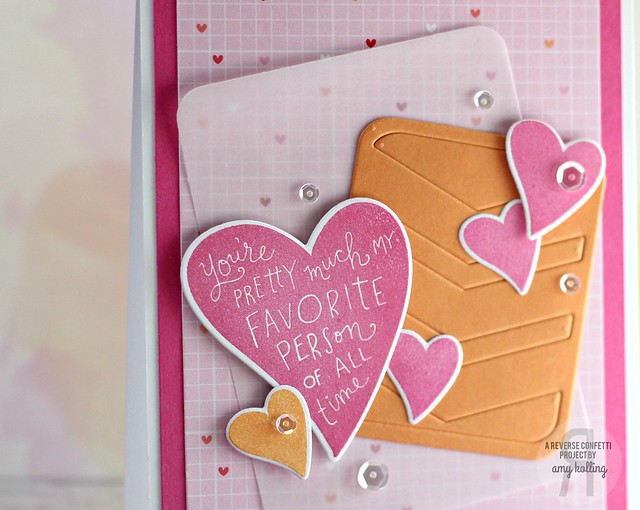
There are 2 other new dies on this and they are the layers behind all the hearts........Big Chevron Pretty Panels Confetti Cuts and the large rounded rectangle die from Documented Confetti Cuts.

Heart to Heart2


Thanks so much for sharing a part of your day with me!

Tuesday, January 13, 2015

Lil' Inker Designs January Release: Day 3


Welcome to Day 3 of the Lil' Inker Designs January Release!  This release is HUGE and FULL of amazing dies and stamps that will be perfect for those any occasion cards or Valentines.......are you ready?  You should have arrived from the  Lil' Inker Designs blog.   But guess what??  The whole new release is now available and can be found HERE!!!


I have a few more things to share to today using the new products from this release and many more to share over the next few weeks!  Let's get started!!!

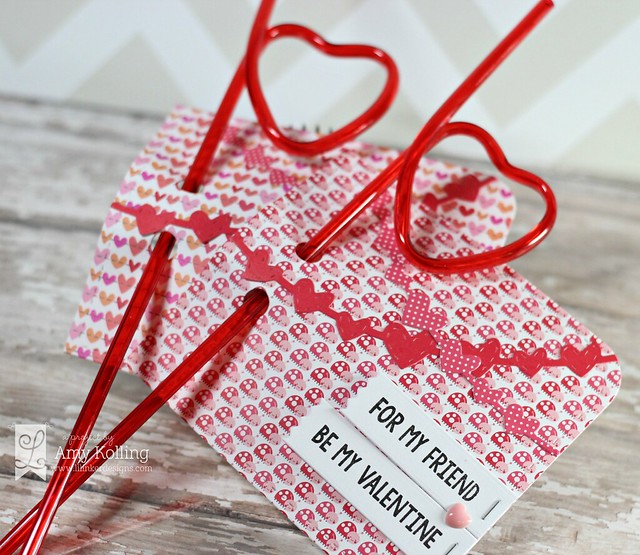
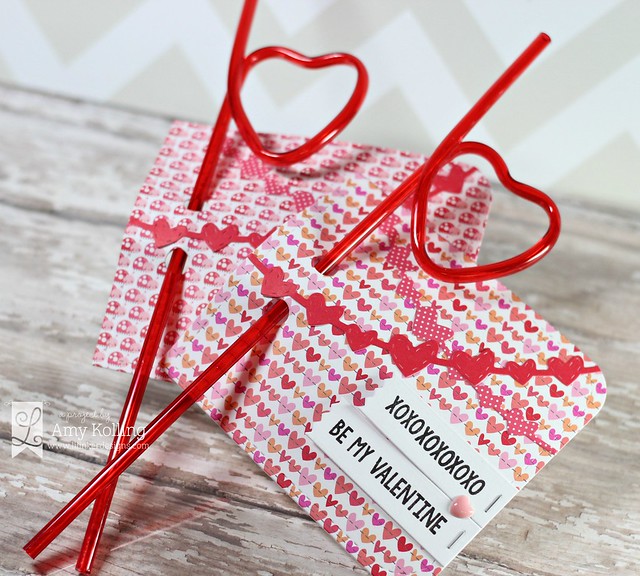
Let's talk Valentines.  Specifically......kids Valentines for school.  I don't know about you but I SOO appreciate a NON-CANDY treat to go along with the Valentine.  So using the new Treat Holder Die, I came up with a quick and cute Valentine that my daughter will be taking (unless she changes her mind on the "treat"!) to her classmates.  I found these heart straws and they fit the Treat Holder Die perfectly.  

AmyTreatHolder2

I embellished the Treat Holder with some Heart Banners Dies and sentiments (from Robot Builder Stamps) stamped onto Pinking Edge Sentiment Flags that were stapled with the Tim Holtz stapler.

AmyTreatHolder


***********************

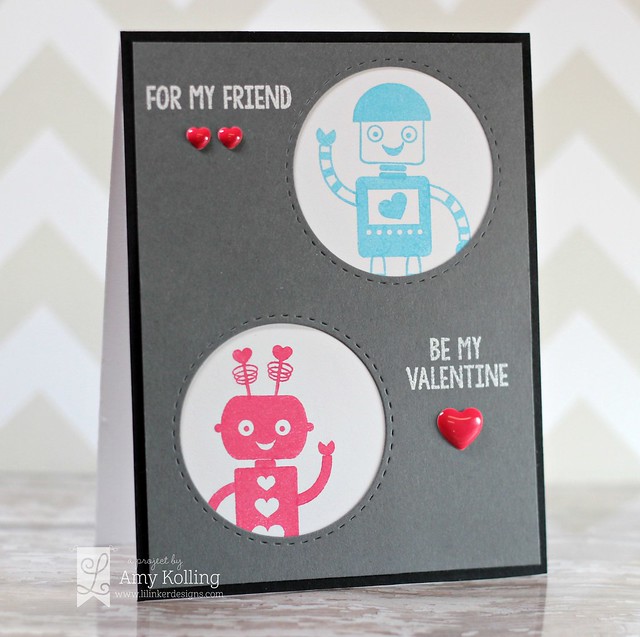
One more project for today......using more of the Robot Builders stamps.  I created a window type card for my adorable robots using the Dual Stitched, Stitched Mats: Circles.  I love that these leave the stitching on the outside of the circle diecut!!!  Genius!!  I white heat embossed the sentiments and added some enamel hearts!

AmyRobots


Now for the fun part!  There is a $15 gift certificate up for grabs for one lucky commenter along the way!  One lucky winner is chosen for each day!!  

Here is the blog hop list to get you started:

Amy----you are here

Monday, January 12, 2015

Lil' Inker Designs January Release: Day 2


Welcome to Day 2 of the Lil' Inker Designs January Release!  This release is HUGE and FULL of amazing dies and stamps that will be perfect for those any occasion cards or Valentines.......are you ready?  You should have arrived from the  Lil' Inker Designs blog.   But guess what??  The whole new release is now available and can be found HERE!!!


When I saw THIS POST by Jennifer McGuire, I knew exactly how I was going to use these new ADORABLE little images from the new set Perfect Pairs.  I created a small set of cards using 4 of the "paired" images from this set.  I cut my cardstock base to 3 3/8 x 4 5/8 so that I could layer pattern paper that was diecut with the next to largest Side Stitched Rectangles on the front.  The stitching detail just adds a fun little touch!

 First up:  Peanut Butter and Jelly AND Doughnuts and Coffee
Next up:  Hamburger and Fries AND Eggs and Bacon 

AmyCollage


Now for the fun part!  There is a $15 gift certificate up for grabs for one lucky commenter along the way!  One lucky winner is chosen for each day!!  

Here is the blog hop list to get you started:

Amy----you are here

Sunday, January 11, 2015

Lil' Inker Designs January Release: Day 1


Welcome to Day 1 of the Lil' Inker Designs January Release!  This release is HUGE and FULL of amazing dies and stamps that will be perfect for those any occasion cards or Valentines.......are you ready?  You should have arrived from the  Lil' Inker Designs blog.   But guess what??  The whole new release is now available and can be found HERE!!!


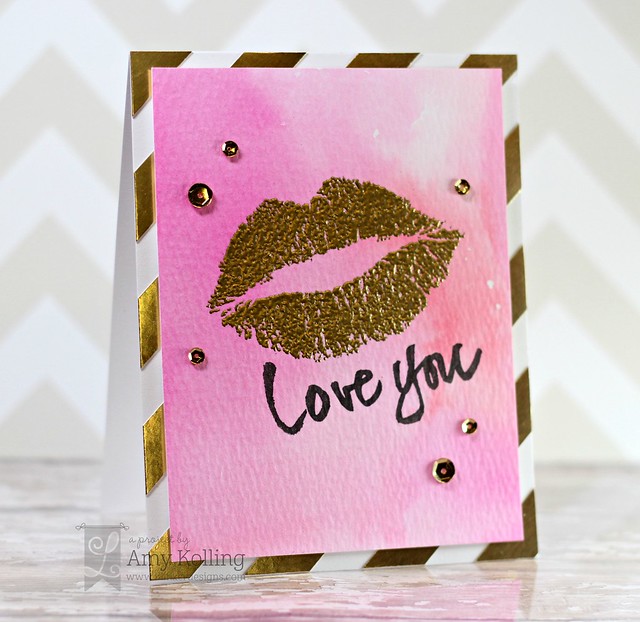
I've used the new stamp set called Smooches by Lil' Inker Designs.  I've gold embossed the largest "smooch" stamp over a pink Distress Ink washed background.  Let's talk about that font for the sentiment.....it's one of my favorites!  I love that it's BOLD and handwritten!  

AmySmooches1

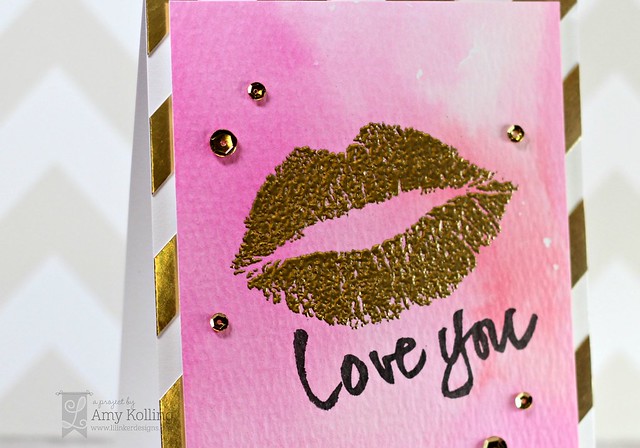
The card base was layered with strips of gold foil paper that was evenly spaced using Washi tape and then removing it after the gold foil was placed.  LOVE how it turned out!  To round out my card, I added a few of my favorite gold sequins.  :)

AmySmooches2


Now for the fun part!  There is a $15 gift certificate up for grabs for one lucky commenter along the way!  One lucky winner is chosen for each day!!  

Here is the blog hop list to get you started:

Amy----you are here


Saturday, January 10, 2015

showCASe your style challenge #6


Clearly Whimsy Stamps has a fabulous new challenge blog called showCASe your style.  Have you checked it out yet?  You do NOT have to use Whimsy Stamps products to play along but if you do, the gift certificate will be more if you are the winner!

The challenge runs 2 weeks and this time it's all about COLOR!  
Turquoise, Lime, Black, White


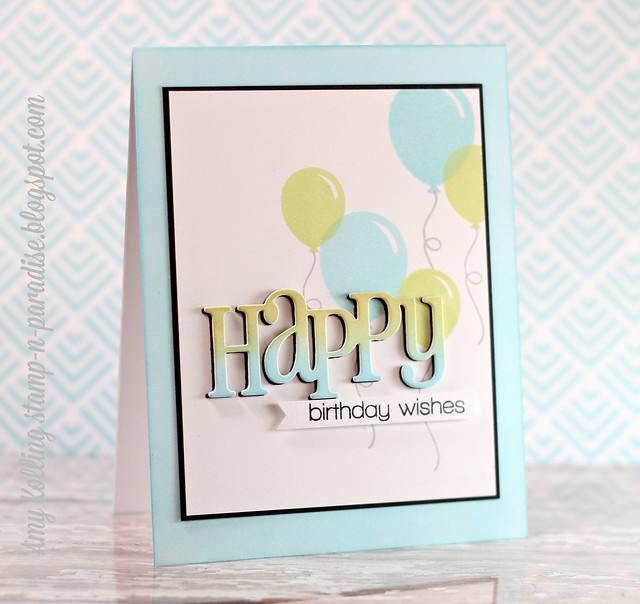
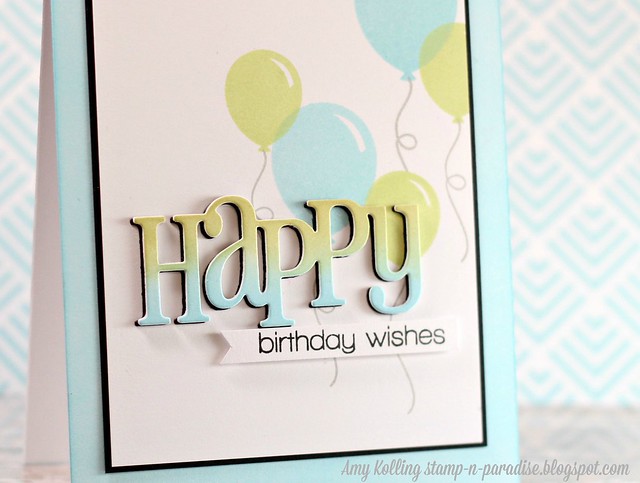
I started by using some Distress Ink in Tumbled Glass onto my top folding card base just around the edges (I did this mainly because I couldn't find cardstock in my stash to match the Distress Ink!).  I used the "Happy" die from Whimsy Stamps and diecut the word but left the word in the negative.  Why, you ask?  I used my blending tool to then apply Tumbled Glass and Shabby Shutters Distress Inks to my word (leaving it in the negative made applying the 2 colors of ink so easy!)  My diecut "Happy" word was layered with 2 more white layers and for the 3rd layer.....I diecut a BLACK "Happy" and offset it to the left just a bit to give a shadow effect.  

Amy - Happy Everything

Some balloons from Happy Everything (Whimsy Stamps) were stamped onto a trimmed white card that was layered with black cardstock.  I finished my sentiment with "birthday wishes" stamped onto a tiny handcut banner and adhered with foam adhesive.  Here's a close-up of the "Happy" diecut:


Amy - Happy Everything2


We'd love to see your card using the theme from showCASe your challenge!


{Happy birthday wishes}
Stamps:  Happy Everything, Sweet as Candy Sentiments (Whimsy Stamps)
Paper:  White, True Black (PTI)
Ink:  Shabby Shutters, Tumbled Glass (Distress Inks), Island, Limeade, Provincial Gray (Fresh Inks), Onyx Black (Versafine)
Dies:  Happy (Whimsy Stamps)
Misc: Foam Adhesive
Related Posts with Thumbnails