Wednesday, November 7, 2018

Reverse Confetti / Countdown to Confetti Day 3

Snowflake Magic 

Hello and welcome to Day 3 of the Reverse Confetti November Release!  
Reverse Confetti is releasing ..... 5 new stamp sets and 8 Confetti Cuts this month as well as the Winter Solstice paper pad.
   This release should get you in the mood for all the winter holidays! 

Make sure to check out the Reverse Confetti blog for a list full of inspiration and information on all the new goodies!!

I am loving making holiday cards with non-traditional colors this season!  (and if you know me at all, I don't normally create for the holidays--that's a whole other story sometime!)  

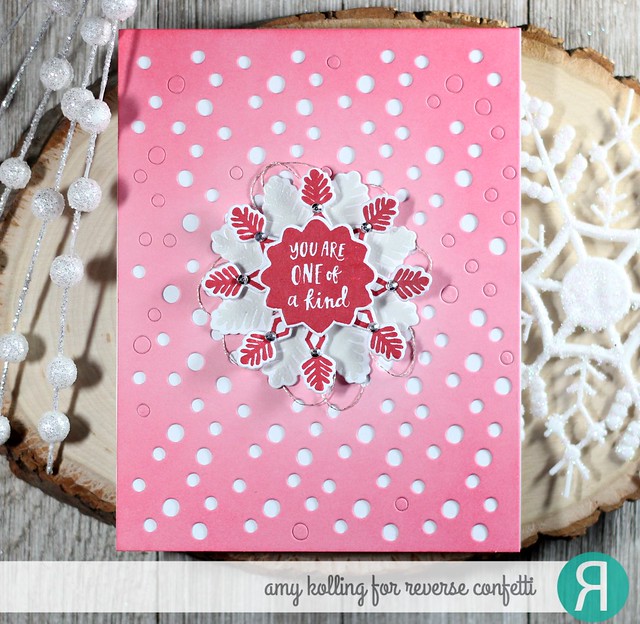
To create this card, I ink blended Worn Lipstick Distress Ink onto a panel of Piggy Bank cardstock.  This panel was ran through my Big Shot with the Snowballs Cover Plate.  The snowflake is very dimensional with the white layer being heat embossed with Silver Pearl EP.  The top snowflake was stamped with Rose Premium Dye Ink and added to my notecard with foam adhesive.  To finish, a few gems embellish the snowflake as well as some silver thread.

Snowflake Magic2


Now for the prizes..........there are TWO $15 prizes up for grabs this release:  1 for blog commenters and 1 for Facebook commenters.  So leave those comments and make sure to check the Reverse Confetti Facebook page too!  

Details can be found over on the Reverse Confetti blog for all the prizes (wink, wink)!

Tuesday, November 6, 2018

Reverse Confetti / Countdown to Confetti Day 2

Snow Bunnies 

Hello and welcome to Day 2 of the Reverse Confetti November Release!  
Reverse Confetti is releasing ..... 5 new stamp sets and 8 Confetti Cuts this month as well as the Winter Solstice paper pad.
   This release should get you in the mood for all the winter holidays! 

Make sure to check out the Reverse Confetti blog for a list full of inspiration and information on all the new goodies!!


Have we got a treat for you this month!  TWO Dawn Machell stamp sets!  Today I am featuring the Snow Bunnies!

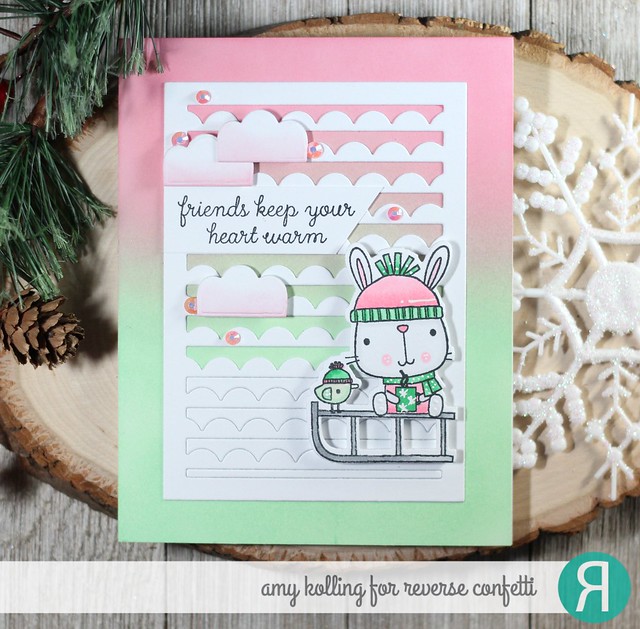
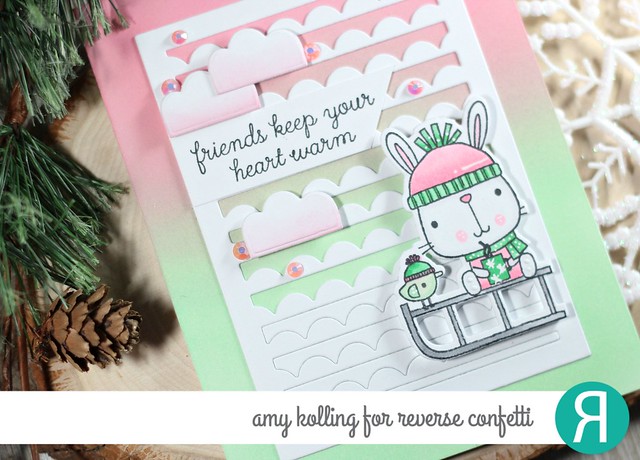
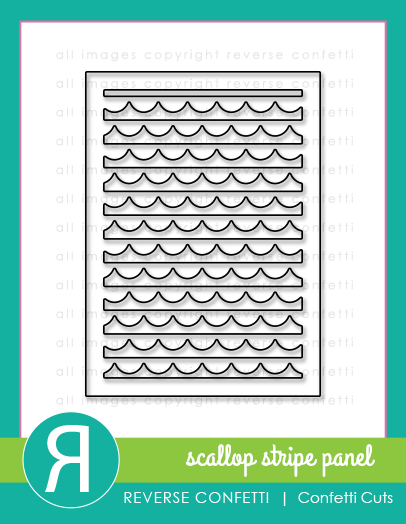
I started with ink blending Worn Lipstick and Cracked Pistachio Distress Inks onto Bristol Smooth cardstock.  I added the Scallop Stripe Panel Confetti Cuts done in white.  I added my bunny on the sled that was Copic colored along with the sentiment strip.  As a last touch, I added some die cut clouds from this set that were lightly ink blended with Worn Lipstick Distress Ink and some coordinating gems.

Snow Bunnies2


Now for the prizes..........there are TWO $15 prizes up for grabs this release:  1 for blog commenters and 1 for Facebook commenters.  So leave those comments and make sure to check the Reverse Confetti Facebook page too!  

Details can be found over on the Reverse Confetti blog for all the prizes (wink, wink)!


Monday, November 5, 2018

Hero Arts / My Monthly Hero November Blog Hop / Giveaway

Advent2 

Hello and Welcome!  
I am so excited to be a part of the My Monthly Hero Blog Hop this month!  Hero Arts is one of my favorite companies so designing with the My Monthly Hero Kits is always an honor!   You are going to LOVE this month's kit......I had so much fun and made SIX cards with the main kit and add-ons!!  I will be sharing more of them over on my Instagram feed so make sure to follow me there to see the rest of my cards using the MMH kit!

This month's kit has some fabulous Holiday themed sets and dies!  The kit is available for a limited time only - once it's gone, it's gone. Kits begin shipping from Hero Arts on Friday, November 9. You can now subscribe to receive the kit monthly and never miss one!  The kit value is over $70......but only costs $34.99.  Once this kit is gone, it's gone!


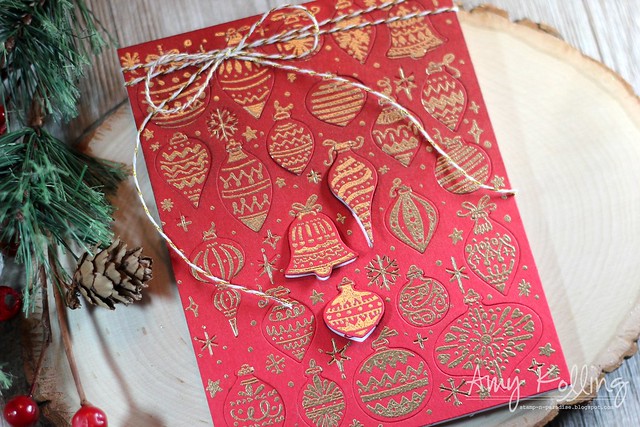
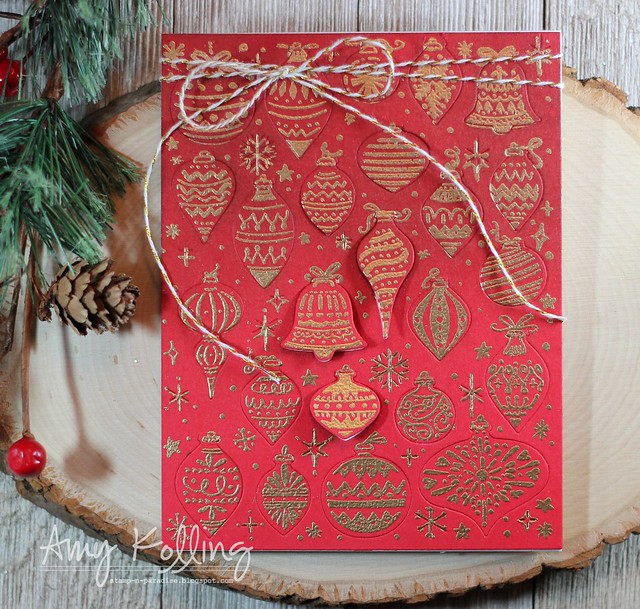
This month's kit contains an Advent cling stamp with ornaments, a clear Advent icons stamp set, coordinating Advent ornament door die, along with some embossing powders.  

Advent3

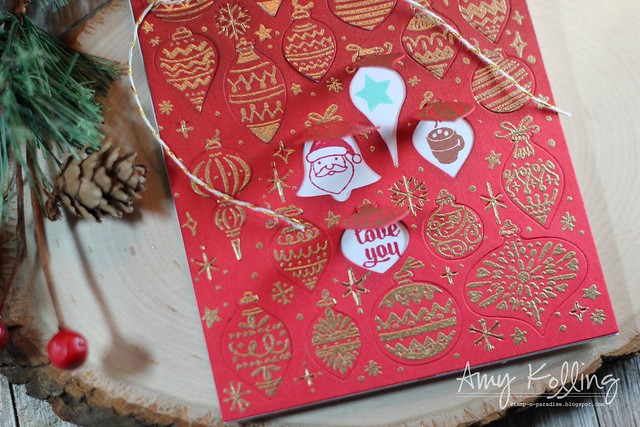
I gold heat embossed the ornaments onto red cardstock and ran this through my Big Shot with the Advent die.  I carefully pulled up all the little ornament windows to stamp all the icons inside.  

To finish, I added my panel to the icon panel and onto a top folding white notecard.  A gold/white twine was added to pull the card together.

Advent

***********************************

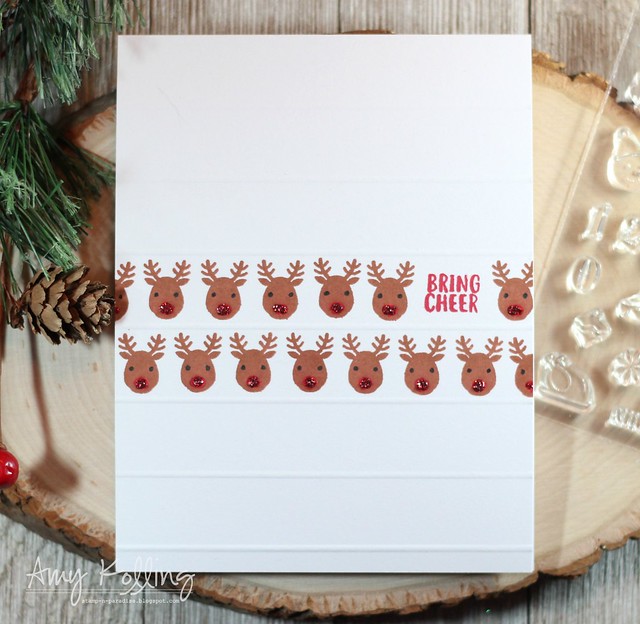
I adore the tiny reindeer image included in the main stamp set in the kit.  So I made a card focusing on it!  I scored my notecard every 3/4" and stamped two rows of reindeer leaving a space to stamp my sentiment.  

I added black eyes with a black pen and red stickles for all the noses!  Clean and simple!

Advent Reindeer

***********************************

My last card uses an add-on die........the DIY Ornament Kit.  It comes with some beautiful iridescent papers.  I impressed the largest ornament into a white cardstock panel and trimmed it down on 2 sides.  

Ornament

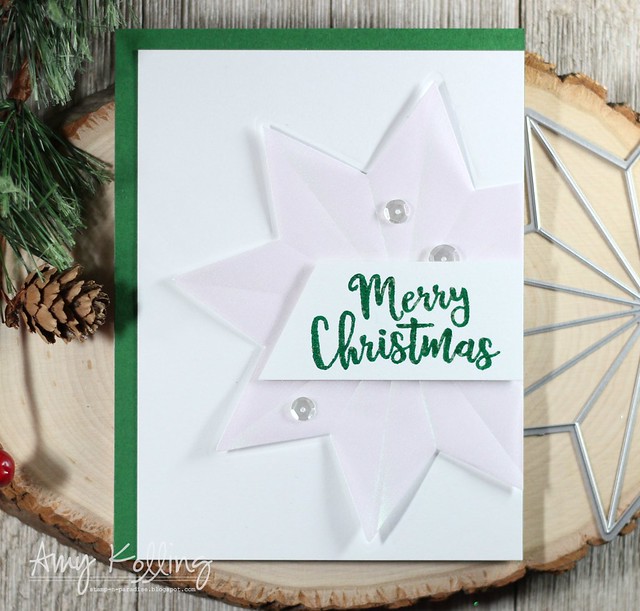
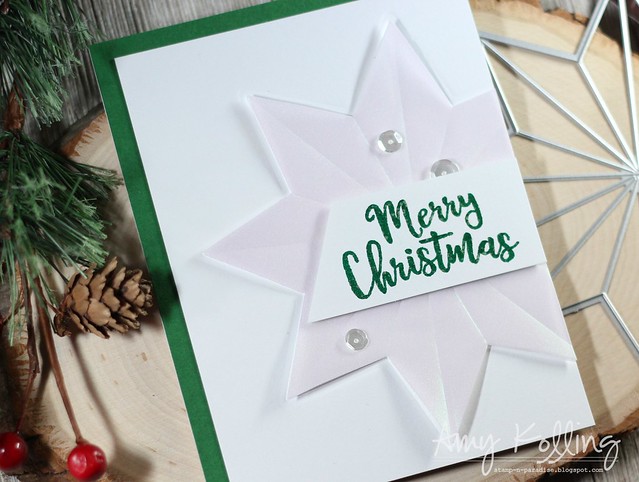
After die cutting the largest ornament out of the iridescent paper, it was adhered in the center over the impressed image on my cardstock leaving the points unadhered for dimension.  My sentiment, from Winter Wreath, was GREEN heat embossed onto a strip of white cardstock and added with foam adhesive.  A few sequins were tucked in there to add to the sparkle of the card.  To finish, the panel was adhered to a coordinating green cardstock to pull this all together.  I love how this came out!

Ornament2

***********************************

**GIVEAWAY**

What's a blog hop without a giveaway?  We are giving away one kit to one blog reader - selected from the comments across all of the blogs in the hop. Giveaway closes Sunday, November 11 at 11:59pm EST, and the winner will be announced the following week on the Hero Arts Blog.  Hero Arts will reimburse if the winner already bought the kit!

**BLOG HOP**


Reverse Confetti / Countdown to Confetti Day 1

Drink More Coffee 

Hello and welcome to Day 1 of the Reverse Confetti November Release!  
Reverse Confetti is releasing ..... 5 new stamp sets and 8 Confetti Cuts this month as well as the Winter Solstice paper pad.
   This release should get you in the mood for all the winter holidays! 

Make sure to check out the Reverse Confetti blog for a list full of inspiration and information on all the new goodies!!


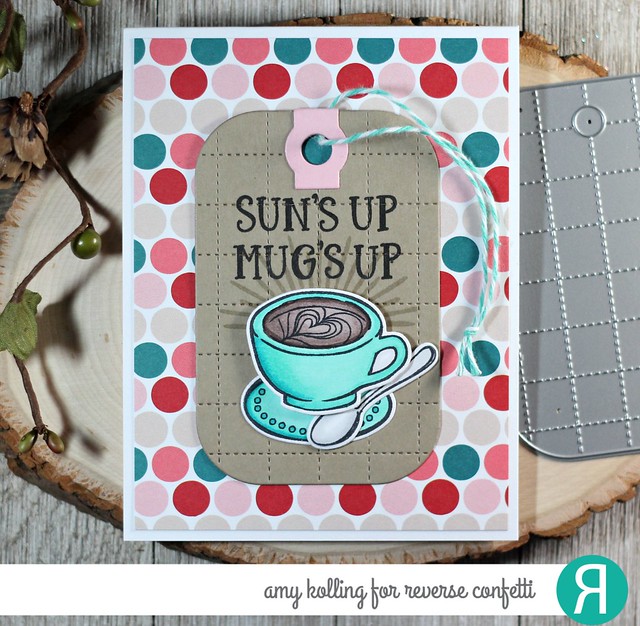
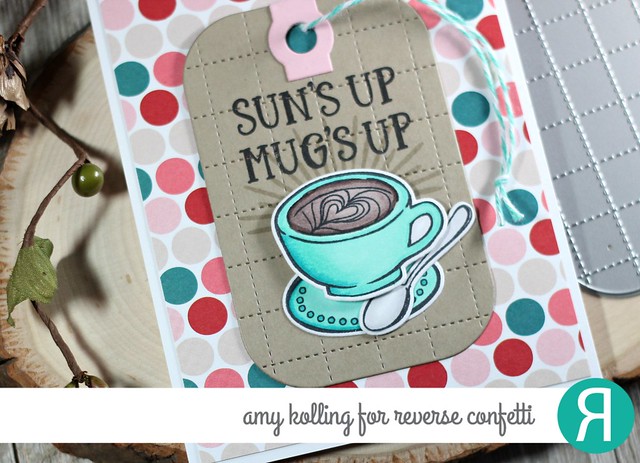
If you are a coffee lover, you will LOVE the new set Drink More Coffee.  I've paired this up with the new paper pad called Winter Solstice which has an amazing color palette!  BUT let's talk this new Grid Stitched Tag.  It offers texture without adding bulk and here I've even stamped on it!  

Drink More Coffee2

****************************

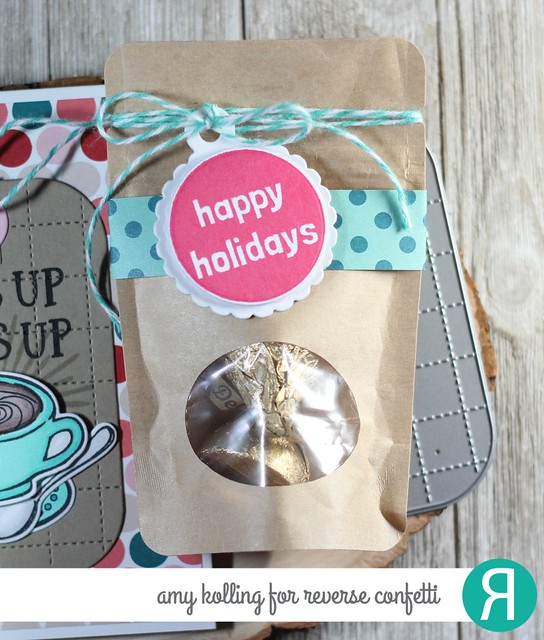
I created a small treat bag for the holidays using a strip of paper from Winter Solstice, a tag from the new Christmas Circles, dies from the new Scalloped Bag and Tags Creator, and a Bitty Window Bag.  

Christmas Circles 

****************************
And because I shared this yesterday (on THIS POST) but uses new products, I thought I would re-share this adorable tag I made for Tracey McNeely's 25 Days of Christmas Tags event over at In My Creative Opinion.  

25 Days of Christmas Tags2


Now for the prizes..........there are TWO $15 prizes up for grabs this release:  1 for blog commenters and 1 for Facebook commenters.  So leave those comments and make sure to check the Reverse Confetti Facebook page too!  

Details can be found over on the Reverse Confetti blog for all the prizes (wink, wink)!


Sunday, November 4, 2018

Reverse Confetti / 25 Days of Christmas Tags

25 Days of Christmas Tags 

Hello and Welcome to the 25 Days of Christmas Tags with Tracey McNeely.  
I am so fortunate to have Tracey as a friend and am excited to help her celebrate the 8th year of the 25 Days of Christmas Tags!  

You can find out all the details over on her blog HERE---
I am sharing a tag using some new goodies from Reverse Confetti!  They will have a new release on November 8th!

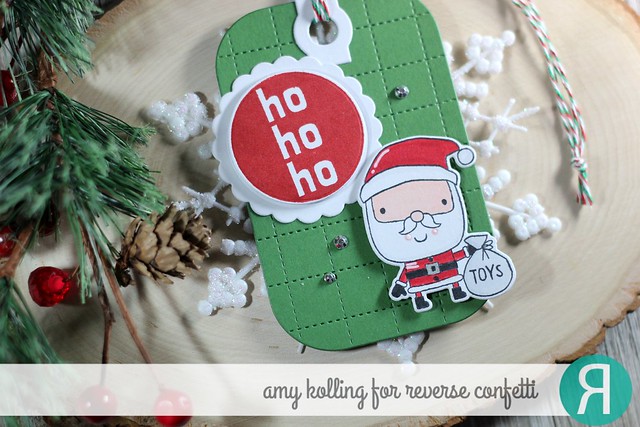
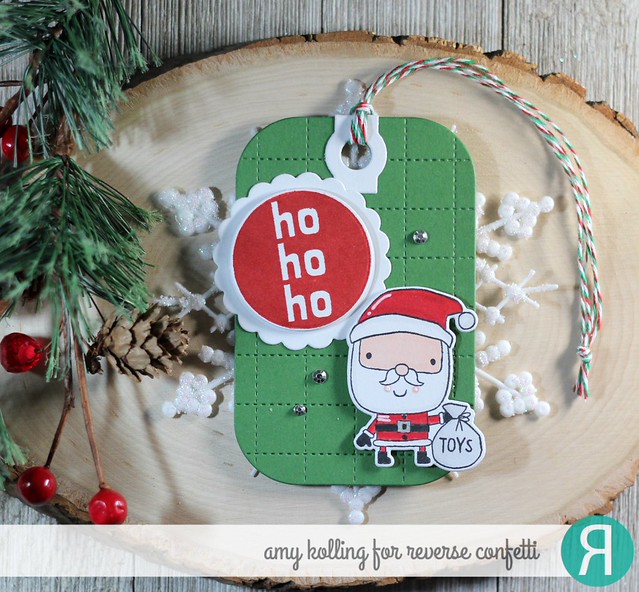
Reverse Confetti is releasing a new TAG......the Grid Stitched Tag!  You are going to WANT it!  I have so many ideas using it!  Here I've die cut the tag out of Avocado cardstock.  I adhered the adorable (and previously released) Santa from Jolly Holiday along with a new stamp from the Christmas Circles set.  I layered the circle with a scalloped circle die from Circles 'n Scallops Confetti Cuts.

25 Days of Christmas Tags2

Remember there are TONS of sponsors of this event!  Make sure to visit Tracey's blog link above for all the details AND stay tuned for the new Reverse Confetti release tomorrow!

Thursday, November 1, 2018

Spellbinders and Fun Stampers Journey

Thankful Friends

Hello!  
I am excited to share that Spellbinders and Fun Stampers Journey have come together as of November 1st!  To celebrate, I have a project to share using some FSJ products!  

Here are a few fun facts about Fun Stampers Journey:

1) FSJ stamps are made in the USA of deeply etched red rubber for a perfect impression every time.

2) Our thin metal dies are made of steel to give you clean cuts time and time again, without warping or dulling. And, they’re coated in FSJ green so they're easy to find!

3) We offer over 50 exclusive colors – matching cardstock, ink, ribbon and accessories makes creating easy!

4) Over 50% of our stamps have coordinating dies – no more fussy cutting!

Spellbinders

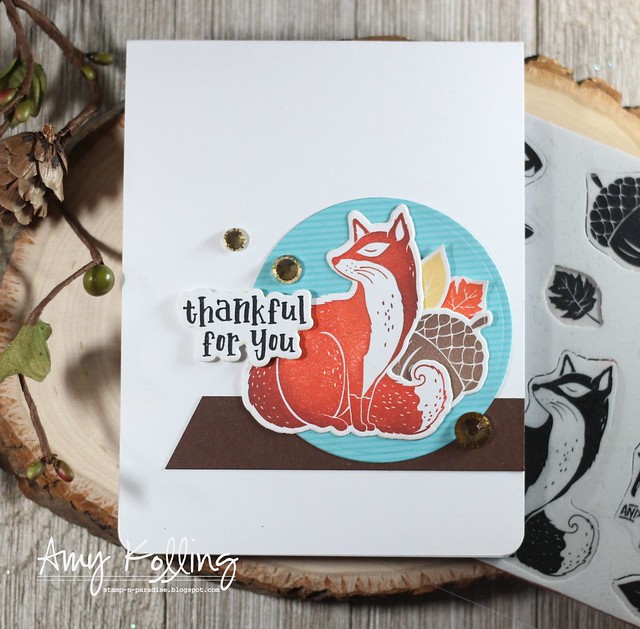
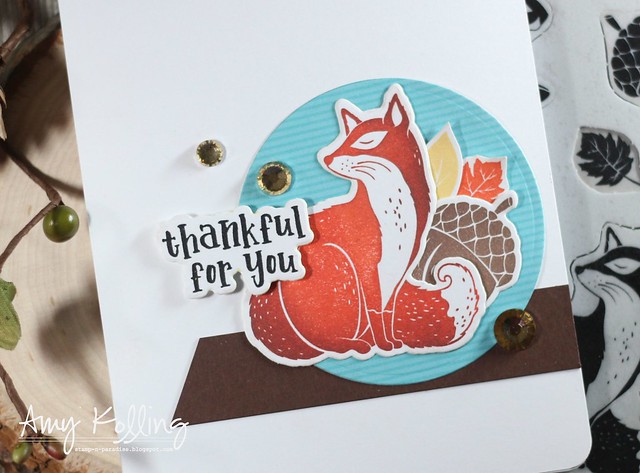
I love solid image stamps.  They provide so many techniques to try!  I've used the fox image from Thankful Friends and stamped it in several coats of pigment ink from Fresh Ink adding in some darker color for depth.  I also stamped some of the fall icons in coordinating ink colors.  My images were layered over an aqua pattern paper circle.  The sentiment was stamped, die cut using the coordinating die, and added with foam adhesive.  A few Holiday Sparkles Gems from FSJ were also used for a bit of sparkle!

Thankful Friends2


Technique Tuesday / Release Day!

Perfect Poinsettia 

Wahoo!  
It's release day at Technique Tuesday!  All the fun stamps and dies I've shared the past 2 days are available TODAY!  

Make sure to check out the Technique Tuesday blog for all the release details and full list of inspiration from the rest of the Design Team!  


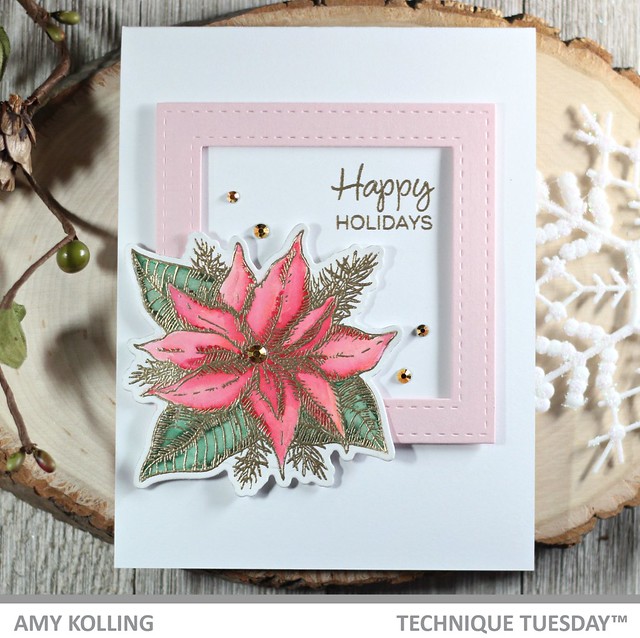
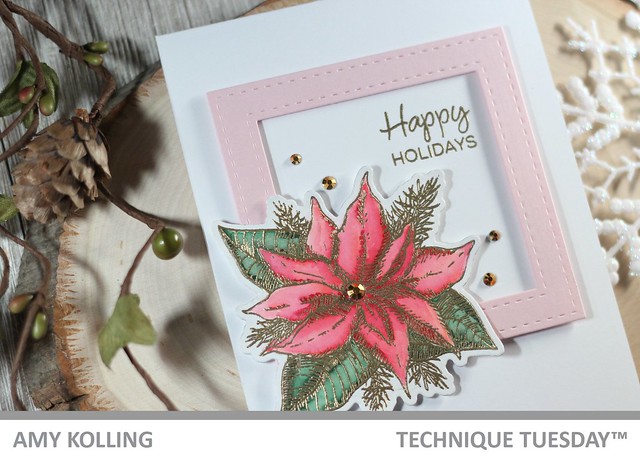
The newest addition to the Greenhouse Society is called Perfect Poinsettia.  Classic, perfect, beautiful.  

I strayed from the traditional RED poinsettia to a more subdued pink version.  My poinsettia was gold heat embossed and colored with Zig Clean Color Real Brush Markers.  I added my poinsettia to a pink stitched frame I created from standard stitching dies.  The sentiment was gold heat embossed onto my note card and gold gems were added to finish!

Perfect Poinsettia2 


Related Posts with Thumbnails