Welcome to the Pinkfresh Studio May Release!
I am so excited to share my projects using a variety of products from the release. There are so many new beautiful florals that have coordinating stencils and dies as well as some stand alone products too!
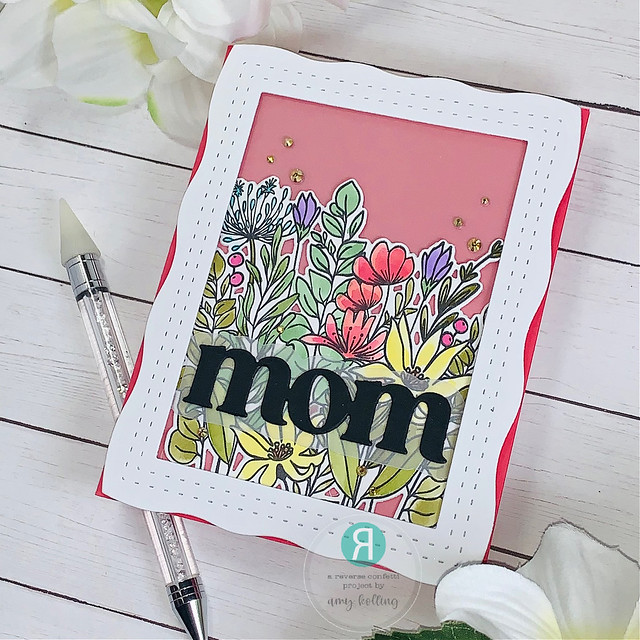
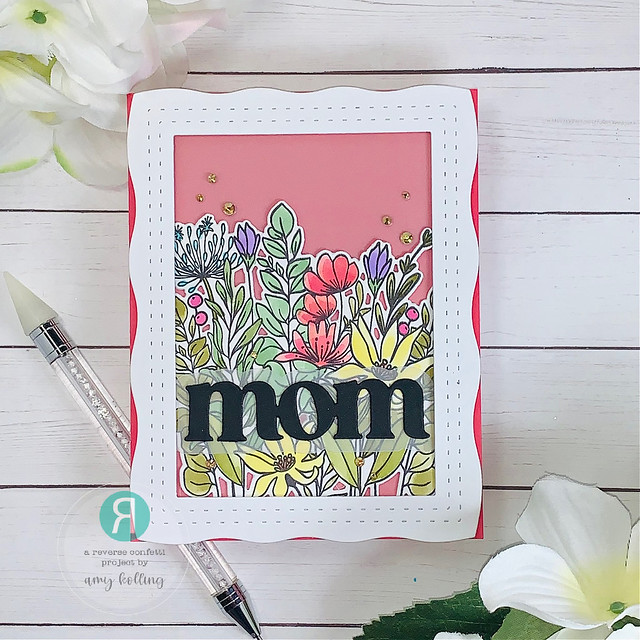
My first card uses the Painted Daises stencil and die (there is also a coordinating stamp).
After stenciling in the one piece Painted Daisies image using the stencils, the image was die cut and then cut in half. This was set aside to work on the card base. The card base was made using the Stained Glass Die and yes, I popped all those pieces up with foam adhesive! Once done, the Painted Daisies were added with one image at the top and one image at the bottom. I love the way this breaks up a large image!!! Now, there is a new sentiment suite in town......Scripted Sentiments which includes a stamp set, die, and hot foil plate! For my sentiment, I hot foiled gold onto black cardstock for a bold look! As finishing touches, gold pearls were added to tie in the foiled sentiment.
****************************************
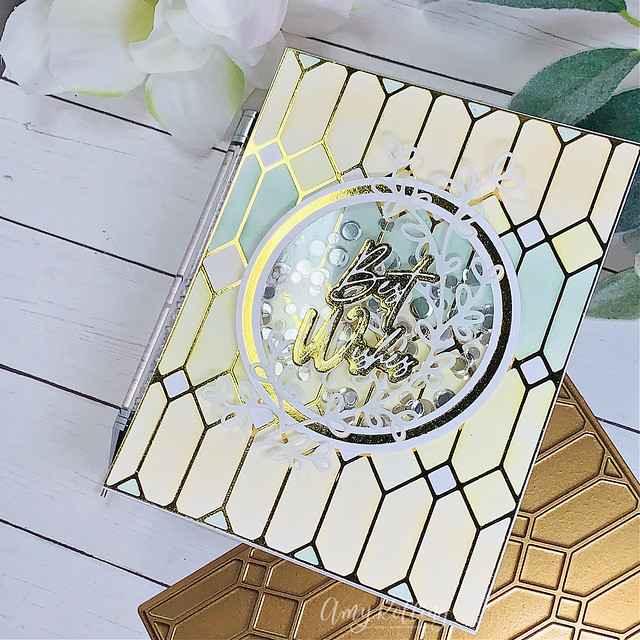
For my second card, I've used the Stained Glass Hot Foil Plate along with the coordinating stencils for a soft background.
I added in a shaker element for this other busy background. This was created using the Nested Circle Hot Foil Plates and the coordinating Nested Circles Dies. Clear flat sequins were added for shine inside the shaker. To finish the card, a reversed foiled sentiment from Scripted Sentiments was added over Curvy Foilage Die done in heavy vellum. This card would be perfect for a wedding card!
****************************************
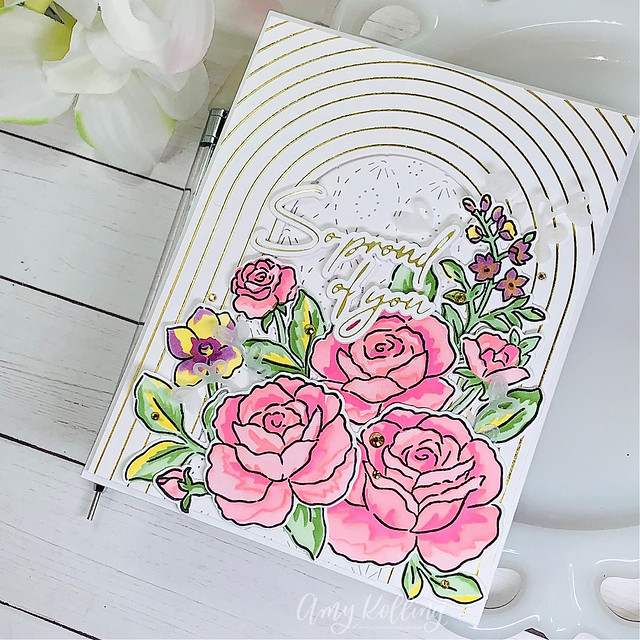
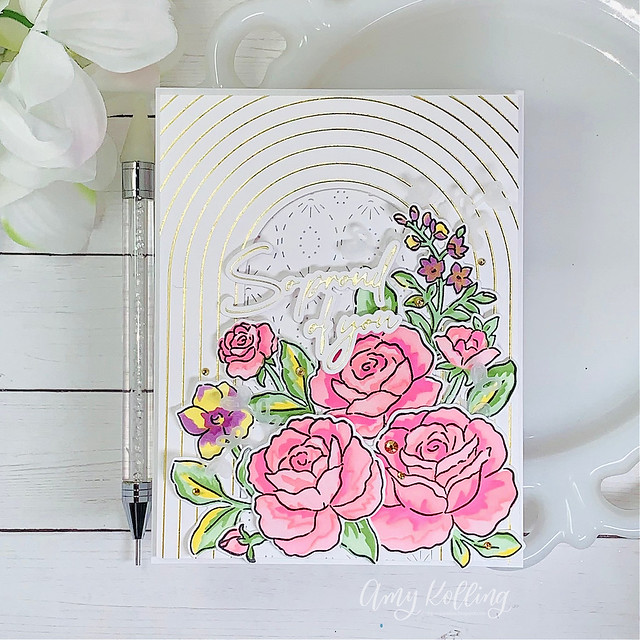
My last card uses the new beautiful Grant Yourself Grace. This set is perfect for building your own floral sprays since all the florals are separate. To color the blooms, they were done using Pinkfresh Inks over the coordinating stencil and then die cut.
To create my background, the Arched Backdrop Hot Foil Plate was used with gold foil and added with foam adhesive. The interior was done using the Intricate Stitched Ovals Plate for a bit of texture. Here is where the fun part comes in, arranging the florals! Once I had them where I wanted them, I used Press 'n Seal to secure them to add glue to the back. Some florals were added using foam adhesive and a tiny bit of Curvy Foilage Die done in a light vellum were tucked in places. Another foiled sentiment from Scripted Sentiments was added along with some gold gems to finish this!
Pinkfresh Studio will be giving away the full release on the Pinkfresh blog & YouTube channel.
-Pinkfresh Studio will be giving away a total of TEN $25 gift cards along the hop. As per usual with blog hops - the winners will be picked from the comments.
Winners will be chosen and posted on June 3, 2022 on the Pinkfresh Studio GIVEAWAY PAGE. You must check that page & claim your prize within 2 weeks. --Amy ♥


