Friday, October 30, 2020

Avery Elle / Christmas Mice and Peek-A-Boo Holiday Tag Toppers

Hello!  

I have a TWOfer today!  

This past Avery Elle release was fantastic and these two sets were at the top of my favorite list!


Seriously, how cute are these Christmas Mice with their huge ears?  Merry Christmouse!  I thought it would be fun to create a shaker with these mice.  Using the Double Pierced Rectangle Elle-ments, I created a frame using the two largest dies.  I added my frame with foam adhesive over a Worn Lipstick Distress Ink blended background that was filled with chunky glitter.  The festive little mice were Copic colored, die cut, and added to the front of the frame with foam adhesive.  To the corners of the frame, a few holly, from Joyeux Narwhal, were added.


Supplies:

Christmas Mice

Christmas Mice Elle-ments

Joyeux Narwhal 

Joyeux Narwhal Elle-ments

Double Pierced Rectangle Elle-ments

*******************************************************

My second card uses the very popular Peek-A-Boo critters but this time in paper pieced form!  I put together the moose and added rainbow holiday bulbs on the antlers.  The background was created using the snowflake stamps from the Holiday Circle Tags.  The snowflakes were white heat embossed and using emboss resist, the Salty Ocean Distress Ink was blended over the top.  Using Salty Ocean Distress Ink, the ink was blended over the bottom of the Happy Holidays die.  


The sentiment die was added over the heat embossed background.  The moose was added over the top of the "Y" in Happy.  To finish, a few white details were added to the bulbs and moose.  


Supplies:

Peek-A-Boo Holiday Tag Toppers Elle-ments

Happy Holidays Elle-ments

Holiday Circle Tags 


Monday, October 26, 2020

The Greetery / Banner & Bough

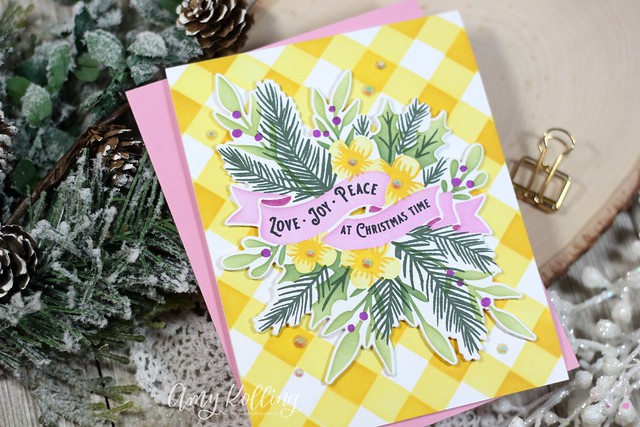
Love Joy Peace

Just stopping in today with a non-traditional color scheme for a holiday card.  I really thought this was eye catching and something different!

I used the Banner & Bough stamp, stencil, and die set from The Greetery.  What a FABULOUS set!  

I stamped, stenciled, and die cut the main image.  I layered it over a coordinating background made using the Square Dance Stencil.


Love Joy Peace2

Saturday, October 24, 2020

Avery Elle / Nordic Patterns

I am here with some Nordic Pattern inspiration using Avery Elle.  
This set is so much fun because it lends itself to so many color and pattern combinations.  I, however, went with a monochromatic look with these snowflakes!


I fell in love with this large snowflake pattern from the set and decided to stamp an entire panel using a navy pigment ink.  Because I wanted my stamped panel to be the star of the show, I trimmed it down to 3 1/2" x 5" for a nice chunky border.  This panel was backed with foam adhesive and added to a navy panel of cardstock.  

The sentiment, from Jingle, was stamped in the same navy ink, hand trimmed out, and added to the card with foam adhesive.  A supporting sentiment was white heat embossed onto a navy cardstock strip and tucked underneath the Joy sentiment.  I couldn't let this go without adding in some Midnight gems over the card!


Supplies:

Friday, October 23, 2020

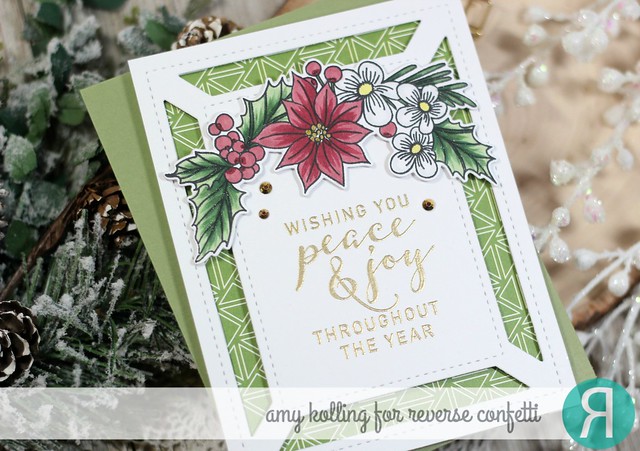
Reverse Confetti / Peace & Joy

Peace and Joy

I am sharing a holiday card using some of the recent new Reverse Confetti release!


The Center Frame Cover Panel was die cut in white card stock and the sentiment from Joyful Holiday Wishes was gold heat embossed at the bottom of the panel.  The Center Frame Cover Panel was layered with foam adhesive onto a piece of pattern paper from Winter Solstice 6x6 Paper Pad.  The large swag image from Holiday Bough was Copic colored and embellished with a glitter pen and gold details.  The bough was added to the notecard using foam adhesive and a few gold gems were added for some glam.


Peace and Joy2
>

Supplies:

Saturday, October 17, 2020

Erin Lee Creative / October Release Blog Hop

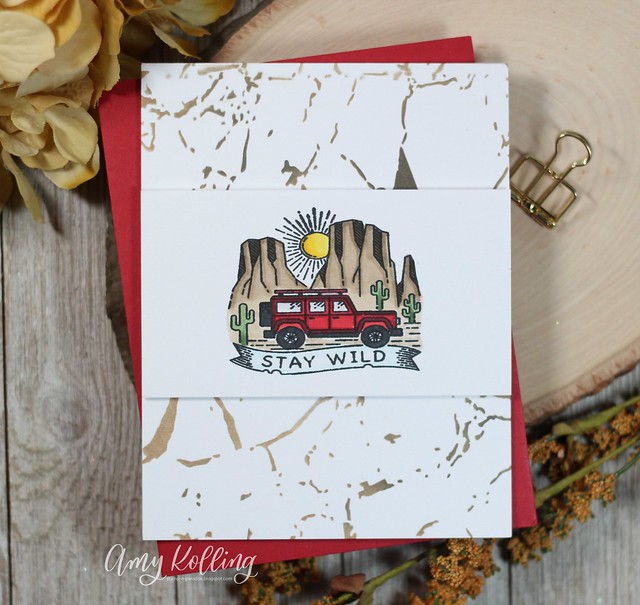
  • Stay Wild

Welcome to the Erin Lee Creative Release Blog Hop!  
I'm so honored to be designing for and alongside some of my good friends!  There are many new products to choose from!


Greatest Adventure has fantastic images for a masculine themed card.  (perfect for my hubby's birthday this coming week, however, I will have to color the jeep purple to match his!)  The image was stamped onto a 2.25" panel and Copic colored.  This panel was added with foam adhesive to a white note card that was ink blended with one of the new stencils from this release! 

Stay Wild2

Prizes: 2 lucky commenters will win a $50 gift code to use in the ELC shop. Winners will be announced on the Monday, October 26 blog post. Comment on everyone's blog or IG for a greater chance to win!

Amy Kolling

Friday, October 16, 2020

Pinkfresh Studio / October 2020 Slimline Stamp, Die, and Stencil Release Blog Hop

Floral Notes2


Welcome to the Pinkfresh Studio Slimline Stamp, Die, and Stencil Release Blog Hop!

I am so honored to be stamping alongside this amazing team and guests!

Make sure to check below for a shipping promotion incentive along with details on the giveaways!


***SHOP for Pinkfresh Studio HERE***


Slimline is what's new for card making. I have yet to jump on the bandwagon but this release is AMAZING and I see many more slimline cards in my future! You should have arrived from Anne Fiene's blog and the next stop is Arjita Sepaha Singh.


Floral Notes


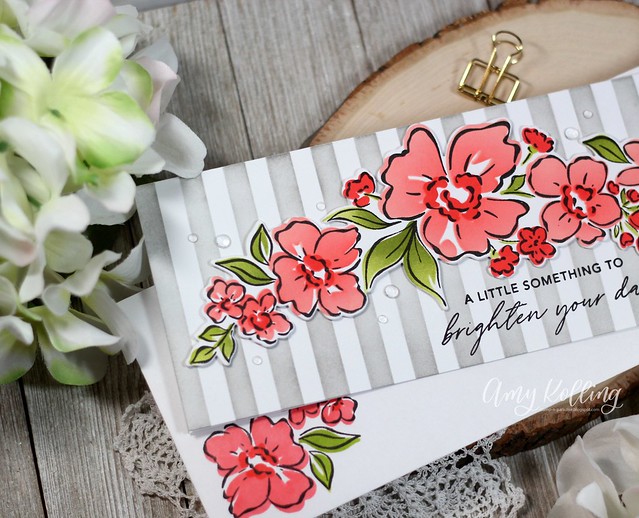
Floral Notes is a large stamp, die, and stencil combo that can be used in so many ways.


I started out by ink blending all my florals with steps 1, 2, 3, giving depth with a second color if needed. The image was die cut and layered over a slimline card that was ink blended with gray ink using the Horizontal Stripes Stencil. After the sentiment was stamped, a few clear drops were added.


Floral Notes3


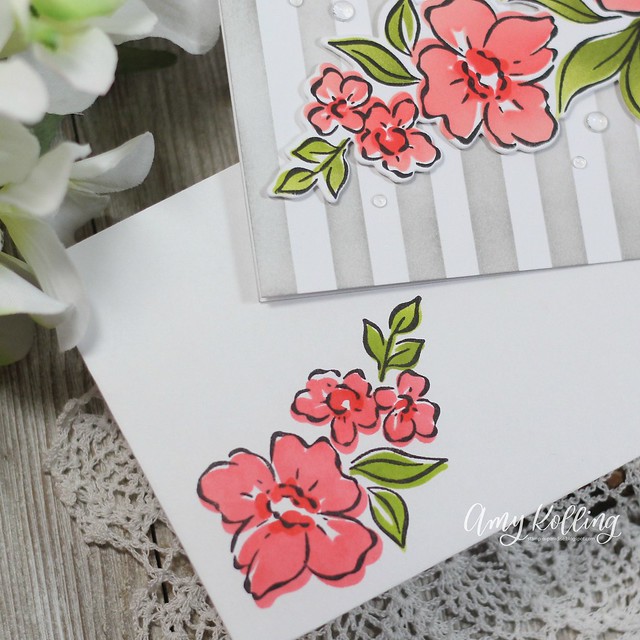
I thought it would be fun to have a matching envelope! I did the same steps to create the envelope but had to mask off a portion of the main stamped image to create my small cluster on my envelope.


Floral Notes4


**************************************


The next two cards use the main image but just portions of it for A2 sized cards.


Awesome


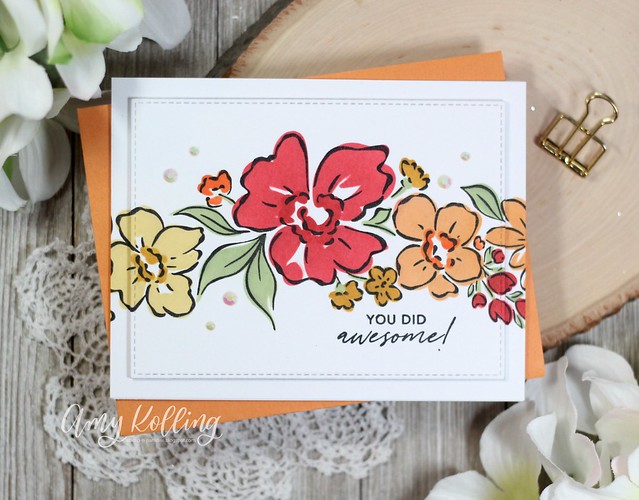
The stamp was stamped over a standard A2 panel and then ink blended with the stencils in different colors masking off each portion as to not overlap the colors. To keep this simple, a standard stitched rectangle die was used to cut out a rectangle. This image was then inlaid back to the notecard with foam adhesive using the border as a guide. A sentiment and white gems finish this design.


Awesome2


**************************************


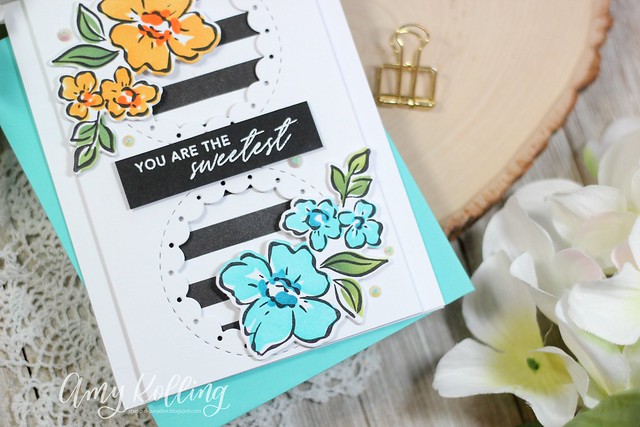
This card uses just a portion of the stamped image from Floral Notes (similiar to how I stamped the envelope above). After ink blending using the stencils, the image was die cut and finished off by fussy cutting just a tiny bit.


Sweetest


These florals were layered over a die cut panel done with the Slim Stiched Scallop Circles Die. The note card below was Black Soot Distress Ink blended over the Horizontal Stripes Stencil. I love a good black/white card! All the elements were added with foam adhesive along with a white heat embossed sentiment.


Sweetest2


GIVEAWAYS:


-Pinkfresh Studio will be giving away the full release on the Pinkfresh blog, IG feed & YouTube channel..

-I will be giving away a $25 gift card here on this blog post! Winner will be picked from the comments. Full blog hop list is in the Inlinkz party below!


Winners will be pulled and posted on October 23, 2020 on the Pinkfresh Studio GIVEAWAY PAGE. Please check this page & claim your prize within 2 weeks.

You are invited to the Inlinkz link party!

Click here to enter

Avery Elle / Rustic Wreath

Rustic Wreath2

Peace, Love, & Joy as this season approaches.  

I am sharing a card/tag combo using the Rustic Wreath stamps from Avery Elle.

Several of the groupings of flowers were stamped and Copic colored.  Once done, the images from Rustic Wreath were spritzed with Clear Shimmer Spray and die cut.  The images were arranged over a white trimmed panel that was scored on the sides at 1/4" for texture.  The sentiment was stamped front and center.  Tiny red detail with a Copic was done to the letters.  This panel was added to a note card layered with pattern paper from the Holiday Collection 6x6 Paper Pack.  The holiday spray images were added above and below the sentiment with foam adhesive.

Rustic Wreath

I thought it would be fun to create a matching tag using the same products!  Using the Holiday Circle Tags Elle-ments, the various layers were die cut and layered together with foam adhesive.  The sentiment was stamped and Copic colored the same way as the card.  After adding one of the small sprays of flowers, some Cherry Bakers Twine was added to the top.


Rustic Wreath Tag

Supplies:

Rustic Wreath

Rustic Wreath Elle-ments

Holiday Circle Tags Elle-ments

The Holiday Collection 6x6 Paper Pack

Cherry Bakers Twine

Clear Shimmer Spray


Wednesday, October 14, 2020

SugarPea Designs / Mix It Up Challenge #72

Wicked2


I have a card to share for the October Mix It Up Challenge for SugarPea Designs.
  Make sure to visit the SugarPea Designs blog for all the details of the challenge and play along!  There is a $50 gift certificate up for grabs!


I couldn't let Halloween pass by without one more Halloween card especially with the colors in the the Mix It Up Challenge this month for SugarPea Designs!

I created the background by masking off a rectangle area using masking tape and ink blending Wilted Violet Distress Ink darker at the edges.  Some ink splatters were done using the same Distress Ink color.  Using one of the cute little witches from Bewitched, the images were Copic colored, die cut, and added to the card with foam adhesive.  The sentiment was stamped in black ink and a few die cut stars from the SugarCut Stardust were sprinkled over the card.  


Wicked1


Monday, October 12, 2020

Ink to Paper / Feathered Friends Series

Feathered Friends2

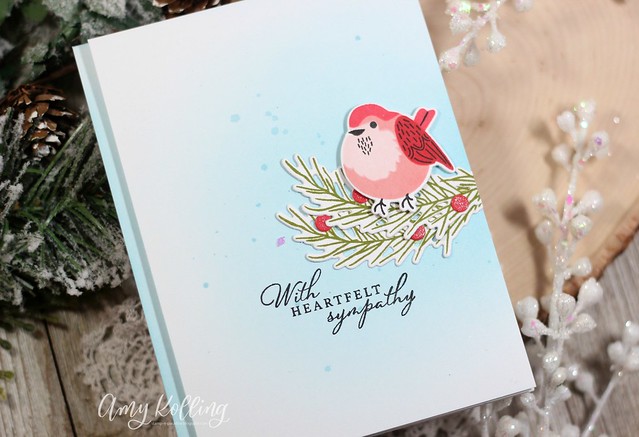
Ink to Paper has a great series of bird stamps called Feathered Friends Mini.  The past release was the 4th in the series.


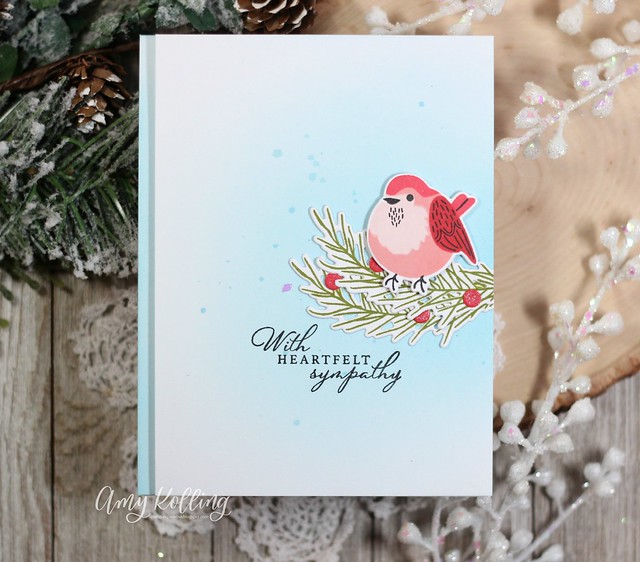
I created a simple sympathy card using this set along with the branches from Tree Essentials.  I added some berries and colored them with a shimmer pen.  The branches were adhered to a Broken China Distress Ink blended panel and the bird with foam adhesive.  The sentiment was tucked in below.  A strip of matching Distress Ink blended card stock was added down the left side.  The focus panel was trimmed on the left side and added with foam adhesive.   

 
Feathered Friends


Thanks for sharing a part of your day with me!

Friday, October 9, 2020

Ink to Paper / Starflakes

Warmest Thanks

Stopping in today to share another card created with products from the latest Ink to Paper release!


The Starflakes Dies are so gorgeous.  Even better they look amazing layered!  I took a trimmed panel and scored 1/4' border.  The sentiment was stamped in the lower right portion of the card.  The different layers of the Starflakes were die cut and layered.  An iridescent sequin was added to each center.


Warmest Thanks2


Thanks for sharing a part of your day with me!

Thursday, October 8, 2020

Reverse Confetti / October Blog Hop

Gift Card Both

Welcome to the Reverse Confetti October Blog Hop.  
We just celebrated a mini release this month so it's time for MORE inspirations with our blog hop!


***********************************

Today we are sharing some inspiration using the Gift Card Holder Cover Panel.  
This die is genius!  

What I love about this die:
It's flat.  You can fold but for mailing this is less bulk.
It's a full A2 card size.
Add a cute scene or sentiment in the rounded area.
The cute stitching around the gift card.

Here I've made one for a masculine birthday and one for the holidays!  The holiday gift card holder was paired with the previously released Jolly Holiday with its cute images.

Gift Card Christmas2

The masculine gift card holder was done using the previously released Balloon Confetti Cuts along with the sentiment from This Says It All.

Gift Card Birthday2


***BLOG HOP***